2
Getting Started
38
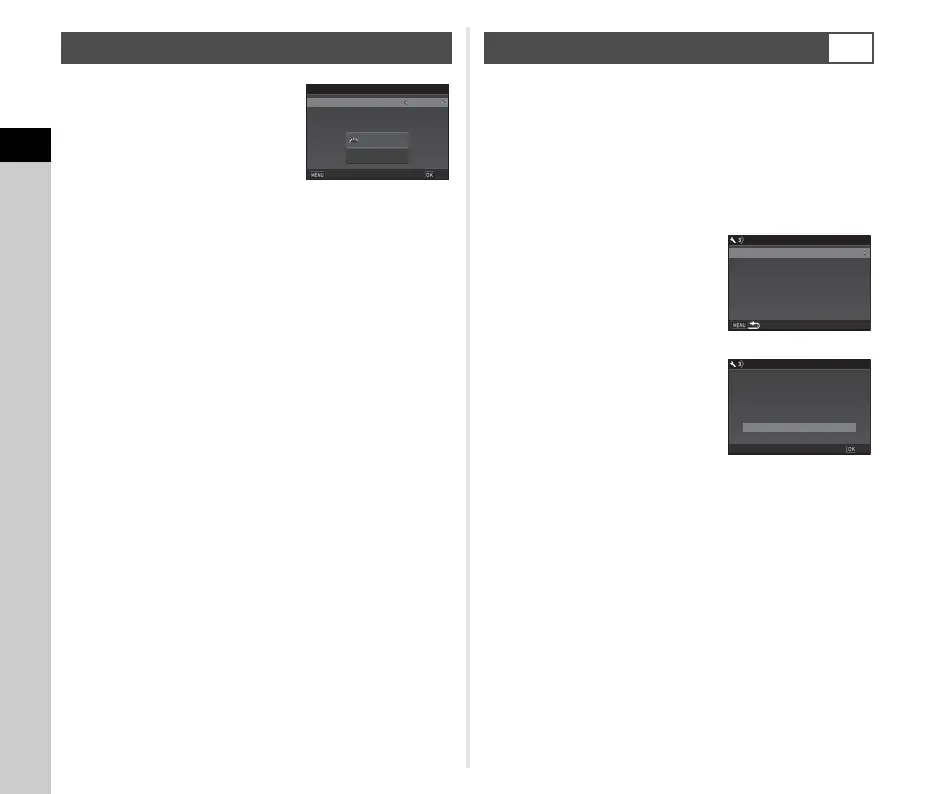
1 Use CD to select a color.
Select the display color of the
status screen, control panel, and
menu cursor from colors 1 to 12.
2 Press E.
The camera switches to capture mode and is ready to take
a picture.
t Memo
• You can change the language, text size, and date and time
settings from the D1 menu, and the display color from [Other
Display Settings] of the A5 menu. (p.24, p.28)
• While the GPS is on, the date and time settings are adjusted
using information obtained from satellites. (p.72)
1 Press F.
The A1 menu appears.
2 Use Q or R to display D3 menu.
3 Use AB to select [Format] and press D.
The [Format] screen appears.
4 Use AB to select the
memory card slot in which
the memory card to format
is inserted and press D.
5 Press A to select [Format]
and press E.
Formatting starts. When
formatting is completed, the
screen of Step 4 reappears.
6 Press F twice.
u Caution
• Do not remove the memory card while formatting, or the card
may be damaged.
• Formatting deletes all data, both protected and unprotected.
t Memo
• When a memory card is formatted, the volume label “K-1” is
assigned to the card. When the camera is connected to a
computer, the memory card is recognized as a removable
disk with the name “K-1”.
Setting the LCD Display
1/
125
F
5.6
1
Display Color
LCD Display
Cancel
OK
Formatting a Memory Card
D3
FormatFormat
FormatFormat
card will be deletedcard will be deleted
All data on SD1 memoryAll data on SD1 memory
CancelCancel
OKOK