3
Shooting
56
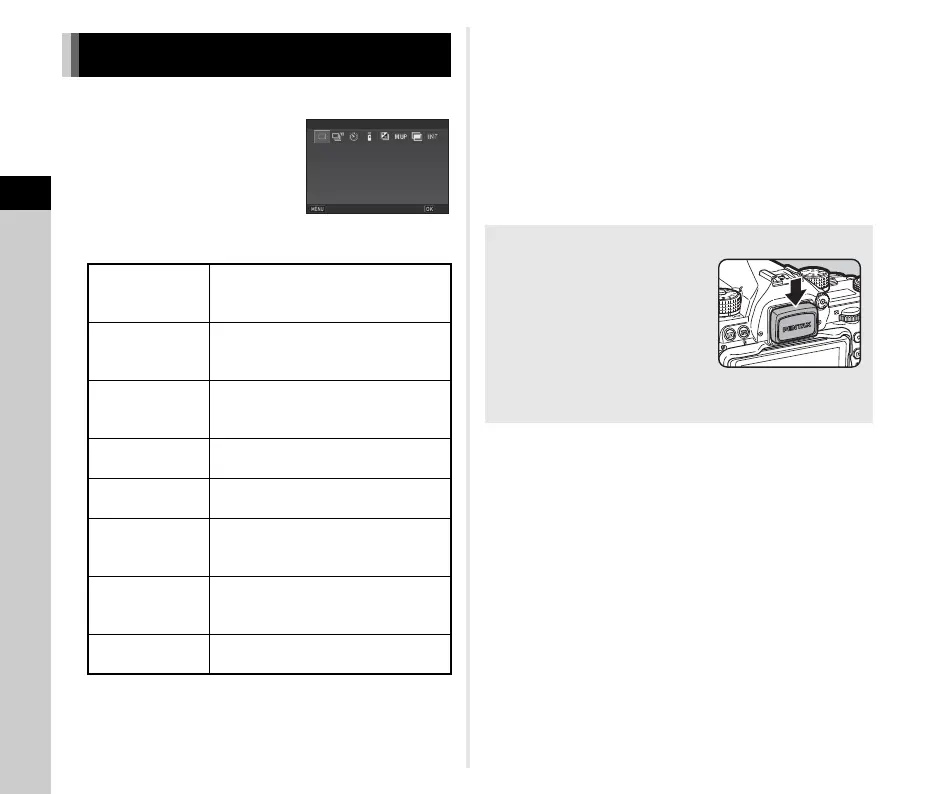
1 Press A in standby mode.
The Drive Mode screen appears.
2 Select a drive mode.
u Caution
• There are restrictions on some drive modes when used in
combination with some other functions. (p.107)
t Memo
• The Drive Mode setting is saved even after the power is
turned off. If [Drive Mode] is set to Y (Off) in [Memory] of the
A5 menu, the setting returns to [Single Frame Shooting]
when the power is turned off. (p.103)
• The [Shake Reduction] of the A4 menu is automatically set
to [OFF] when the drive mode is set to [Self-timer], [Remote
Control], or [Mirror Lock-up Shooting]. If you do not want to
turn off the Shake Reduction function, set in [21 Auto SR Off]
of the E3 menu.
Setting the Drive Mode
Single Frame
Shooting
(L)
Normal capture mode
Continuous
Shooting
(Z/a/b)
Continuously takes pictures while
0 is kept pressed. (p.57)
Self-timer
(O/P/Y)
Releases the shutter about 12
seconds or 2 seconds after 0 is
pressed. (p.57)
Remote Control
(Q/R/S)
Enables shooting with remote control.
(p.58)
Bracketing
(T/1/U)
Takes consecutive pictures at
different exposure levels. (p.59)
Mirror Lock-up
Shooting
(c/d)
Takes images with the mirror raised.
(p.60)
Multi-exposure
(V/z/W/X)
Creates a composite image by taking
multiple pictures and merging them
into a single image. (p.60)
Interval Shooting
(q/U/V/w)
Automatically takes pictures at set
intervals. (p.61)
Single Frame Shooting
Cancel
OK
If Light Enters through the Viewfinder
When the drive mode that
employs the self-timer or remote
control is selected, exposure may
be affected by the light entering
through the viewfinder. In such a
case, use the AE Lock function or
attach the optional ME viewfinder
cap. Remove the eyecup before attaching the ME viewfinder
cap.