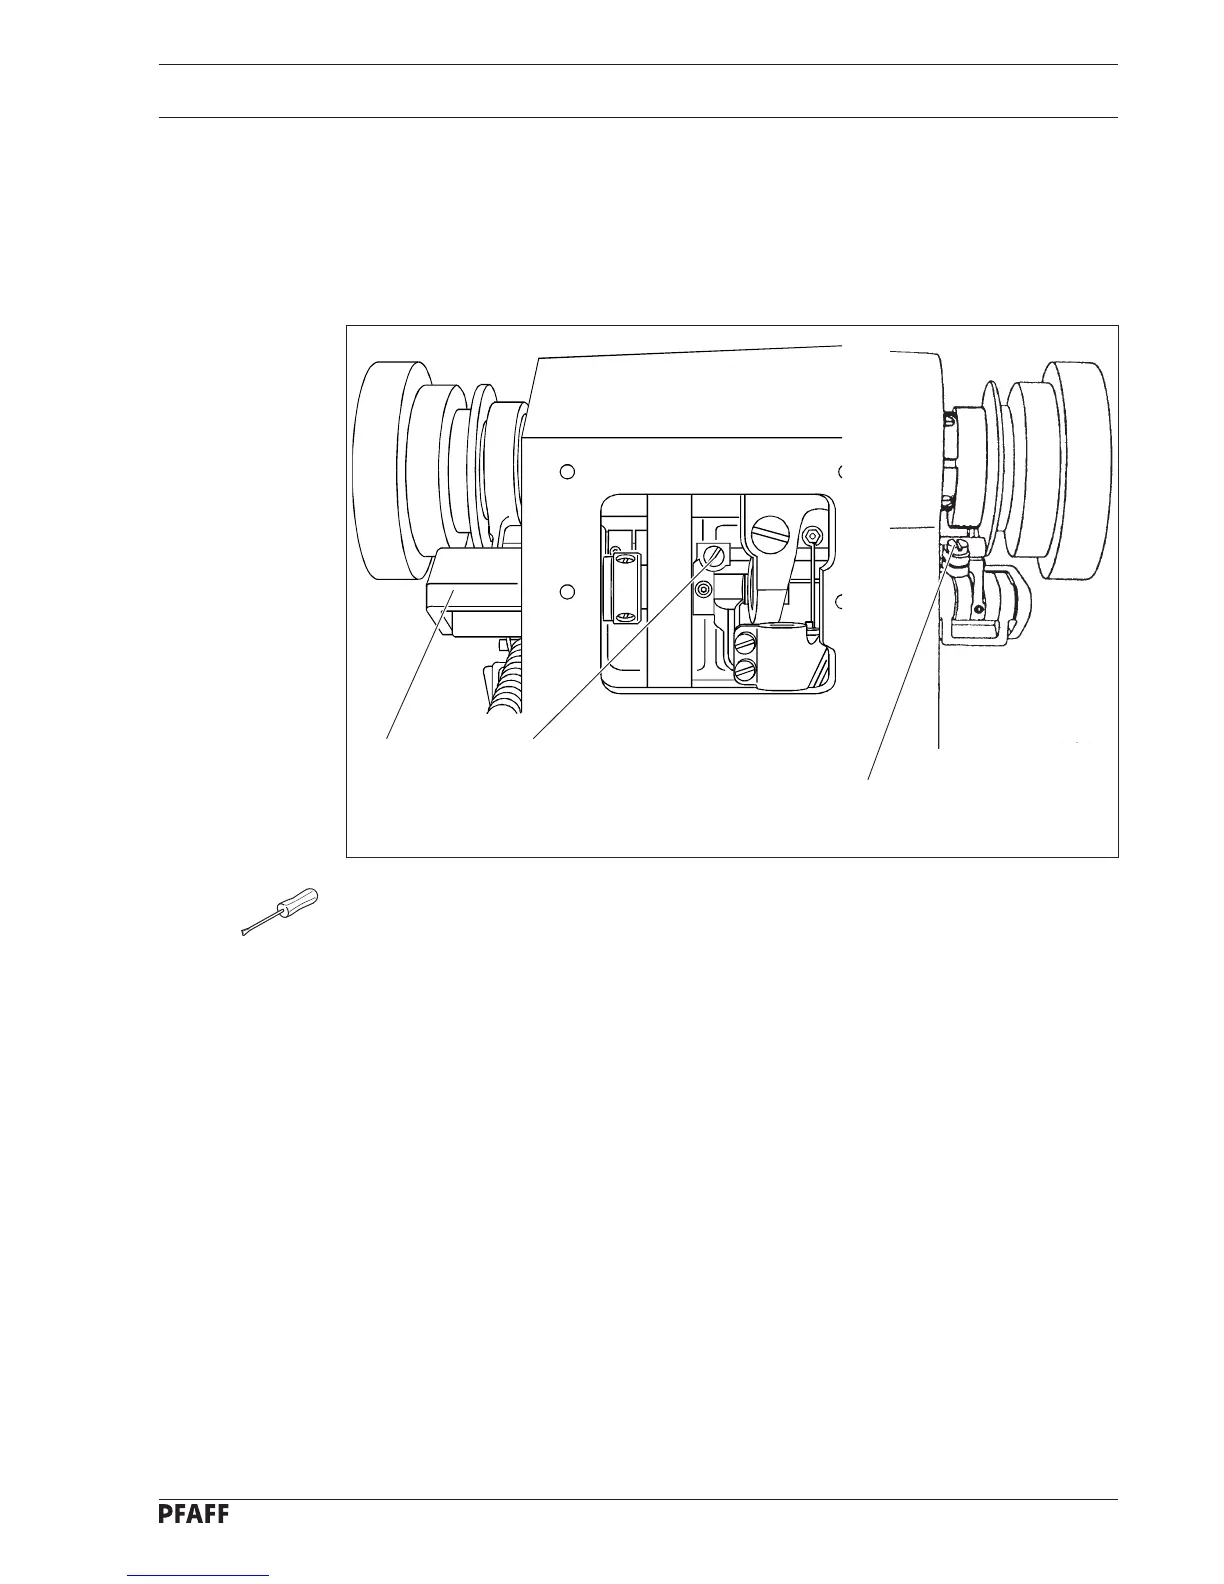
Adjustment
14 - 15
● Raise the presser foot.
● Loosen screws 1 and 2.
● Place crank 3 parallel to crank 4 and tighten screw 2.
● Set the stitch length controls 5, 6 and 7 at 0.
● Place the alignment gauge 8 onto the pins 9.
● Turn the handwheel and turn crank 11 (screw 10) so that the vibrating presser foot does
not move.
● Loosen nut 12.
● Move the pull rod 14 up and down several times while moving lever 15 (screw 13) so
that the vibrating presser foot does not move.
● Bring the pull rod 14 to a position where it touches the top of the elongated hole and
tighten nut 12.
● Set the stitch length controls 5,6 and 7 at 3.
● Set crank 16 lengthwise and crosswise against crank 17 and tighten screw 1.
● Remove the alignment gauge 8.
11 10
13
Fig. 14 - 13