UM EN AXL E SYS INST
30
PHOENIX CONTACT 8395_en_03
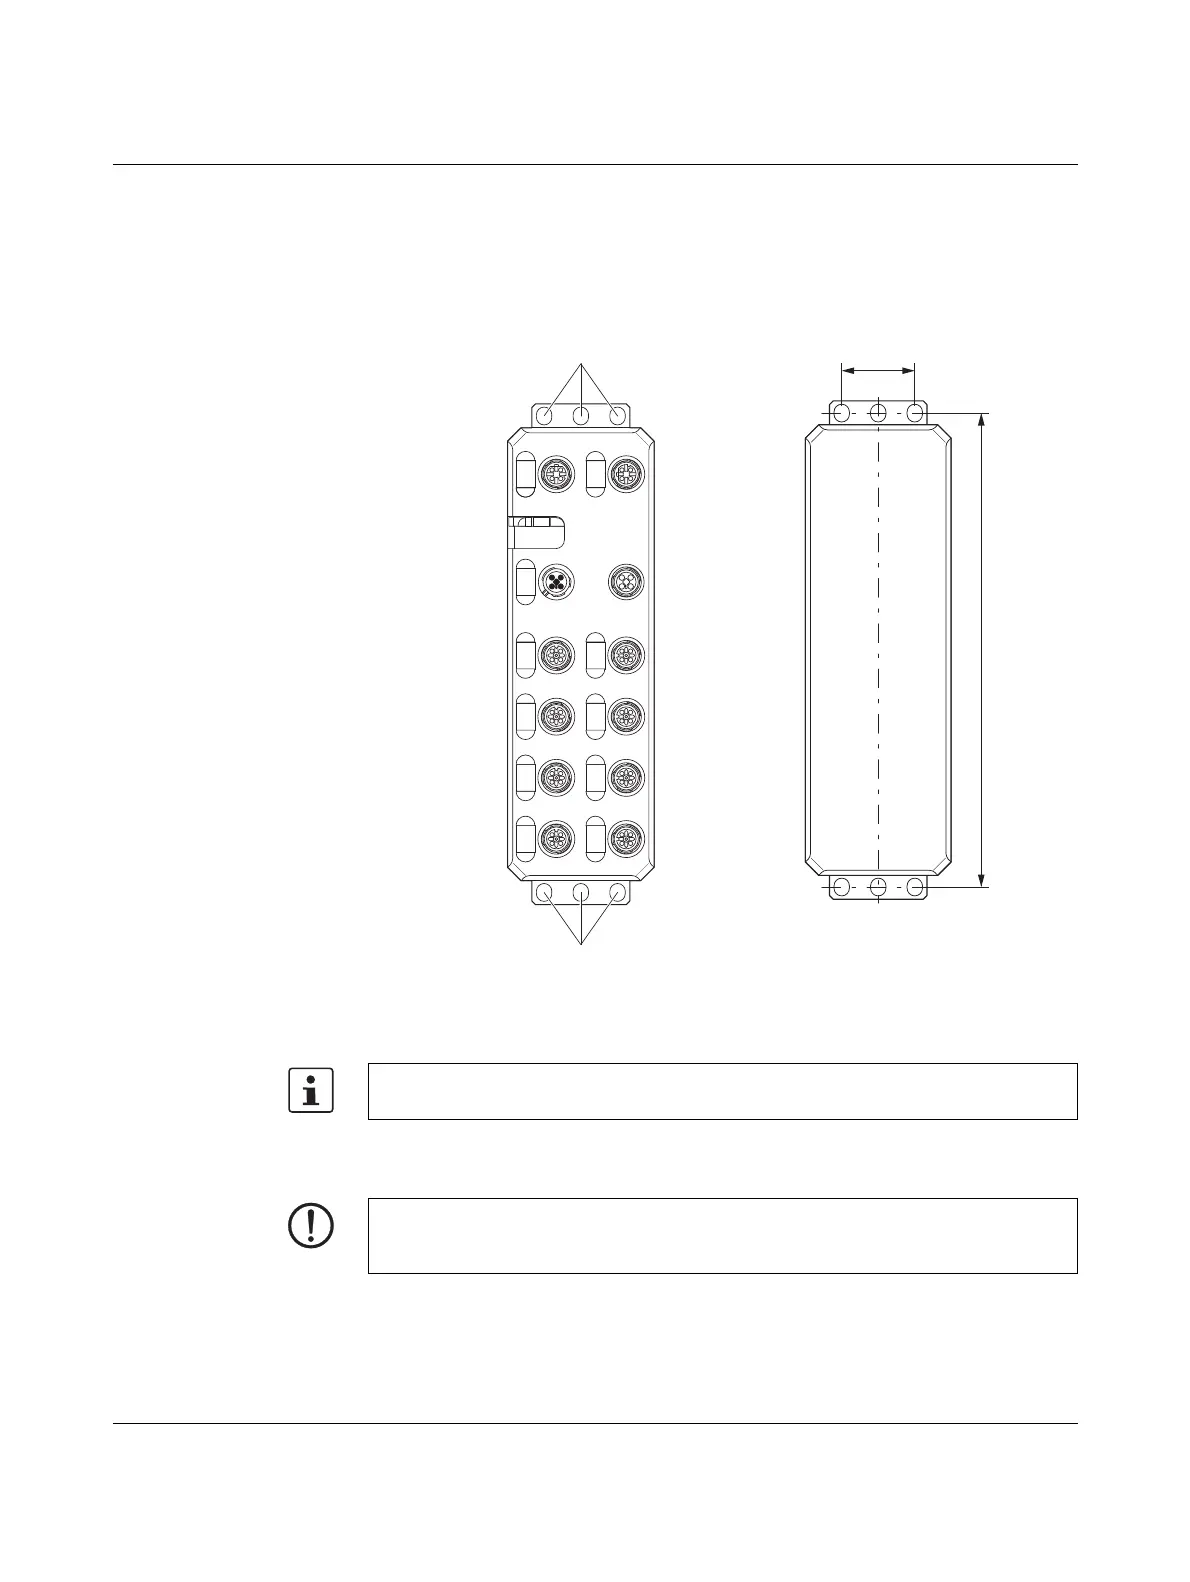
4.4 Mounting Axioline E plastic devices
• Screw the device directly onto the flat mounting surface using the drill holes (1) of the
fixing clips.
Drill hole spacing
Figure 4-3 Mounting
Functional earth
grounding
Use standard M5 screws with toothed lock washer and self-locking nuts. Observe the
maximum torque of the screws.
X21 X22
PWR IN PWR OUT
X31 X32
X01 X02
X03 X04
X05 X06
X07 X08
1
1
30
198.5
NOTE: Data corruption or loss
Functional earth grounding is crucial for interference-free operation.
Ground the device by means of the mounting screws of the fixing clips.
 Loading...