Configuration and diagnostics
7278_en_04 PHOENIX CONTACT 3-3
Once you have clicked on "Add", the device is added to the project and is indicated as
unavailable. You must now restart or reset the LMS. After a restart, the LMS resends the
BootP requests and receives the corresponding BootP reply from the Factory Manager.
Once the boot process has been completed the LMS is indicated as available.
3.1.3 Configuration and diagnostics
Numerous options for configuring and diagnosing the LMS can be found in the "Device"
menu under "Properties".
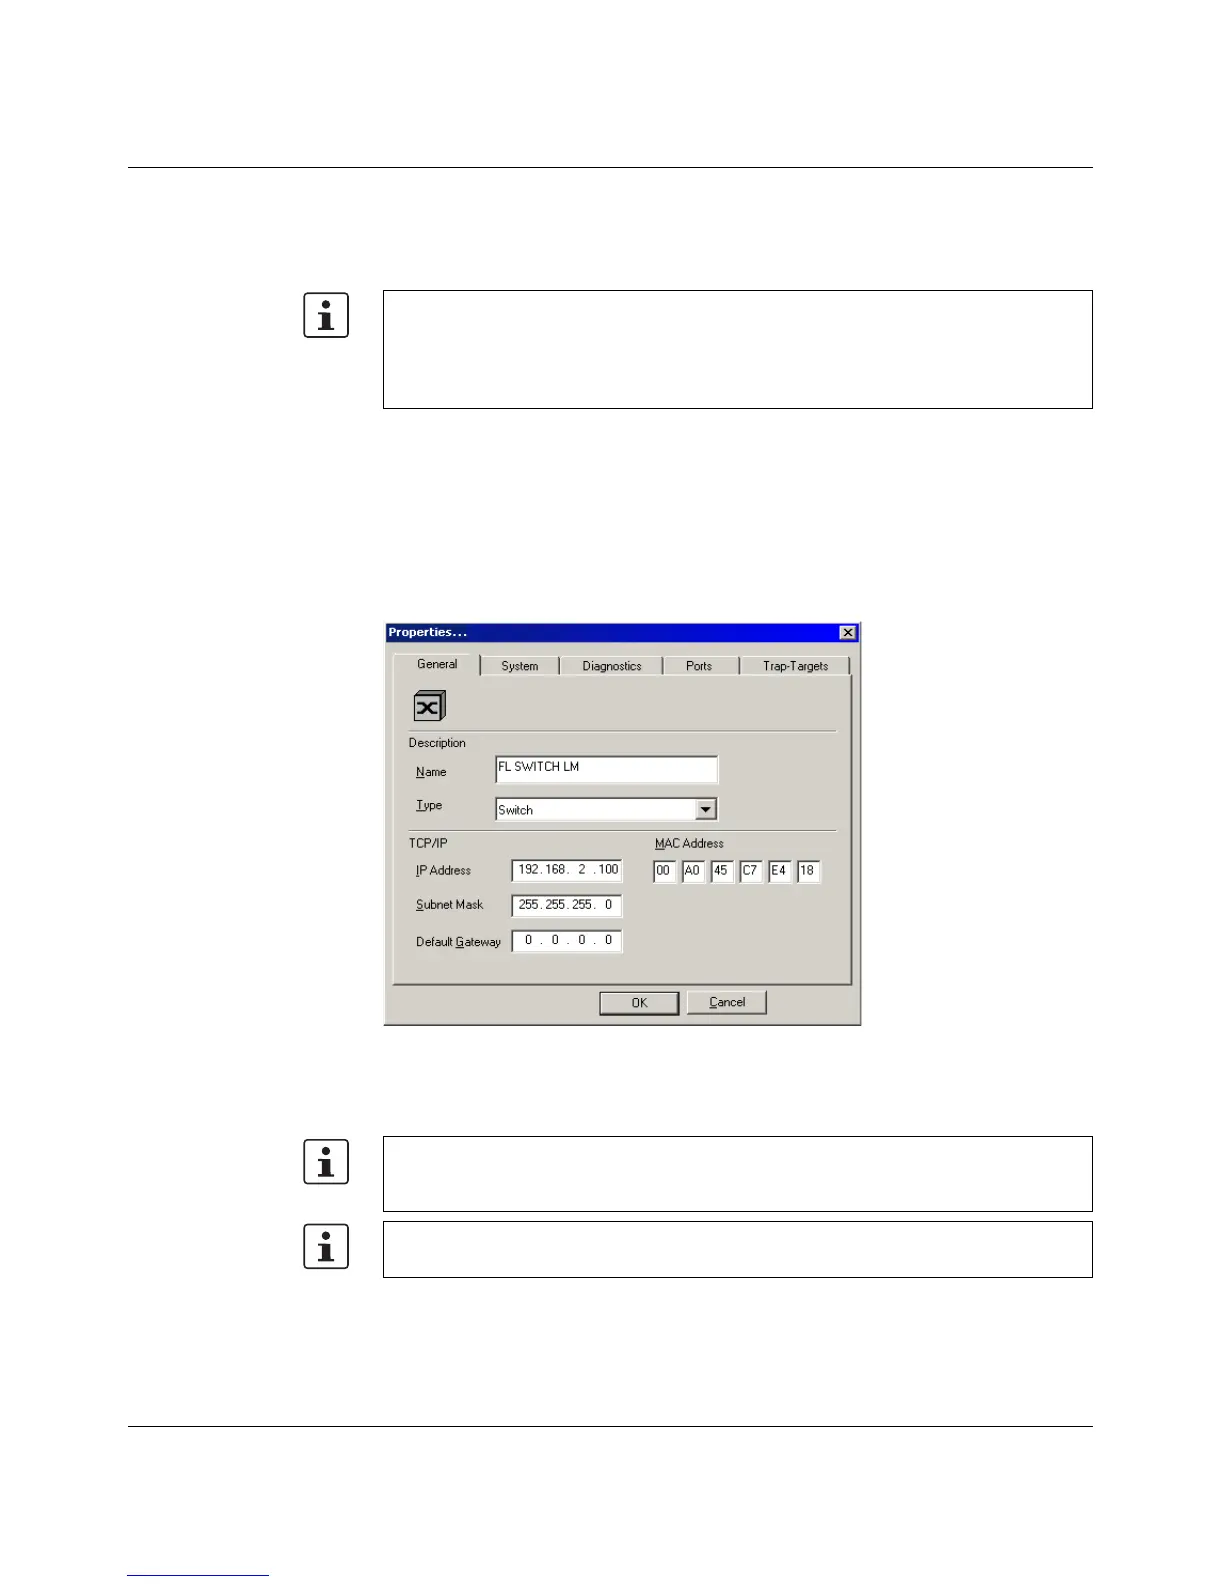
General
Figure 3-3 "General" menu
Here you can check or modify device names and types as well as IP parameters.
If the LMS is still indicated as "unavailable", check your network card settings. Please note
that both devices must be located in the same network/subnetwork. If the Factory
Manager receives the BootP requests this does not mean that the devices are located in
the same subnetwork, as the BootP requests are sent as a broadcast beyond subnetwork
boundaries.
If you modify the IP address and/or the other IP parameters using the Factory Manager,
once you click "OK" you will no longer have access via the Factory Manager. Restarting
the LMS activates the modified parameters and restores access.
To activate the new addresses after a restart, BootP must be activated in the LMS.