System
wlan
22
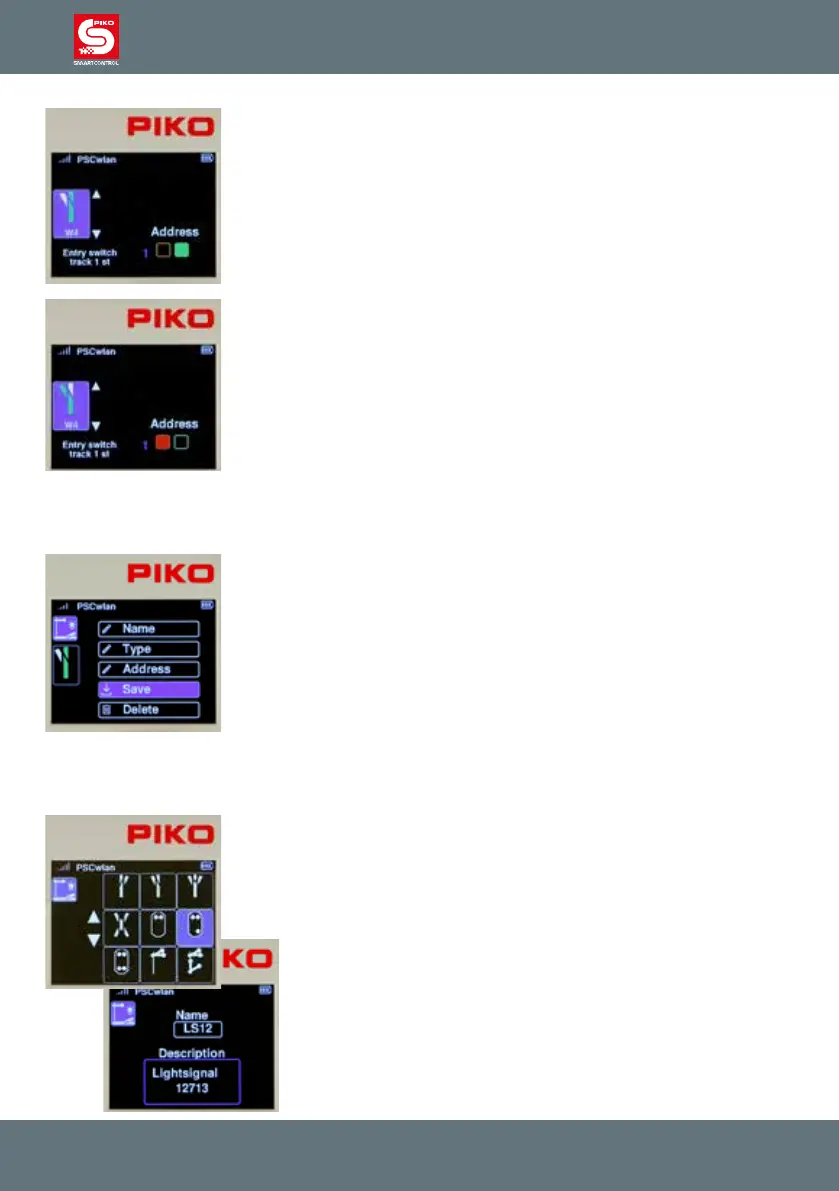
The switching direction (here green) can now be selected via the OK button.
The respective setting is shown in color in the corresponding eld.
Once the rst direction has been set, you must now use the "left" button to
jump to the turnout symbol. The two arrows are now shown in blue again
and the "down" button highlights the second turnout position, which is also
shown in color in the turnout symbol (here it is the diverging track). Now
press the "right" button again to enter the turnout position and set it with the
OK button.
Use the “back” button to complete the address setting process.
IMPORTANT: At this point, the entries have not yet been saved. If you go up a menu level without
saving using the "back" button, a message will appear asking if you want to abort your editing. If you
answer yes, the data set will not be saved.
To save your settings, use the navigation buttons "up" or "down" to go to the
"Save" option and conrm it with the OK button.
If an accessory that has already been saved is called up in the editing menu,
it can be deleted via the "Delete" option after answering a security query.
The display then jumps back to the selection of editable accessories.
The entries for multi-aspect accessories such as three-way or double slip turnouts with two drives, or
three- or four-aspect light signals which require more than one switching address are shown here in
short form using the example of a three-aspect light signal.
Select three-aspect light signal.
Enter name and description.