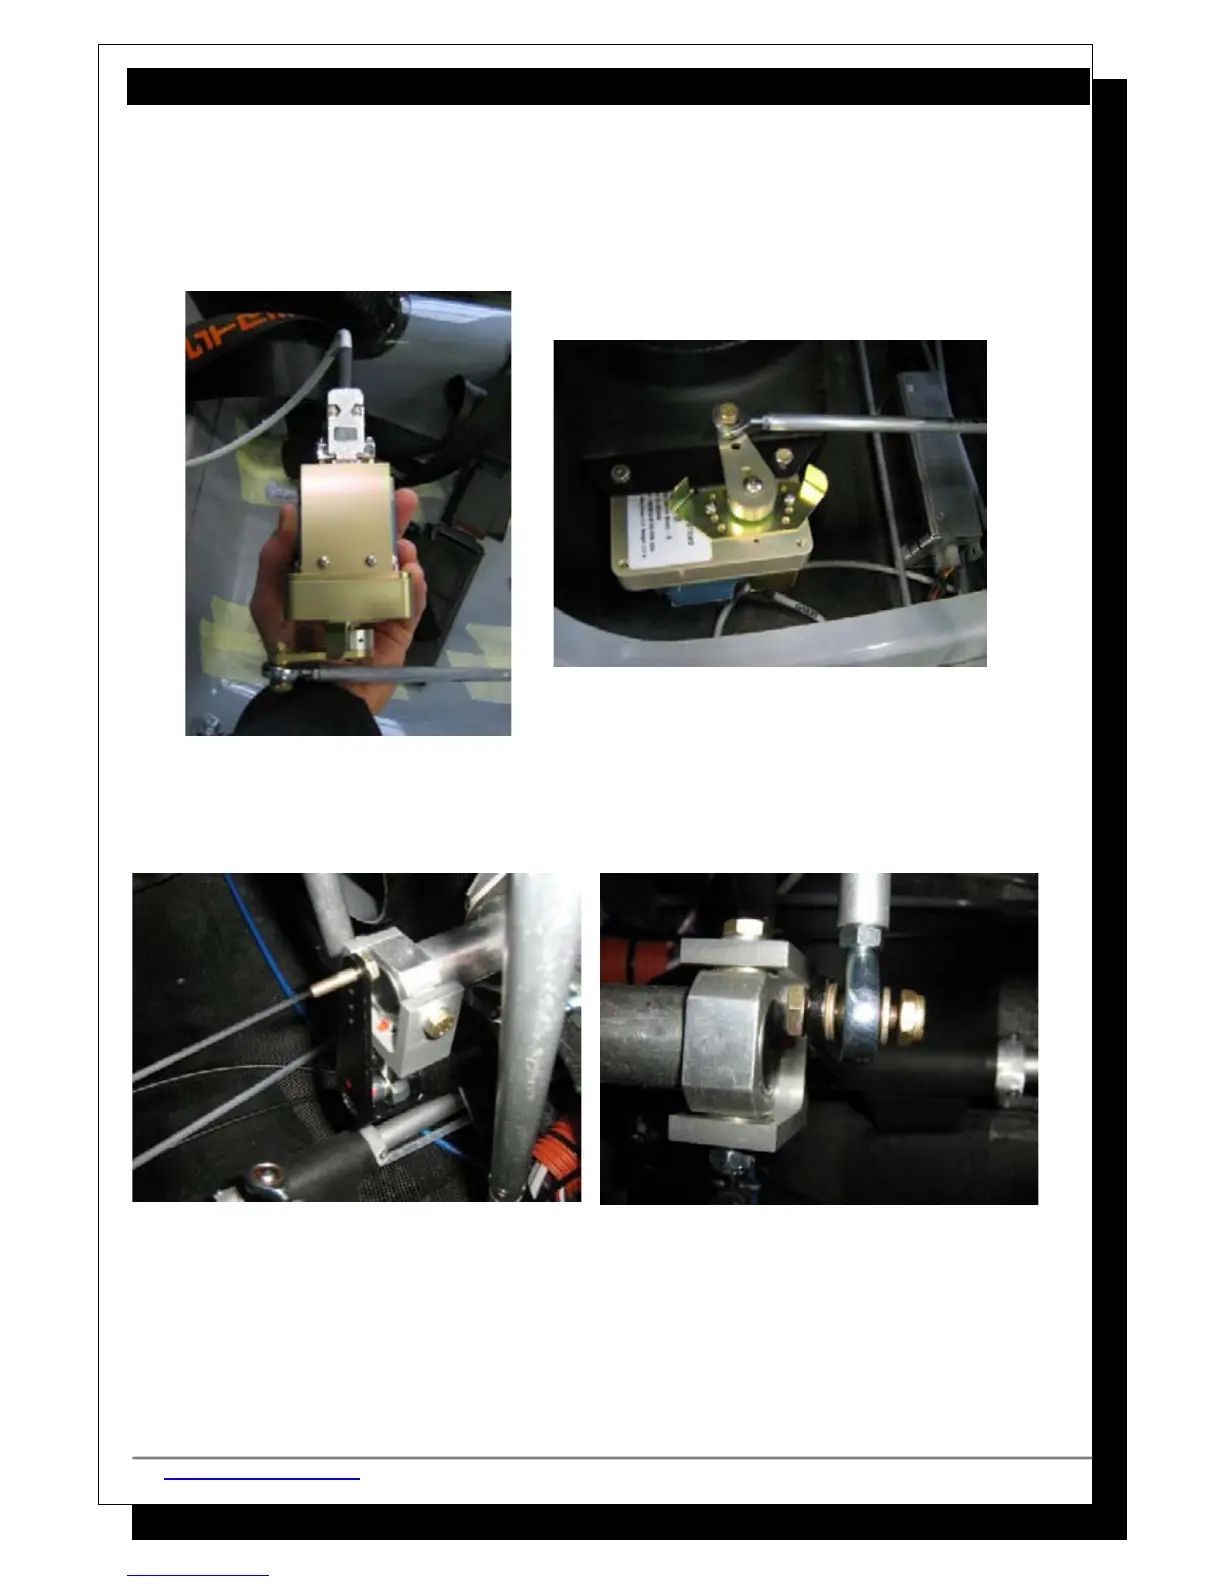
Hook up the pitch connector to the pitch servomotor and mount it onto the mounting
bracket using the bolts and washers provided.
Now let's look at the bell crank. It comes altered with an additional arm. Temporarily fix
the other end of the servomotor's push rod to the upper hole in the bell crank's arm,
using the three washers, nut and bolt provided. See photo for correct placement order
Determine how long the push rod needs to be. This can be done by adjusting the nuts at
each end. Adjust them, so that when the bell crank is in it's extreme right or left
position, the servomotor's arm does not touch either of the blocking tabs.
When this completed apply Loctite 243 to the bolt, which holds the push rod to the bell
crank arm. Mark all permanent fixations with red paint.
http://www.pipistrel.si © Pipistrel Release March 2009 © Page 244 of 267