58
BT37 MarkII: Service Manual MA200606 1.0.0
Component replacement
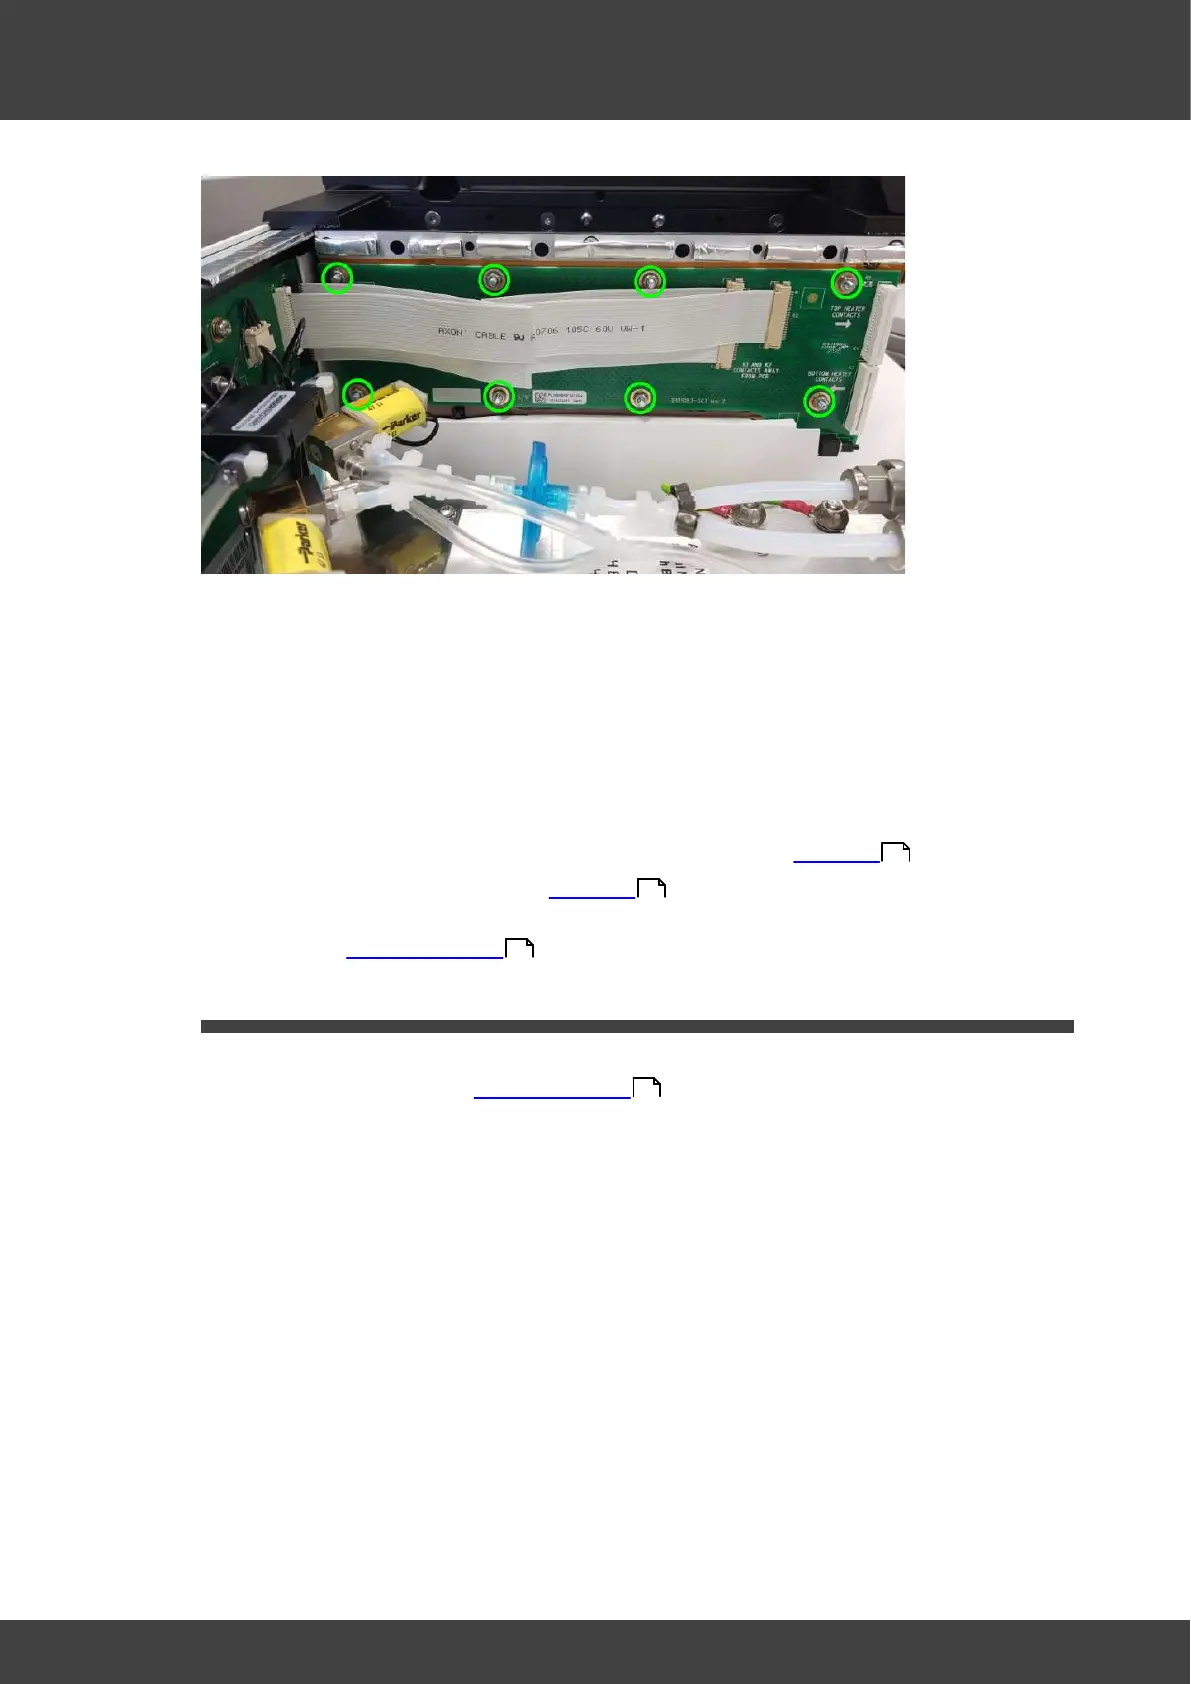
Fig.1 location of nuts and washers to remove
4) There is an insulating kapton film sheet between the right humidifier printed circuit
board and the humidifier assembly metalwork. Ensure this is left in place when the
board is removed.
5) Position the replacement right humidifier pcb over the fixing studs so that the the
kapton film sheet is sandwiched between the circuit board and the humidifier
metalwork.
6) Refit the nuts and washers and screws that were removed at step 3).
7) Fit the humidifier assembly back into the enclosure as detailed in Humidifier .
9) Re connect the battery as detailed in Humidifier
10) Refit the left and right hand lid assemblies and rear panel of the incubator as
described in Opening the BT37 .
3.13 Lower heater plate
1) Remove the rear panel and chamber assembly that contains the lower heater plate to
be replaced, as described in Opening the BT37 . The lower heater board to be
replaced can be seen attached to the lower surface of the chamber assembly that has
just been removed.
2) Remove the two pozi-pan screws that secure the shielded multi-way FCC cable that
connects to the upper heater board. Remove the clamping bar and insulating plate,
see Fig.1a for RH side and Fig.1b for LH side.
54
54
36
36