87
BT37 MarkII: Service Manual MA200606 1.0.0
Component replacement
Fig 4 - Damper preset gauge & indicator assembly
4. Gently rotate damper indicator ant-clockwise to take up any play between the
indicator and damper. Rotate Damper gauge so the point on the indicator line up with
the single dot on the gauge. By holding the gauge firmly rotate the indicator to the
double dot position. The damper is now preset.
5. Now place damper housing end cap into damper housing and secure with 3mm pan
pozi plas-tech 30 screw.
Setting right hand side damper
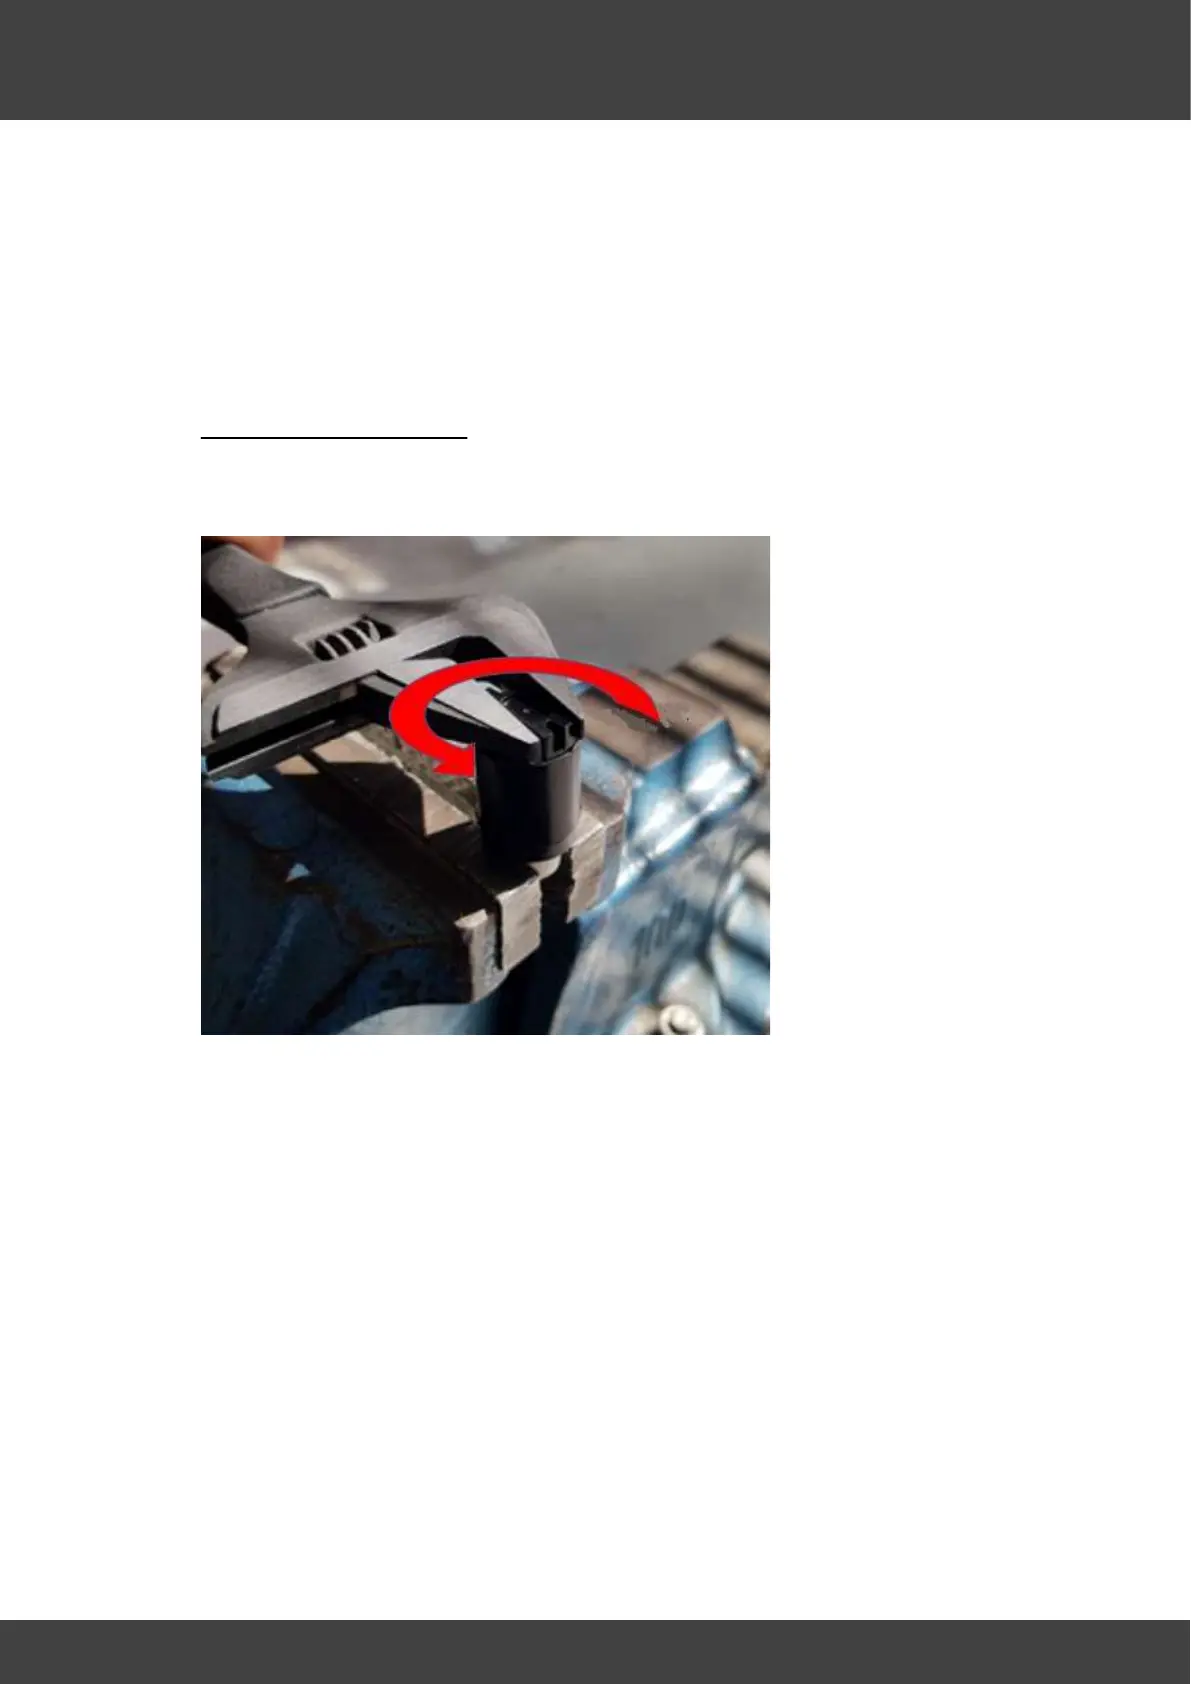
6. Place rotatory damper (PA200165) in vice as shown Fig.1, rotate housing with
adjustable spanner anticlockwise until you feel a resistance and come to it’s end
stop. Fig.5 (Note: Do not rotate further then the end stop as damper will be damaged.)
Fig 5: Rotating damper housing
7. Close & lock incubator lid, then insert damper fully into damper housing ensuring
shoulder screw engages fully with damper. See Fig.3.
8. Place damper preset gauge and preset indicator onto damper housing making sure
preset indicator engages with damper, refer to Fig.4.
9. Gently rotate damper indicator clockwise to take up any play between the indicator
and damper. Rotate Damper gauge so the point on the indicator line up with the
double dot on the gauge. By holding the gauge firmly rotate the indicator to the single
dot position. The damper is now preset.
10. Now place damper housing end cap into damper housing and secure with 3mm pan
pozi plas-tech 30 screw.
 Loading...