Polycom® RealPresence Collaboration Server 800s Getting Started Guide
2-4 Polycom, Inc.
— Two LAN cables
— Rack-mount kit
— Bezel assembly and key
— RealPresence Collaboration Server 800s recovery DVD (included for recovery
purposes; this software is already installed on the server)
— A USB memory stick with hardware diagnostic utilities (to be used only under the
direction of Polycom® Global Services)
— A USB memory stick which contains the LAN Configuration Utility, support
utilities and documentation.
4 Examine the contents for damage. Again, if you find damage, file a claim with the
delivery carrier.
5 Unpack your system and identify each item. Keep all shipping materials in case you
need them later.
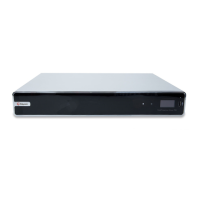
Hardware Installation and Rack Mounting
1 Read the “Safety Instructions” in the Rack Installation Guide and then use the brackets
provided to install the system in the rack.
2 Assemble the rails and install the system in the rack following the safety instructions
and the rack installation instructions provided with your system.
3 Connect the system’s power cable(s) to the system.
4 Plug the other end of the cable into a grounded electrical outlet or separate power
source such as an uninterrupted power supply (UPS) or a power distribution unit
(PDU).
5 (Optional) Install the bezel.