Poseidon SE7EN+ User Manual Chapter 1 Page 1
Chapter 1 – Preparation and Assembly
Part 1 – Preparation
This chapter describes the steps to assemble and prepare the Poseidon
SE7EN+ for diving. The SE7EN+ is a modular device with several key systems.
Each of these systems is described in a sequence that naturally follows the
way one would service the rig.
An overview of the Poseidon SE7EN+
Throughout this manual, the terms “left”, “right”, “front”, and “back” refer to
specic areas of the Poseidon SE7EN+. Figures 1-1 and 1-4 illustrate these
locations and the main systems of the Poseidon SE7EN+. The “left” side of
the rig corresponds to a diver’s left side when wearing the rig normally; the
“right” side of the rig corresponds to the right side of the diver when wearing
the rig normally. The “front” of the SE7EN+ is the location furthest in front of a
diver’s chest when wearing the rig normally; the “back” of the SE7EN+ is the
location furthest behind the diver’s back when wearing the rig normally. Fol-
lowing is a brief description of each of the major components.
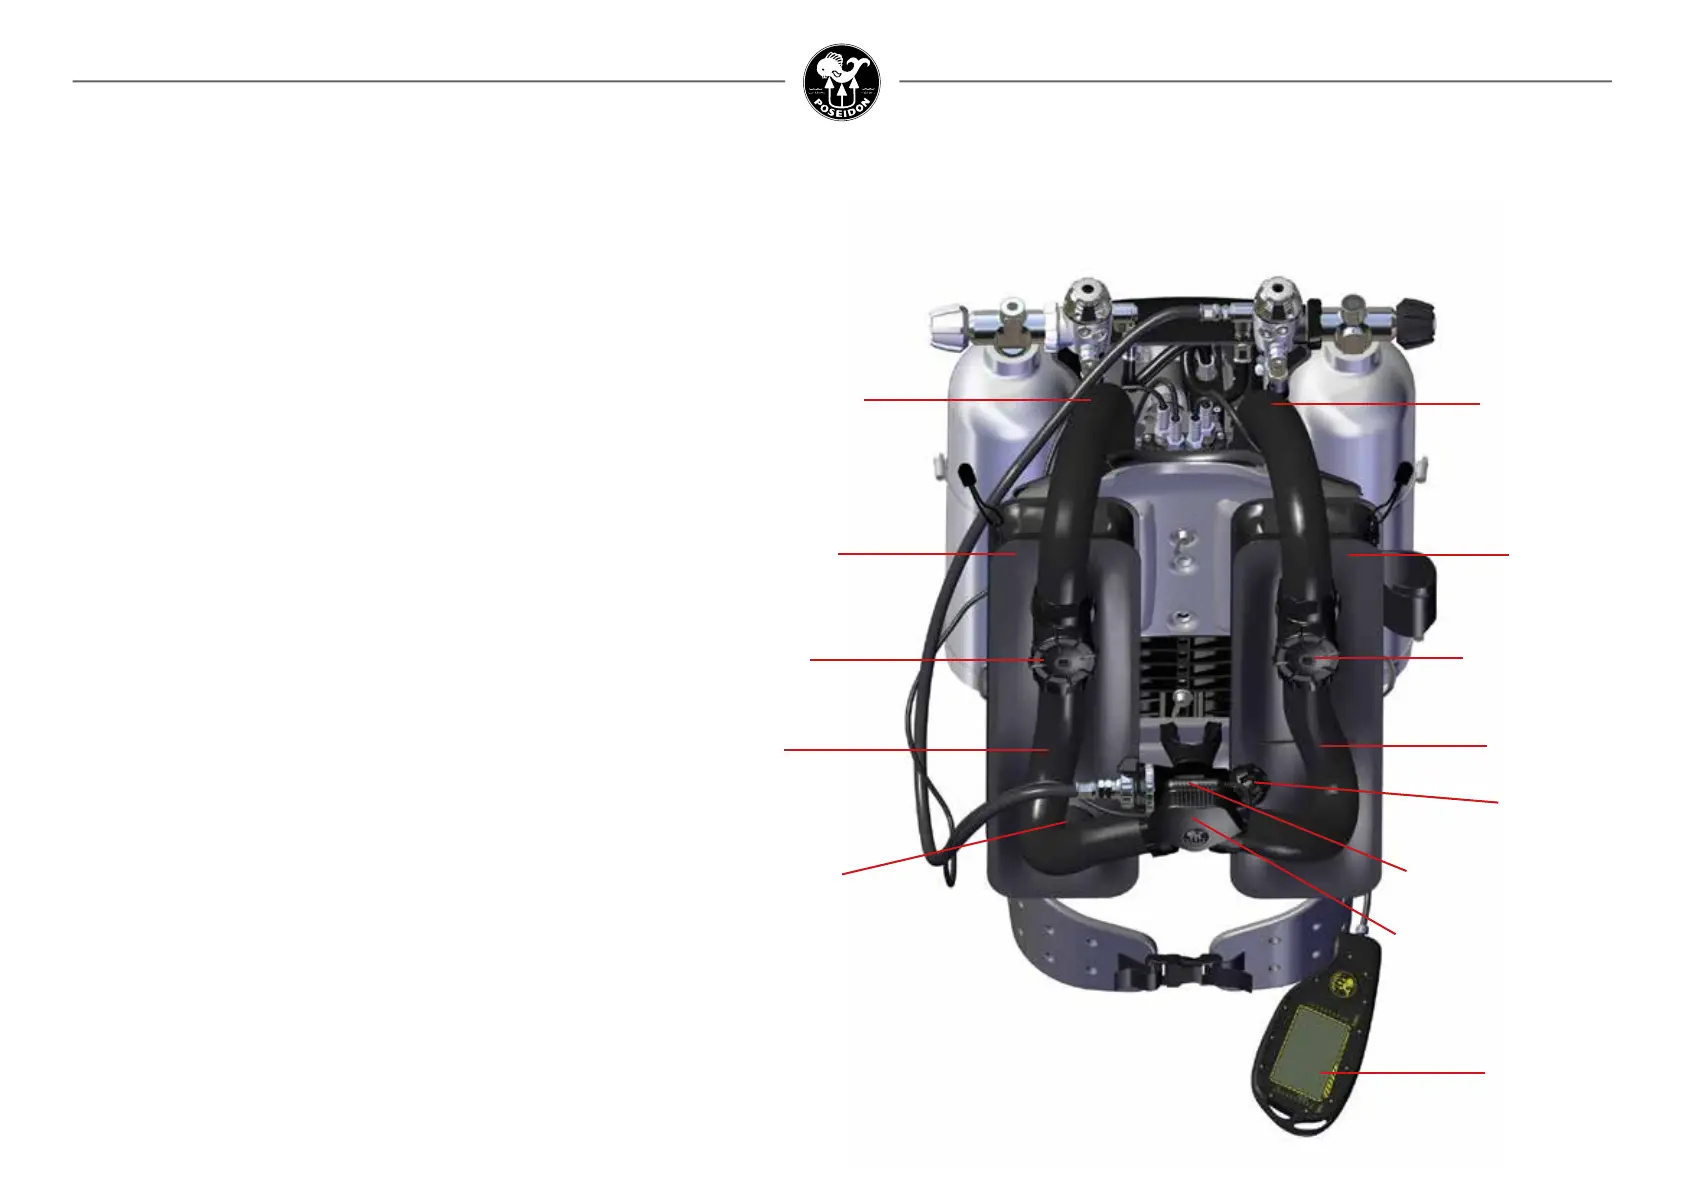
Figure 1-1. Front view of assembled Poseidon SE7EN+.
Right rear
breathing hose
Right side water
diversion
manifold
Right side
(exhalation)
counterlung
Right front
breathing
hose
Counterlung
Over
Pressurization
Valve (OPV)
Head up display (HUD)
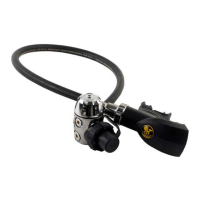
Closed circuit/open circuit
convertible mouthpiece
incl. Auto diluent
addition valve (ADV)
Purge Button
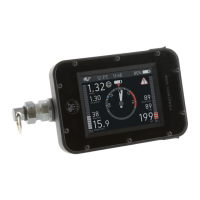
Primary display
Left front
breathing hose
Left side
(inhalation)
counterlung
Left side water
diversion manifold
Left rear
breathing hose
Primary display
The Poseidon SE7EN+ is equipped with a custom glass liquid crystal display
(LCD) with large, bright, crisp letters for easy reading at a glance underwater.
It is designed specically for recreational divers and presents only the informa-
tion needed for safe operation. It includes an automatic high efciency back-
light that illuminates the panel when ambient light levels are low. Two wet-
switch contacts on the back of the display activate the SE7EN+ electronics.