© 2006 Schneider Electric All Rights Reserved
PowerLogic
®
Series 800 Power Meter 63230-500-224A1
Chapter 7—Minimum Setup 6/2006
EN–54
ENGLISH
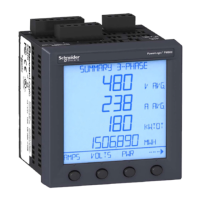
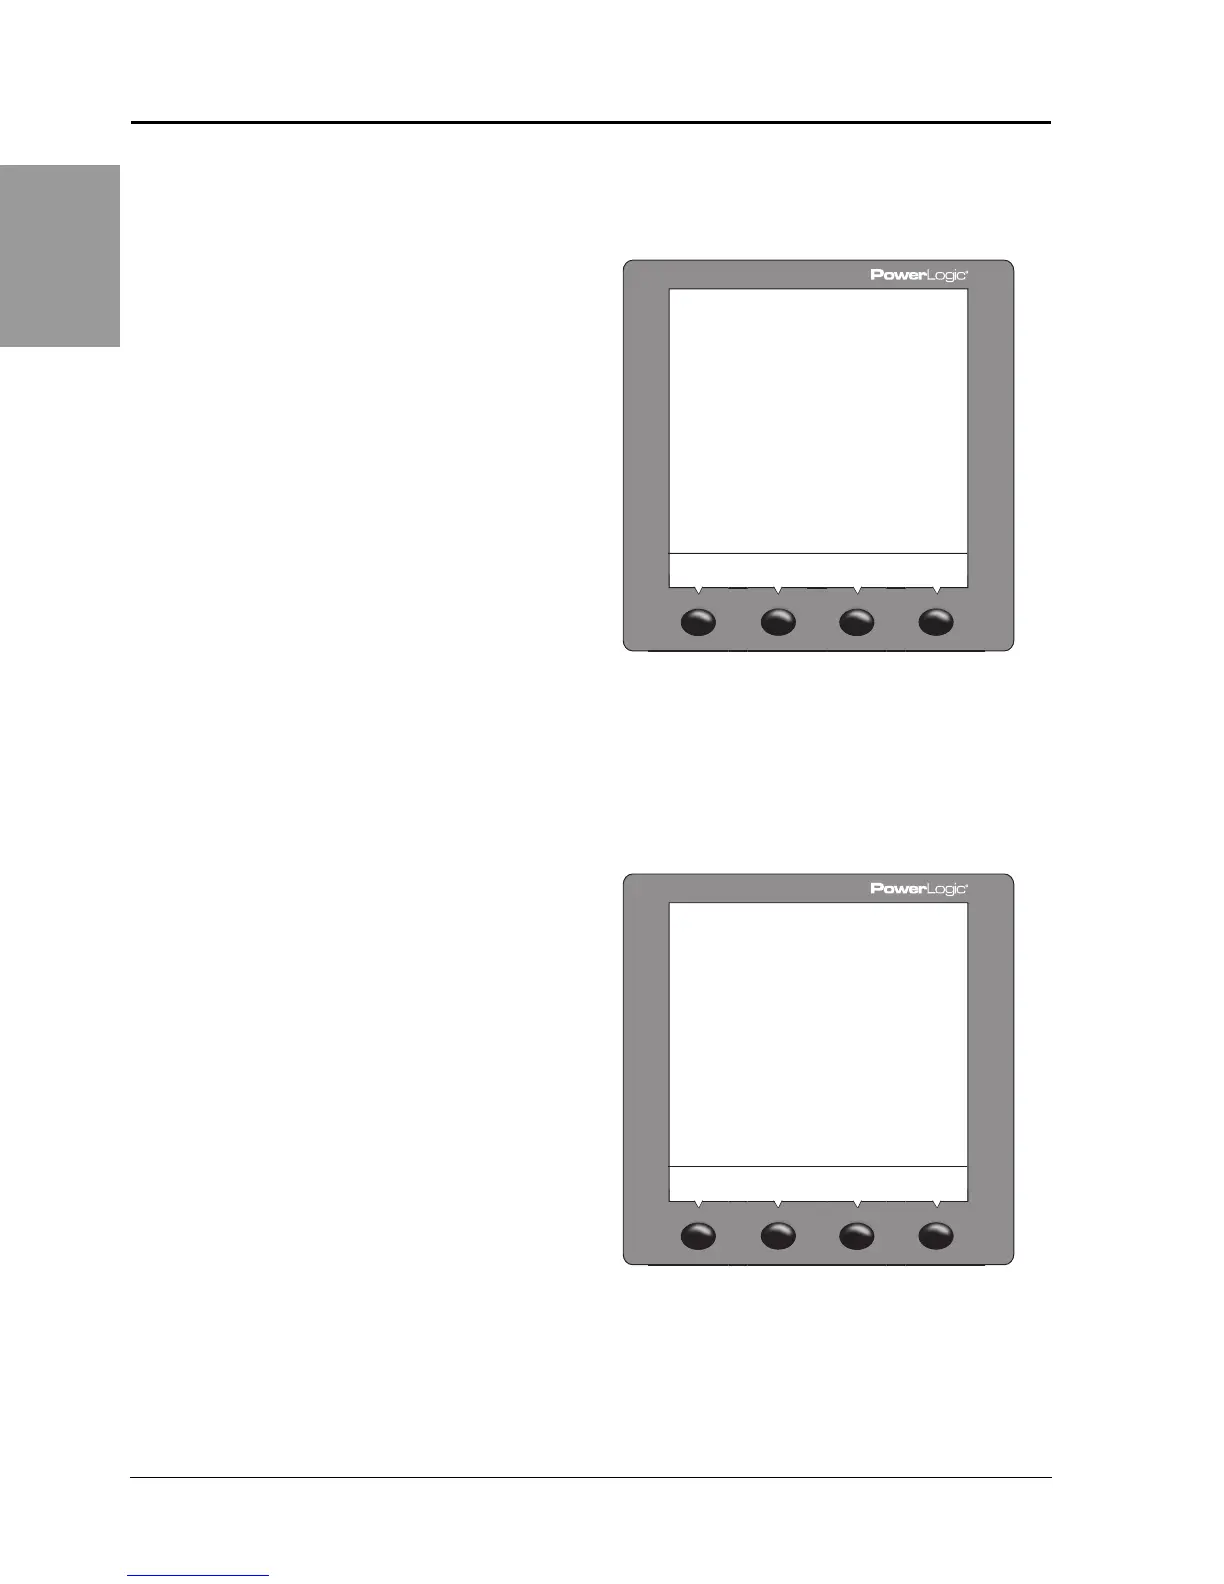
Power Meter With Remote Display Communications Setup
Comm1 Setup
Comm2 Setup
1. Press ###: until COMMS
(communications) is visible.
2. Press COMM1 (communications).
3. Select the protocol: MB.RTU (Modbus
RTU), Jbus, MB. A.8 (Modbus ASCII 8
bits), MB. A.7 (Modbus ASCII 7 bits).
4. Press OK.
5. Enter the ADDR (power meter address).
6. Press OK.
7. Select the BAUD (baud rate).
8. Press OK.
9. Select the parity: EVEN, ODD, or NONE.
10. Press OK.
11. Press
1; until you are asked to save your
changes.
12. Press YES to save the changes.
#/--3%450
/+
!$$2
A@T$
.N.D
-"245
PLSD110100
1. Press ###: until COMMS
(communications) is visible.
2. Press COMM2 (communications).
3. Select the protocol: MB.RTU (Modbus
RTU), Jbus, MB. A.8 (Modbus ASCII 8
bits), MB. A.7 (Modbus ASCII 7 bits).
4. Press OK.
5. Enter the ADDR (power meter address).
6. Press OK.
7. Select the BAUD (baud rate).
8. Press OK.
9. Select the parity: EVEN, ODD, or NONE.
10. Press OK.
11. Press
1; until you are asked to save your
changes.
12. Press YES to save the changes.
#/--3%450
/+
!$$2
A@T$
%6%.
-"245
PLSD110273