PreSonus StudioLive
™
24.4.2
102
Quick Start:
Level
Setting
Overview Controls Scenes,
Presets &
System
Menu
Technical
Information
Tutorials Trouble-
shooting
& Warranty
Connecting
to a
Computer
Owner’s Manual
103
Quick Start:
Level
Setting
OverviewControlsScenes,
Presets &
System
Menu
TutorialsTechnical
Information
Trouble-
shooting
& Warranty
Software
Universal Control,
Capture, and
Studio One Artist
Hookup
Hookup
Software
Universal Control,
Capture, and
Studio One Artist
Connecting
to a
Computer
SOFTWARE: Universal Control, Capture, and Studio One Artist 7
Capture 7.37.3 Capture
7 SOFTWARE: Universal Control, Capture, and Studio One Artist
each corresponding input channel on the StudioLive mixer. Thus, with
the FireWire returns engaged for each input channel on your StudioLive
mixer, the output of your multitrack Capture Session is routed to the
StudioLive mixer, where it can be mixed just like any other audio input.
Creating a Mix
The process of creating a mix with Capture and the StudioLive
mixer is quite simple. You play back your recorded tracks through
the StudioLive and record the main output of the StudioLive to the
Auxiliary Stereo Track in Capture. The process works as follows:
1. In VSL, select "Main L/R" for Auxiliary Inputs 25 and 26.
2. Be sure Record Arm is disabled for all input Audio
Tracks in Capture, and the FireWire returns for all input
channels on the StudioLive mixer are engaged.
3. In Capture, select the Auxiliary Stereo Track
(25 and 26) and enable Record Arm.
4. Bring the playback cursor position to the beginning of the Session
by clicking the Back to Beginning button in the Transport.
5. Activate recording by clicking on the Record button in the Transport;
the playback cursor should begin to move from left to right, and
audio should be playing through each input on the StudioLive mixer.
The Auxiliary Stereo Track in Capture should be recording a new
Audio Event, which is the main mix from the StudioLive mixer.
The new Audio Event that has been recorded from the
StudioLive mixer will be stored as a stereo WAV le at the
sample rate to which the StudioLive mixer is set.
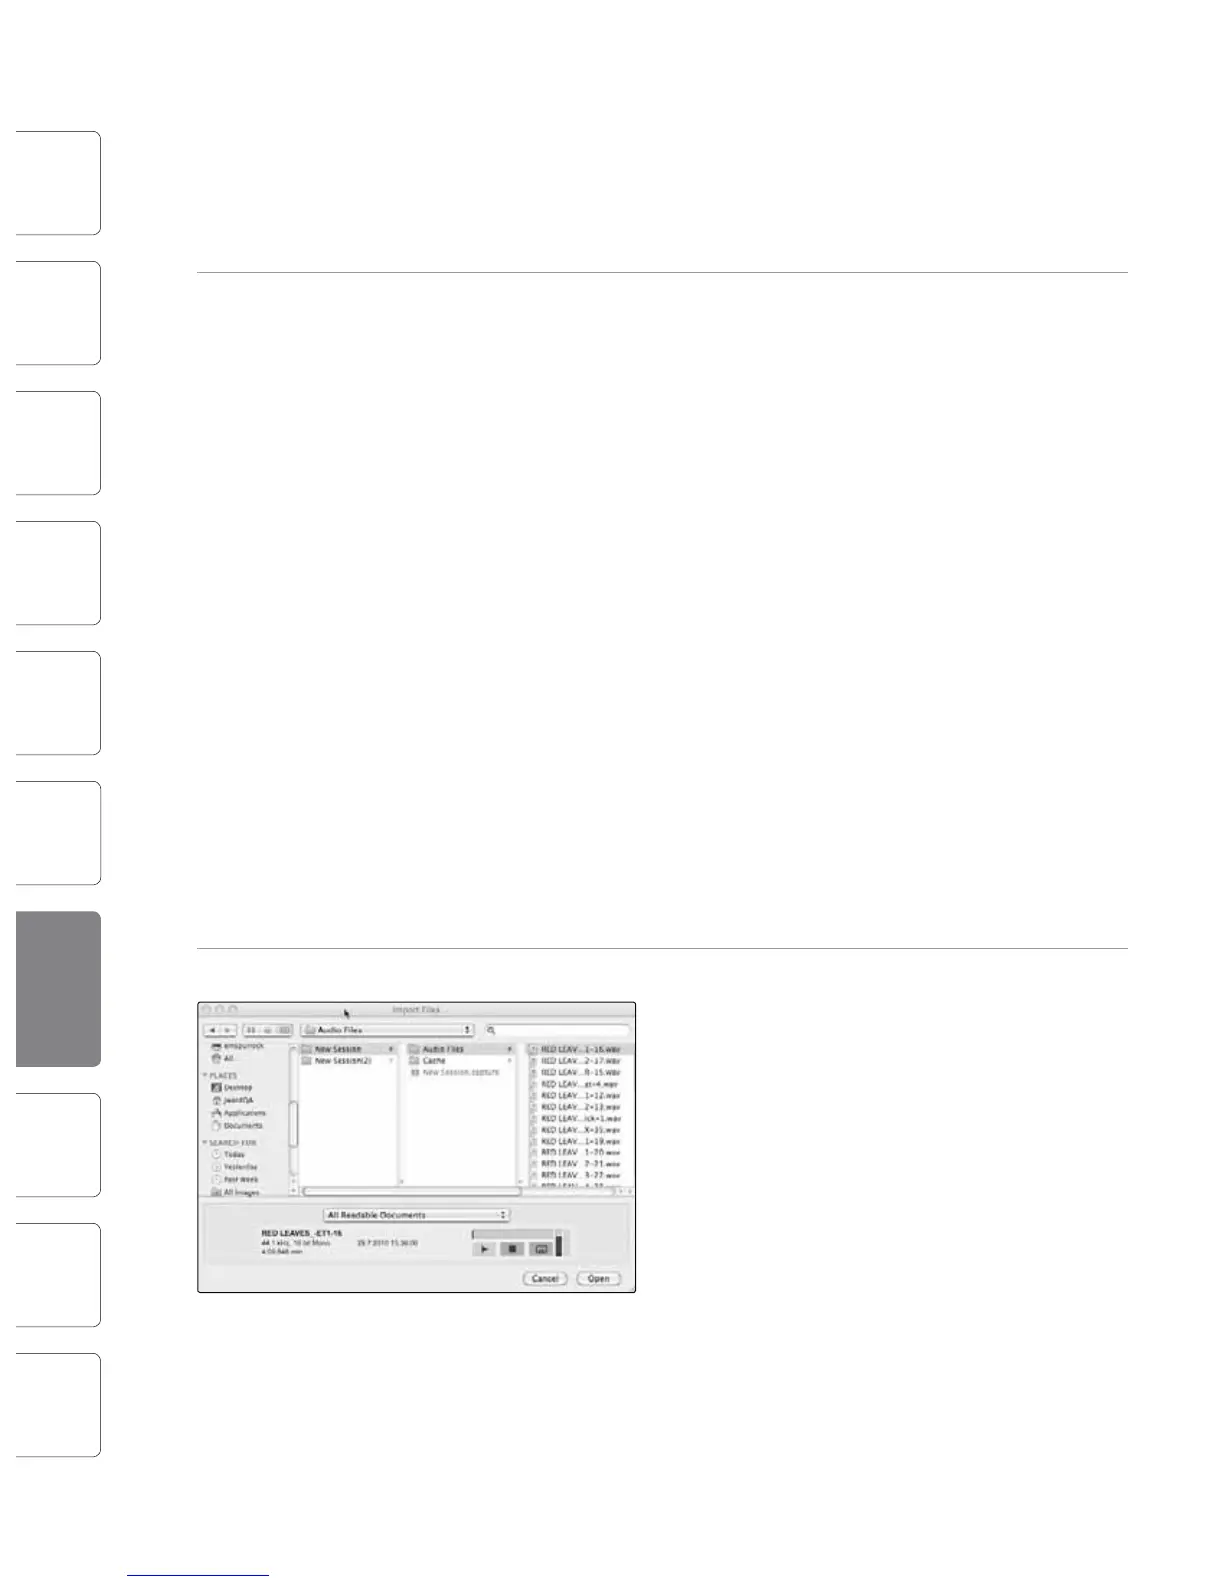
Importing Audio Files
It is possible to import WAV and AIFF audio les into
your Session. To import an audio le, select Import
Audio File from the Session menu to open the Import
File menu. Browse to the desired le and click on it to
select it. Then click on Open to import the le into
your Session.
An Audio Event for the imported le will be created
and placed on the currently selected track in your
Session, at the current playback cursor position.
Preview Player
When browsing for les in the Import File menu, it is
possible to listen to the audio les as you are browsing
in the Preview Player. Click the Play button in the
Preview Player to play the currently selected audio le.
Click the Stop button to stop playback. Click the Loop
button to loop the playback of the currently selected
audio le.
Export Audio Files
To export audio from your Session in Capture,
navigate to Session/Export to Audio File, or press
[Ctrl]/[Cmd]+E on the keyboard to open the Export to
Audio File menu.
Location
The top section of the Export to Audio File
menu is where you will select a location and
name for the audio le. Click on the Location
button to choose a le location. Double-click
on the lename, type in a new name, and then
press Enter to choose a name for the le.
Format
Select the format of the mixdown audio le in
the middle section of the Export to Audio File
menu. Choose from Wave (WAV) or AIFF and then
choose the desired Resolution and Sample Rate.
If you wish to put your audio on a standard audio
CD, the format should be a Wave le with 16-
bit resolution and a 44.1 kHz sample rate.
Options
The bottom section of the Export to Audio File menu has
several options that will aect how the le(s) is created.
Choose from Export Session, Each Marker, or Between Selected Markers.
t The Export Session option will export the entire range
of your Session, which will be to the furthest point in
time that any Audio Event on a track extends.
t The Export Each Marker option will export separate les for
each range between the markers in the Marker Lane.
t The Export Between Selected Markers option will export an audio le(s)
between the range of any two selected markers in the Marker Lane.
 Loading...