PreSonus StudioLive
™
24.4.2
146
Quick Start:
Level
Setting
Overview Controls Connecting
to a
Computer
Scenes,
Presets &
System
Menu
Technical
Information
Trouble-
shooting
& Warranty
Tutorials
8 Tutorials Owner’s Manual
147
Quick Start:
Level
Setting
OverviewControlsScenes,
Presets &
System
Menu
Technical
Information
Trouble-
shooting
& Warranty
Tutorials
Tutorials 8
Software
Universal Control,
Capture, and
Studio One Artist
Hookup
Hookup
Software
Universal Control,
Capture, and
Studio One Artist
Connecting
to a
Computer
8.4 Subgroup Mixing
A subgroup allows you to combine multiple channels in a single bus so that
the overall level for the entire group is controlled by a single fader. In addition
to level control, the StudioLive allows you to apply the Fat Channel’s noise
gate, limiter, compression, and EQ to the group as a whole, in addition to the
processing available for each channel. Subgroups can also be soloed and muted.
You will nd many uses for subgroups that will make mixing more
convenient and will provide better control of your mix. In this section, we
explore two dierent ways in which subgroups can help you to create a
more ecient mixing environment and a more successful live mix.
8.4.1 Instrument Groups
Grouping individual instruments that create a section in your mix has obvious
advantages: The entire group can be muted or soloed, brought up or down
in a mix, and faded in or out for a more polished intro or outro. Some of the
most common submix groups are drums, backing vocals, horn sections, and
string sections. Drums are a classic application for subgroup mixing. We will
be using a drum group in this particular example but these principles can
be applied when grouping any type of instrument section in a live mix.
A drum group is especially useful when every piece in the
drum kit has a microphone on it. In this example, our drums
will be connected to the StudioLive as follows:
t Channel 1: Kick
t Channel 2: Snare Top
t Channel 3: Share Bottom
t Channel 4: Floor Tom
t Channel 5: Tom 1
t Channel 6: Tom 2
t Channel 7: Overhead Left
t Channel 8: Overhead Right
t Channel 9: Hi-Hat
1. We will create a stereo subgroup by linking Subgroups 1 and 2.
The rst step in creating a subgroup is to get a good mix of the instruments
you are grouping —in this case, the drums. With the drummer’s assistance,
set the input trim, EQ, and dynamics for each drum separately. As you select
and solo each channel, assign each channel to be routed to Subgroup 1.
2. After you have gone through the entire kit and are
satised with each channel’s level, EQ, and
dynamics, unsolo your nal channel. Have the
drummer play the entire kit and set the relative
volume and panning for each mic in the mix.
Choose the Select button above Subgroup 1.
3. In the Fat Channel’s Stereo section (to the right of the Pan display), enable
Link, and turn the Pan knob all the way clockwise to set the stereo pan to
hard left and right. Now Subgroups 1 and 2 are linked, with Sub 1 panned
hard left and Sub 2 panned hard right. The channel panning is preserved.
4. Now assign Subgroup 1 to the Main outputs; since Subgroup 2 is linked to Sub
1, it is automatically assigned to the Main outs as well. You can now use the Fat
Channel section to add dynamics processing and EQ to the stereo drum group.
Subgroup 1’s fader controls the level for the left side of your drum mix, and
Subgroup 2’s fader controls the right side. The aux bus enables you to create
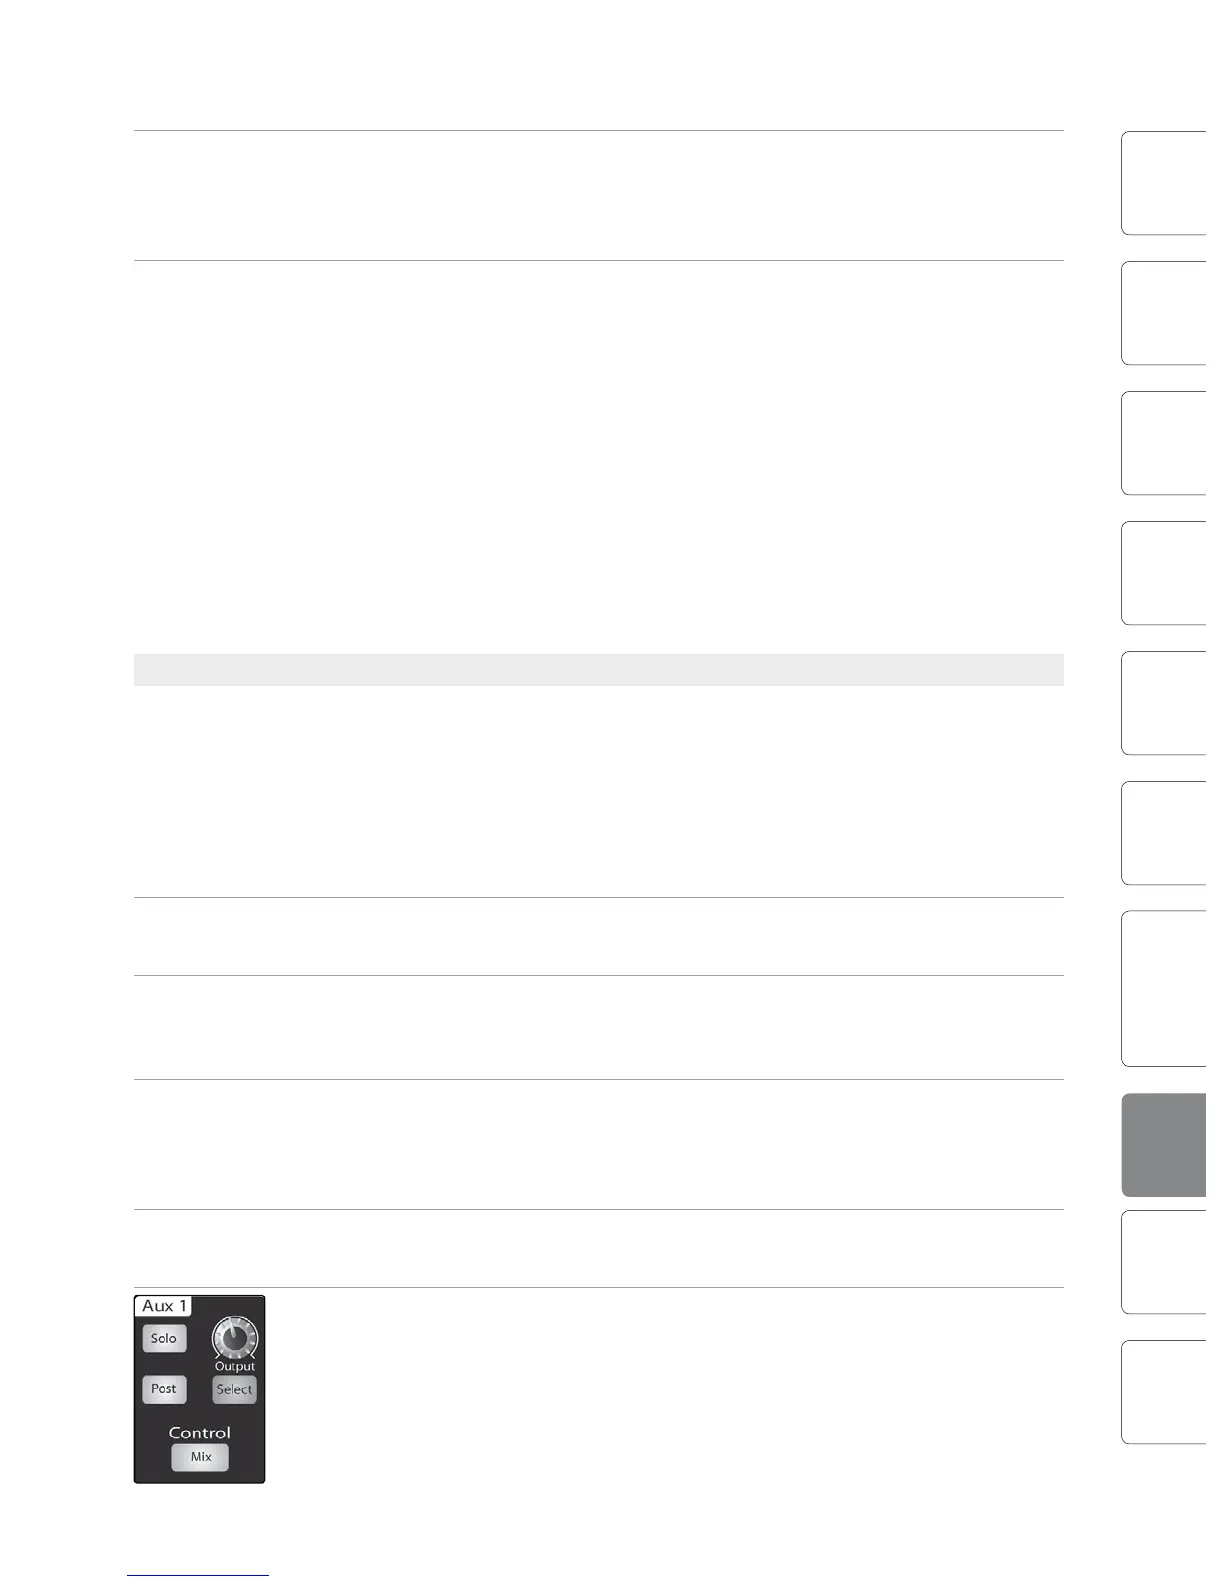
and send auxiliary mixes that are separate from the main and subgroup mixes.
The StudioLive 24.4.2 is equipped with 12 aux buses: Auxes 1 through
10, which have physical output jacks, and EFX A and B, which are the
internal eects buses. Aux buses can be used for many applications, the
two most common of which are creating monitor mixes and inserting
external eects processors into the mix. As with the subgroup buses,
the StudioLive allows you to add global dynamics processing and EQ to
these aux buses, in addition to the individual channel processing.
8.4.2 Eects Group
This is perhaps one of the most creative ways in which a subgroup can be used.
By assigning an eects mix to a subgroup, the front-of-house engineer can
become, in eect, a member of the band. This is especially useful when employing
specialty or signature eects. For instance, a typical vocal mix for an electronic
band dramatically trails o in a wash of reverb, whereas a reggae band usually has
delay on vocals. The StudioLive allows you to assign either or both of the onboard
eects buses to a subgroup. So let’s take the example of the reggae band.
1. In this example we will assign the delay on EFX A (eects bus A) to Subgroup 3.
Press the FX button in the Master Control section to access the Eects menu.
2. In the EFX A parameters, use the Value Encoder to scroll through the
eects library until you nd a suitable delay, and adjust its parameters
to taste. (See Section 4.8.1 for complete operation instructions.)
3. Next, decide which channels should be sent to the eects bus. In
dub and reggae music, the vocals are most commonly sent to a
delay, so let’s send our two vocalists on channels 10 and 11 to that
delay. To assign the vocals, select the Mix button on EFX A.
4. Using the meter section, locate the send encoders for channels
10 and 11 and turn them to a little more than 50%.
5. Press the Select button for EFX A and assign this bus to Subgroup 3 and to the
Main outputs. If you like you can also add some dynamics processing and EQ at
this point.
8.4 Subgroup Mixing Subgroup Mixing 8.4