PreSonus StudioLive
™
24.4.2
46
Quick Start:
Level
Setting
Overview Connecting
to a
Computer
Scenes,
Presets &
System
Menu
Technical
Information
Tutorials Trouble-
shooting
& Warranty
Controls
4 Controls
46
Owner’s Manual
47
Quick Start:
Level
Setting
OverviewScenes,
Presets &
System
Menu
TutorialsTechnical
Information
Trouble-
shooting
& Warranty
Controls
Controls 4
47
Software
Universal Control,
Capture, and
Studio One Artist
Hookup
Hookup
Software
Universal Control,
Capture, and
Studio One Artist
Connecting
to a
Computer
Master Section 4.74.7 Master Section
Talkback Mic Level Controls the Overall Level of the Talkback Mic.
This knob controls the overall volume of the external talkback mic input. The trim
for the Talkback mic is located on the back panel next to the input. See Section 3.1
for details.
Output Selector Buttons Assigns the Talkback Mic to the Aux and/or Main Outs.
These buttons assign the talkback mic to a specied output. These buttons are
toggled on/o and will illuminate indicating that the Talkback output is active. The
talkback mic can be assigned to every output at the same time.
Talkback Button Turns the Talkback Mic On and O.
This latching button turns the talkback mic on and o. It will illuminate to indicate
that the talkback mic is active.
4.7.3 2 Track In
The 2 Track input allows you to patch in an analog input or a playback stream
from your audio application. This enables you to compare audio sources during
mixdown or patch in intermission music between bands without using any
of your 24 input channels. This is a summing bus, so both the external tape
input and the two-track FireWire return can be engaged at the same time.
2 Track In Volume Adjusts the Level for the Tape Input.
Control
This knob adjusts the level for both the tape input and the main FireWire return.
Tape Input On/O Sends the Tape Input to the Main Outputs.
Button
This button patches the Tape input to the main outputs. It will illuminate to
indicate that the Tape input is being sent to the mains. To disable the routing,
simply press the button again.
FireWire Source On/O Sends the Master Out from the Audio Application to the Mains.
Button
This button routes the main left/right FireWire returns (Outputs 25 and 26) to the
main outputs. It will illuminate to indicate that the main FireWire return is being
sent to the main outputs of the StudioLive. To disable the routing, simply press the
button again. For more information on using the main FireWire returns, please
consult Sections 6.4.2, 6.4.4, and 6.4.5.
4.7.4 Solo Bus
The StudioLive features a Solo bus for exible monitoring. In this
way, you can ne-tune a vocal compressor in your control-room
monitors or headphones while the rest of the band is warming up
or audition an aux mix for more accurate adjustments. For more
information on using the Solo bus, please review Section 8.8.
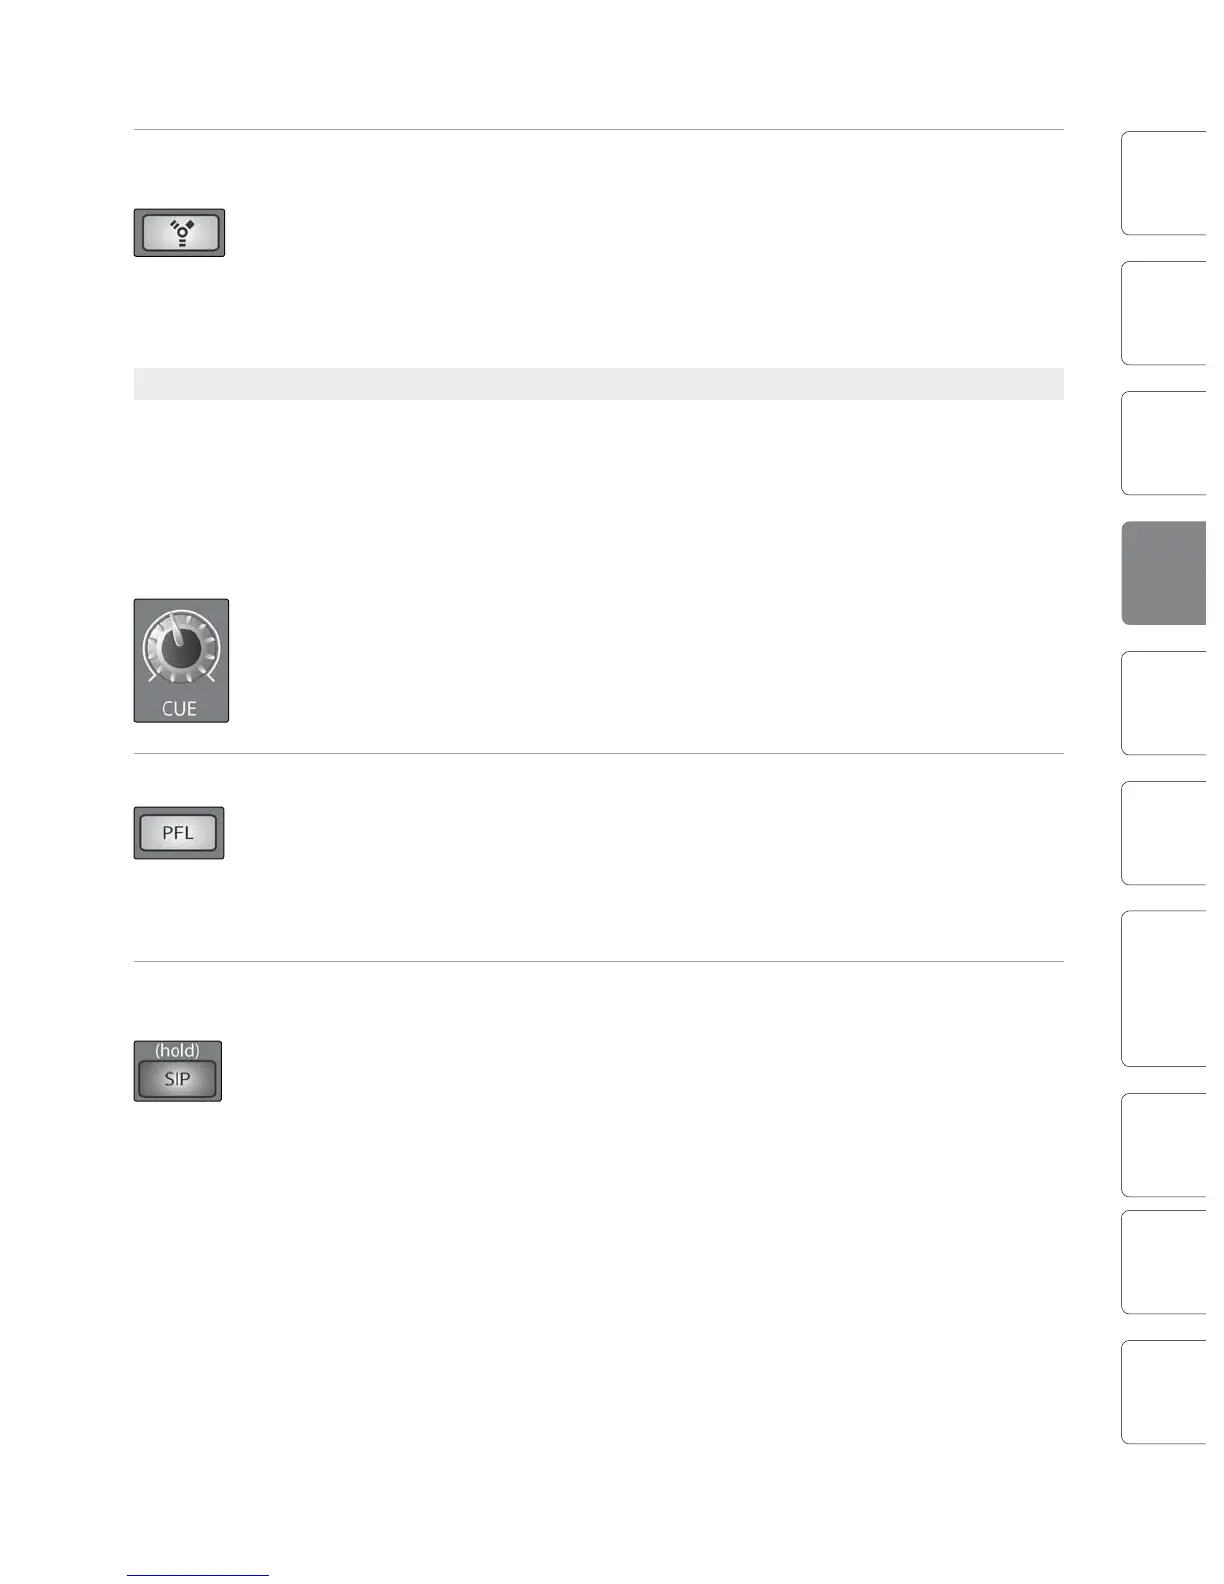
Cue Mix Volume Control Adjusts the Overall Volume of the Solo Bus.
This knob adjusts the overall level for the Solo bus.
.
PFL/AFL Toggle Button Enables PFL Solo Mode.
The default setting for the Solo bus is After-Fader Listen (AFL); by pressing PFL,
Pre-Fader Listening is enabled. In either mode, pressing Solo on any channel or bus
routes that channel to the Solo bus and has no eect on the main or subgroup
mixes. PFL soloing is not available for the Subgroups. The Aux bus soloing is always
PFL, regardless of whether this mode is enaged.
SIP (Solo In Place) Enables Solo In Place Mode.
On/O Button
SIP (Solo In Place), or “destructive soloing,” mutes every unsoloed channel on the
StudioLive. If one of the muted channels is routed to the mains or a subgroup, it
will be muted in those outputs. This also applies to soloed channels: The output
routing is still active. Note that while you can manually unmute a channel, this
mode should be used with extreme caution during a live performance. Only the
input channels can be placed into destructive soloing. The Subgroups and Aux
buses are omitted from SIP mode.
To enable SIP, press and hold the button until it illuminates red. This
ensures that you cannot enter into destructive Solo mode by accident.
When SIP is engaged, channel mutes will only apply to the Subgroup and
Main assignments. SIP does not mute input channels in Aux Send mixes.