PreSonus StudioLive
™
24.4.2
68
Quick Start:
Level
Setting
Overview Controls Scenes,
Presets &
System
Menu
Technical
Information
Tutorials Trouble-
shooting
& Warranty
Connecting
to a
Computer
Owner’s Manual
69
Quick Start:
Level
Setting
OverviewControlsScenes,
Presets &
System
Menu
TutorialsTechnical
Information
Trouble-
shooting
& Warranty
Software
Universal Control,
Capture, and
Studio One Artist
Hookup
Hookup
Software
Universal Control,
Capture, and
Studio One Artist
Connecting
to a
Computer
Connecting to a Computer 6
Using Your StudioLive as an Audio Interface 6.46.4 Using Your StudioLive as an Audio Interface
6 Connecting to a Computer
6.4.3 Using Plug-In Eects As Inserts
FireWire streaming on your StudioLive is continuously bidirectional. This means
that the StudioLive is always sending signals from the direct FireWire sends on all
24 input channel, as well as from the auxiliary inputs and buses assigned to the
second bank of eight FireWire sends. At the same time, the StudioLive is receiving
signals back from the 26 FireWire returns. Because the FireWire returns always
come back to their respective StudioLive channels, you can quickly insert a plug-in
from your recording application into any channel strip and monitor it in real time.
In this example, we will insert the Beat Delay plug-in from PreSonus Studio One
onto Channel 16 of the StudioLive.
1. To begin, create a mono audio track in Studio One. Assign its input to
Channel 16 and its output to Output 16. (Several DAW applications,
including Apple Logic™, do not oer mono output buses. If this is the
case, you must route the output stream to Channels 15-16 and pan the
channel all the way to the right so that it will only be sent to output 16.
Please consult your software’s user manual for specic instructions.)
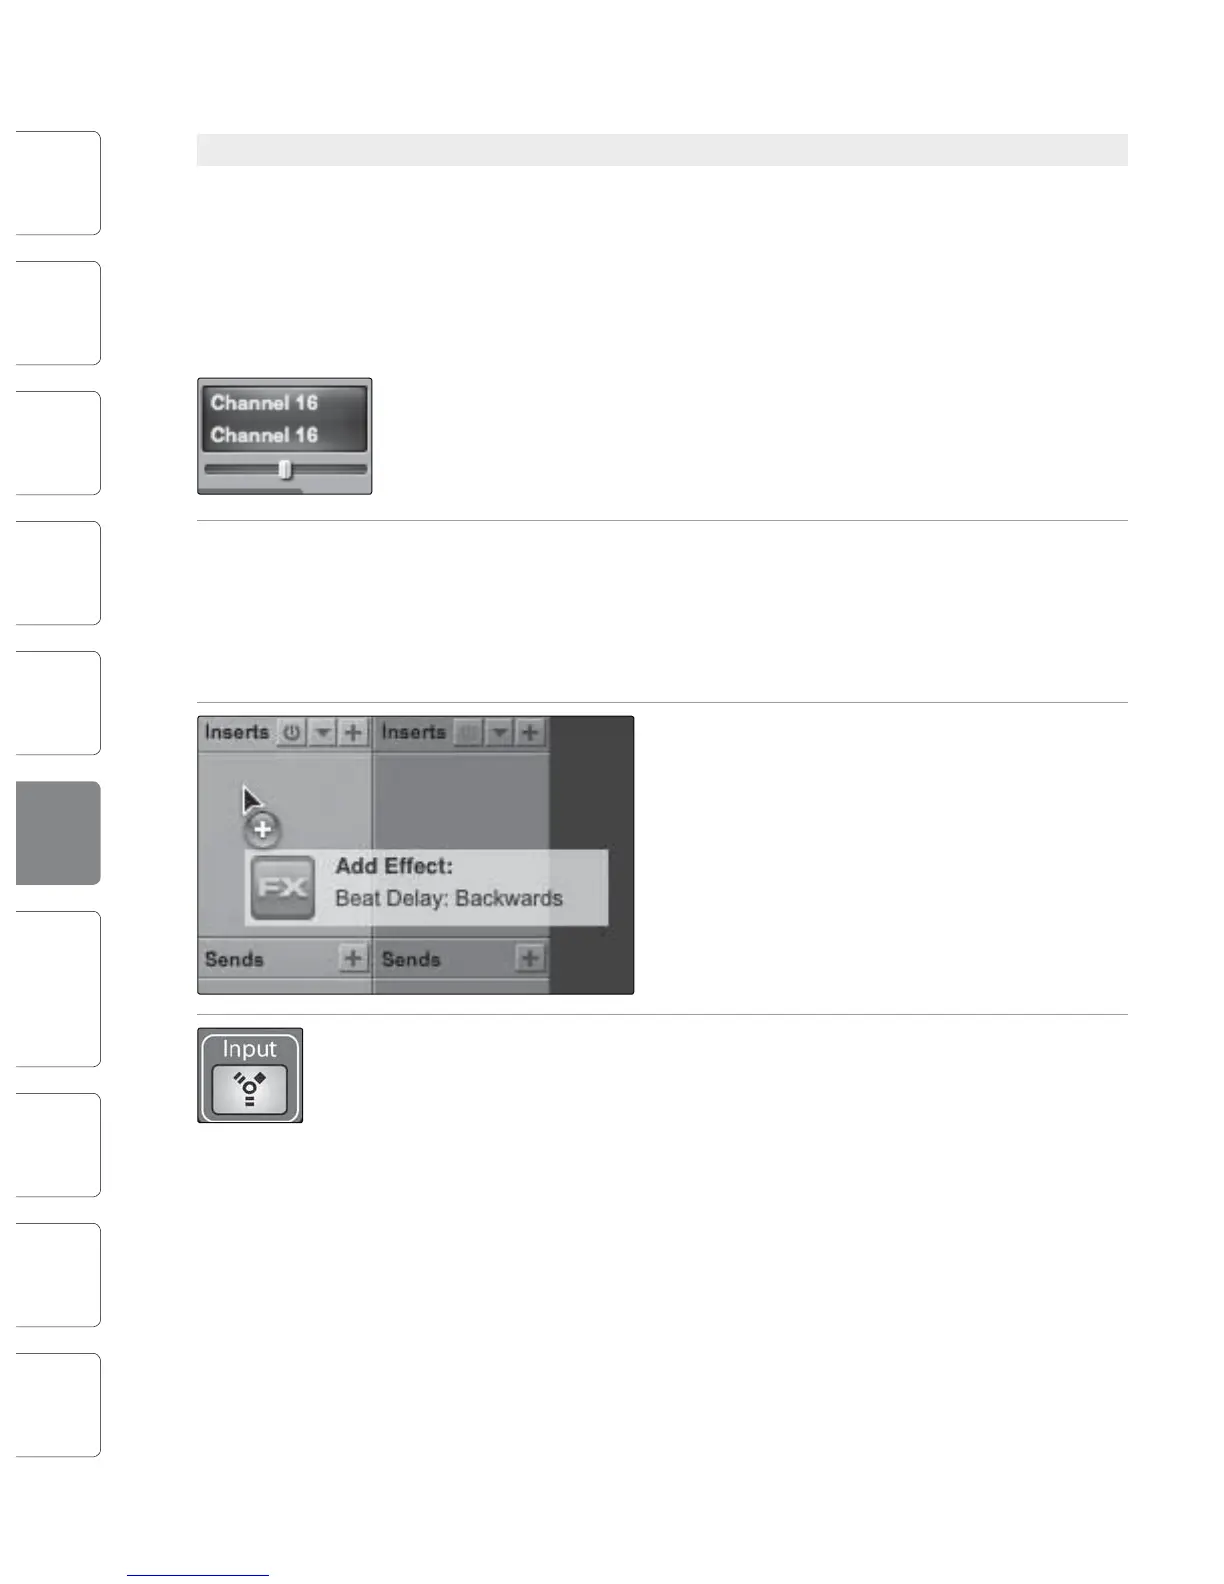
2. Once you have the routing set up in Studio One,
drag-and-drop the Beat Delay plug-in onto your
track and record-enable it. Software monitoring will
be enabled automatically.
3. Press the FireWire Return Input button on Channel 16 of your StudioLive. You can
now monitor your analog signal with your inserted eect as you record from any
of the output buses on the StudioLive.
A Quick Note About Printing Fat Channel Dynamics and EQ
You probably will want to use the Fat Channel dynamics processing and EQ during
post-production. The question is how to print these changes to your recording.
An easy way to do this is through the subgroup FireWire returns. Begin by routing
a playback stream to an individual channel on the StudioLive from within your
recording application. With the FireWire return selected as the signal source
for that channel, press the channel's Select button and assign the channel to a
subgroup bus, ensuring that only that channel is routed to the subgroup. You can
then process the playback stream through the Fat Channel for both the individual
channel and for the subgroup. In your recording software, assign the subgroup
as an input source for a new track and record it. The unprocessed track can then
either be removed from the session or used in tandem with the processed track as
an eect. The exible routing and mixing capability of the StudioLive provides you
with an arsenal of tools previously unavailable to “in the box” mixes. Don’t be afraid
to test the limits of modern mixing techniques and to create a few of your own!
Note: The Dig Out button does not function when you have a FireWire return selected
as an input source. If Dig Out is enabled, any aux, subgroup, and the main bus to which
the return is routed will not receive the post-Fat Channel signal. The unprocessed signal
will still be routed to these buses, as well as to the FireWire bus, but the Fat Channel
processing will not.
If you wish to add Fat Channel processing to a FireWire return, you must disable Dig
Out.
6.4.4 Advanced WDM Features (PC only)
Like the FireStudio-family interfaces, the StudioLive features advanced WDM
features to enhance its use as an audio interface. In the upper left-hand
corner of the Universal Control Launcher window, you will nd the Settings
menu. From here, you can congure your WDM input and output streams. For
more information on Universal Control, please consult the next section.
Mac users: Please skip to the next section for important information
about using your StudioLive as your main Core Audio device.
1. In the Launch window, go to Settings | WDM setup.