PreSonus StudioLive
™
24.4.2
150
Quick Start:
Level
Setting
Overview Controls Connecting
to a
Computer
Scenes,
Presets &
System
Menu
Technical
Information
Trouble-
shooting
& Warranty
Tutorials
8 Tutorials Owner’s Manual
151
Quick Start:
Level
Setting
OverviewControlsScenes,
Presets &
System
Menu
Technical
Information
Trouble-
shooting
& Warranty
Tutorials
Tutorials 8
Software
Universal Control,
Capture, and
Studio One Artist
Hookup
Hookup
Software
Universal Control,
Capture, and
Studio One Artist
Connecting
to a
Computer
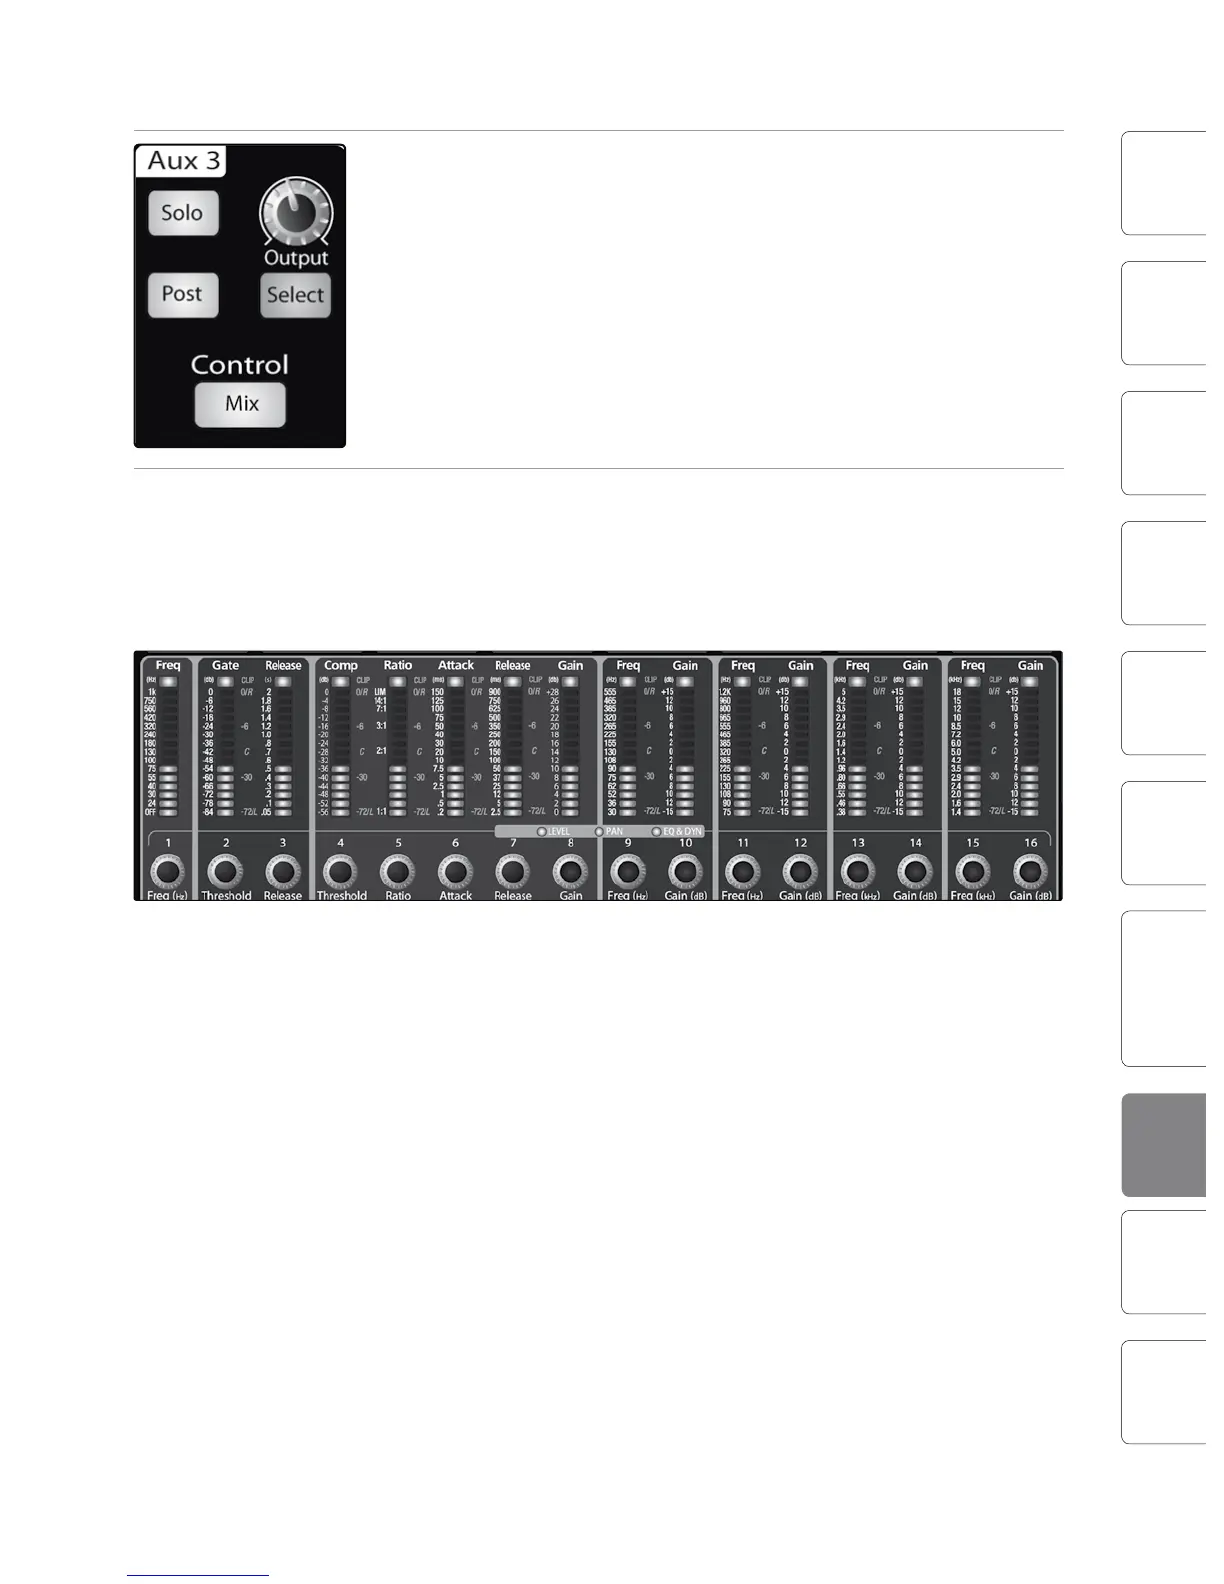
Aux Bus Mixing 8.58.5 Aux Bus Mixing
8.5.2 Eects Processing
There are at least two advantages to using an aux bus for an eects
processor rather than using a channel insert: several channels can be
sent to a single processor, and you can vary the level sent from each
channel to the processor, allowing you to create an eects mix.
The StudioLive features two internal eects buses. These are used
much in the same way the aux buses are used to create monitor mixes,
as described in the previous section. This section will detail how to
use an external eects processor with your StudioLive mixes.
1. In this example, we will use Aux 3 to feed an external eects processor. To begin,
connect your external eects processor to your StudioLive, as detailed in the
hookup diagram above.
2. Turn the Output knob in the Aux 1 section to 12 o’clock and press the Select
button. In the Fat Channel, assign Aux 1 to the main outputs.
3. Press the Mix button for Aux 3. The meter section of the StudioLive will now show
the output levels of each of the 24 channels. The encoders below each meter
control the output level of each channel into Aux 3. You will use these encoders
to set the send levels from the aux bus to the eects processor, the same way
you used them to create a monitor mix, only in this case you will decide which
channels will be sent to the external processor and how much will be sent.
Let’s say that you are inserting an external reverb to liven up a relatively
dead room. You might send a little bit of each input to the reverb, but you
probably will not want much of the drums and bass to be processed, as
too much reverb could reduce their impact and leave your mix without a
sturdy foundation. So rather than turning the aux-send level for the kick
drum channel all the way up, turn it to the 7 or 8 o’clock position, so that
only a small portion of the kick drum input will be aected by the reverb.
Once you have determined your eects mix, you can press the Select button
for Aux 3 to add dynamics processing and EQ to the aux mix before it is sent to
the external eects processor. The eects processor’s output is patched to Aux
Input A, so you can use the Select button for Aux Input A to add Fat Channel
dynamics processing and EQ to the reverb-enhanced signal. The knob for Aux
Input A controls the level of the aux mix relative to the level of your main mix.