PreSonus StudioLive
™
24.4.2
78
Quick Start:
Level
Setting
Overview Controls Scenes,
Presets &
System
Menu
Technical
Information
Tutorials Trouble-
shooting
& Warranty
Connecting
to a
Computer
Owner’s Manual
79
Quick Start:
Level
Setting
OverviewControlsScenes,
Presets &
System
Menu
TutorialsTechnical
Information
Trouble-
shooting
& Warranty
Software
Universal Control,
Capture, and
Studio One Artist
Hookup
Hookup
Software
Universal Control,
Capture, and
Studio One Artist
Connecting
to a
Computer
SOFTWARE : Universal Control, Capture, and Studio One Artist 7
VSL: Virtual StudioLive 7.27.2 VSL: Virtual StudioLive
7 SOFTWARE : Universal Control, Capture, and Studio One Artist
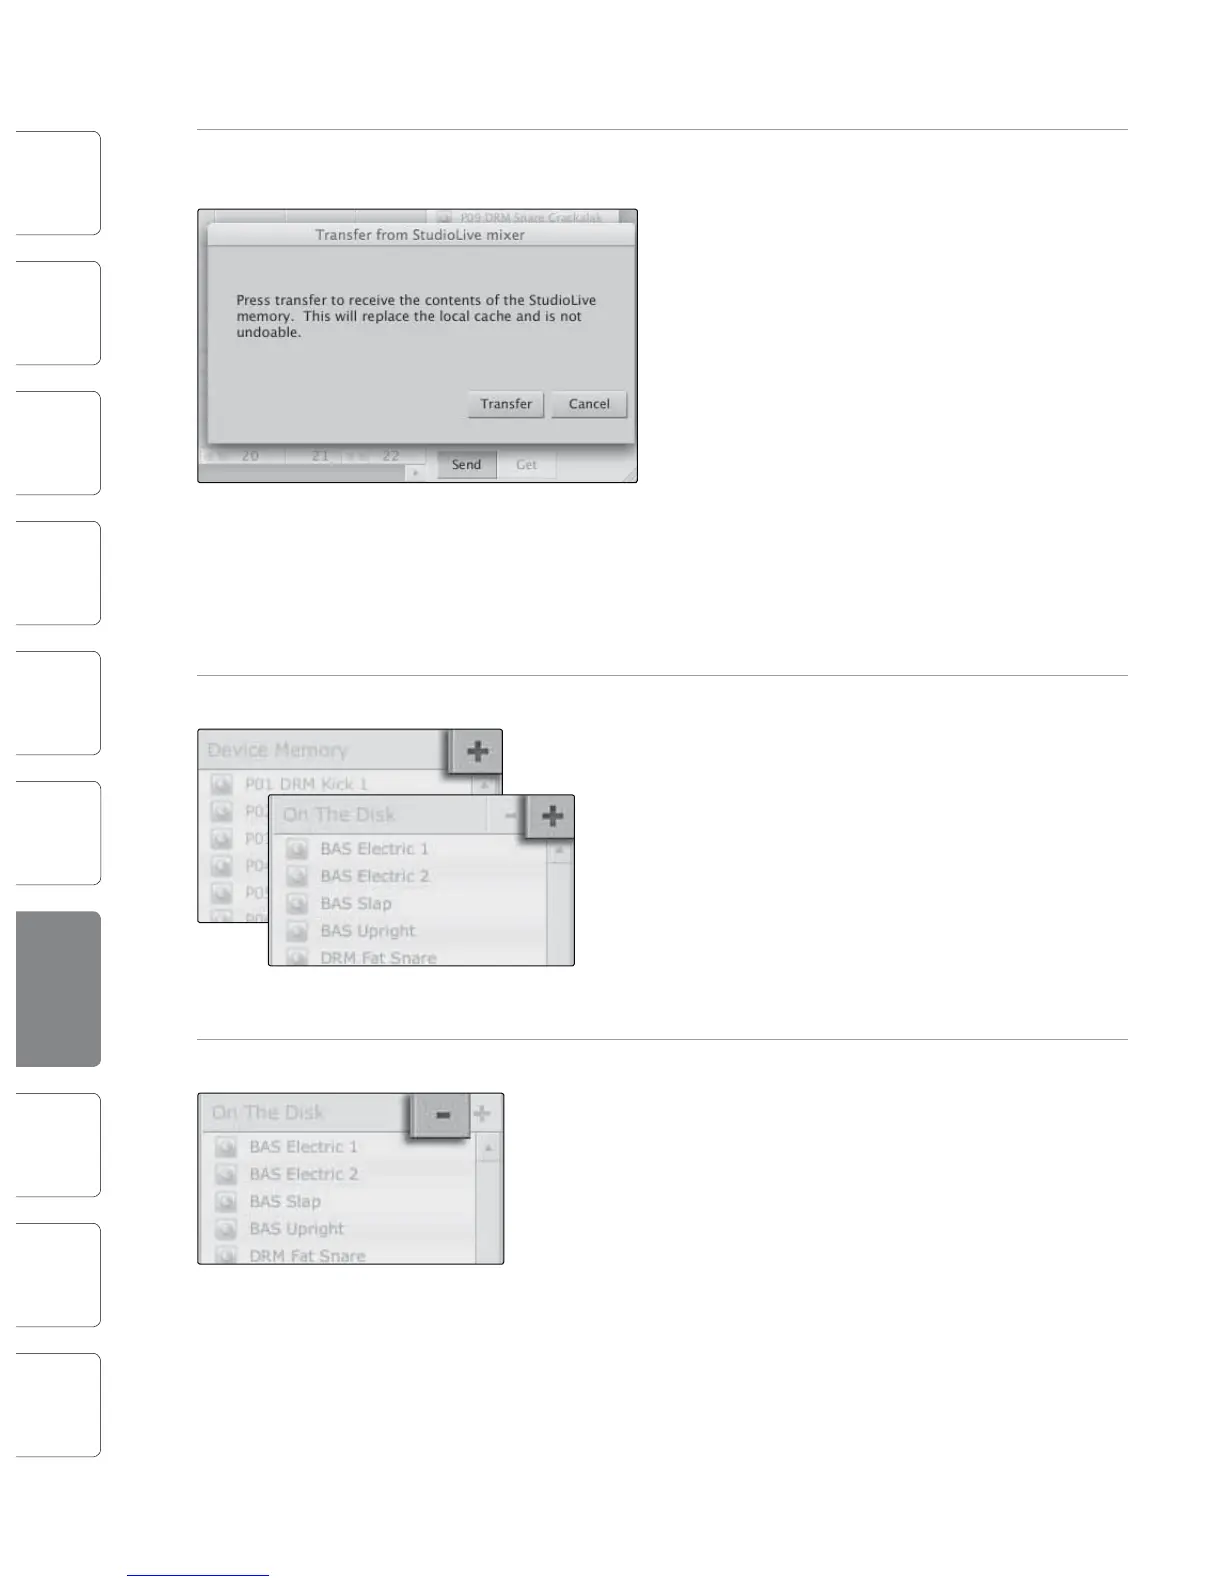
Send Button Transfers Designated Scenes, Fat Channel, FX, and Graphic EQ Presets
from VSL to StudioLive Memory.
VSL makes reorganizing all the Scenes and presets
stored on your StudioLive as easy as dragging-and-
dropping a le. To load your StudioLive with new
Scenes and presets, simply drag any Scene or preset
from the On the Disk section of the Browser to any
position in the Disk Memory section of the Browser.
A dialog will open asking you to verify that you would
like to overwrite the Scene or preset at the new
position. This will not immediately overwrite what
is stored internally on your StudioLive; it will merely
overwrite what is stored in the VSL cache memory.
Once you have organized the les you wish to
transfer to your StudioLive, press the Send button.
When the transfer is complete, you can disconnect
your StudioLive from your computer and take
your chosen Scenes and presets with you.
Add New Button Creates a New Scene or Preset.
In the On the Disk and Device Memory sections of the
Browser, you will see the Add New button. Clicking
this button will immediately create a new Scene or
preset. If you want this new preset to be temporarily
stored in VSL and immediately sent to the StudioLive‘s
internal memory, add the new preset in the Device
Memory section. If you would prefer to have this new
preset stored in permanent memory on your
computer, use the Add New button in the On the Disk
section. In either case, the new preset can be sent to
your StudioLive at any time.
Remove Button Deletes a Stored Scene or Preset.
In the On the Disk section of the Browser, notice the
Remove button. Clicking this button will delete the
currently selected stored Scenes or presets.
Backup Tab Creates and Restores Backups of Your StudioLive.
The Backup tab allows you to create complete time-
stamped snapshots of your StudioLive. This can be
especially useful when completing a project that may
need to be revisited in the future. To create a backup,
simply click on the Backup button.
To restore any backup le, select it in the On the
Disk portion of the Browser and click the Restore
button. You will be warned that any Scene or preset
currently loaded in the Device Memory section of
the Browser will be overwritten. Once your backup
is restored, you can click the Send button to transfer
your Scenes and presets back to the StudioLive.
Show/Hide Browser Displays/Hides the Browser Window.
The Browser can be hidden from view to provide more real-estate for your
mix. Simply click on the "Hide Browser" button to close the Browser.
To reopen the Browser, click on the "Show Browser" button in the upper
right corner of your VSL window.