EasyManuals Logo

Prodigy Autocode User Manual

Prodigy Autocode
148 pages
To Next Page IconTo Next Page
To Previous Page IconTo Previous Page
Page #36 background imageLoading...
Page #36 background image
Owner’s Manual
AutoCode
®
Blood Glucose Meter
36
Figure 26
STEP 4: Re-cap the Lancing Device
Cover.
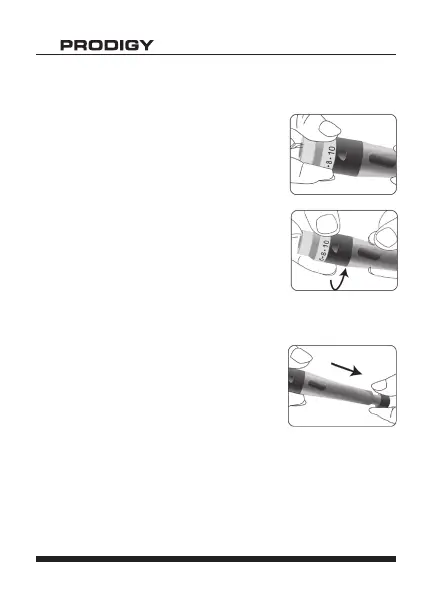
STEP 5: The Adjustable Tip offers
10 levels of skin penetration. To
select the desired depth, twist the
Adjustable Tip in either direction
until the preferred setting lines up
with the arrow. See Figure 25.
To select the best depth:
1 - 3 for soft or thin skin
4 - 6 for average skin
7 - 10 for thick or calloused skin
STEP 6: Slowly pull the Loading
Barrel away from the Lancing
Device Cover until you hear a click,
indicating that the Lancet Carrier is
locked into position. Release the
Loading Barrel to return it to its
original position. See Figure 26.
The Lancing Device is prepared and ready to lance for
a blood sample.
Figure 25

Table of Contents

Other manuals for Prodigy Autocode

Questions and Answers:

Question and Answer IconNeed help?

Do you have a question about the Prodigy Autocode and is the answer not in the manual?

Prodigy Autocode Specifications

General IconGeneral
Measurement Range20-600 mg/dL
Sample Size0.6 µL
Test Time6 seconds
CodingNo Coding Required
Battery Type2 x AAA batteries
Automatic Shutoff2 minutes
Data PortUSB
Operating Conditions50-104°F (10-40°C)
Memory CapacityUp to 450 test results

Related product manuals