Beta Draft Confidential
3-4 Professional Series Network Thermostat Configuration Guide, Release 3.0
Part No. 600-01000-200, Rev. 2
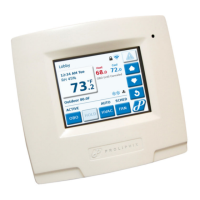
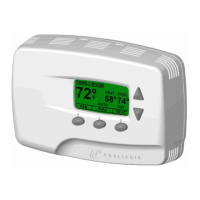
CHAPTER 3: Configuring the Thermostat Using the TMI
Remote Management
You can manage the Professional Series thermostat using a web browser on a local
area network (LAN) or remotely though the Internet after proper authentication at the
Proliphix Web Site (www.proliphix.com).
Logging In to the Thermostat
To establish the identity of the thermostat for Remote Management capability:
(See the Proliphix Installer Remote Management Guide and the Proliphix Remote
Management User Guide for detailed information.)
1 Log in to the TMI as the Administrator as follows:
Username: admin
Password: admin (default)
2 Access the General Settings Page (page 3-14) through the TMI.
3 Enter a Device Name and Site Name (for example, the name or location of the
property).
4 Click Submit.
5 Access the Network Settings Page (page 3-30).
6 Set the IP Address Method to Static and select a unique IP address, Subnet Mask,
Gateway, and HTTP port number.
7 Click Submit.
8 Access the Remote Access Page (page 3-49).
9 Click Submit.
Note
If you use a VPN to access your thermostats remotely, the thermostats appear to
reside on the “local” network. In this case, you do not need to control the
thermostats through the Proliphix Remote Management Service via the Proliphix
Web Site. If the Proliphix Remote Management Service is not used however, email
notification due to alarm conditions is not available.