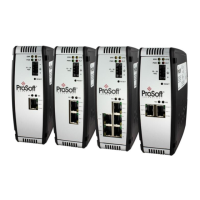
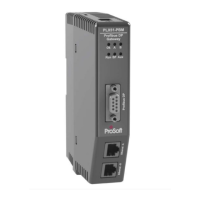
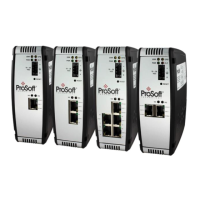
EIP Protocol PLX3x Series
User Manual Ethernet and Serial Gateways
Page 56 of 218 ProSoft Technology, Inc.
May 26, 2016
5.2.2 EIP Class 1 Connection
The EIP Class 1 Connection is used when the gateway acts as an EIP adapter
transferring data to and from a PLC (the EIP scanner), using a direct I/O
connection. Direct I/O connections can be used to transfer large amounts of data
quickly.
The PLX3x-series EIP gateway can handle up to eight I/O connections
(depending on the model), each with 248 words of input data and 248 words of
output data. Rockwell Automation customers running RSLogix 5000 v.20 and
higher can take advantage of premier integration with an Add-on profile.
Adding the Gateway to RSLogix5000 v.20
1. Open up RSLinx and browse to the PLX3x gateway.
2. Open up a short cut window by right clicking on the gateway.
3. Select Upload EDS from device.
Note: RSLogix5000 may need to be restarted in order to complete the installation.
4. Once RSLogix5000 has been restarted, add a New Module under the
EtherNet/IP bridge in the I/O tree.
5. In the Module Type Vendor Filters window set the filter options to ProSoft
Technology.
6. Select the corresponding PLX3x gateway and click Create
7. In the next window set the IP address to the address of the PLX3x
gateway. To add I/O connections click the Change button.
8. Here up to eight I/O connections can be added. The I/O connections have
a fixed size of 496 bytes of input data and 496 bytes of output data. When
finished click ok.
9. In the Module properties window each I/O connection can be configured
with its own RPI time.
Adding the Gateway to RSLogix5000 v.16 through v.19
(Class 1 connections are not supported in v.15 and older)
1. Add a New Module under the EtherNet/IP bridge in the I/O tree.
2. Click Find and search for Generic EtherNet Bridge click Create.
3. Set the IP address to the gateway. This creates the communication path
from the processor to the PLX3x gateway