Sterling 10 Installation Manual
Page 30 RINS1413-1
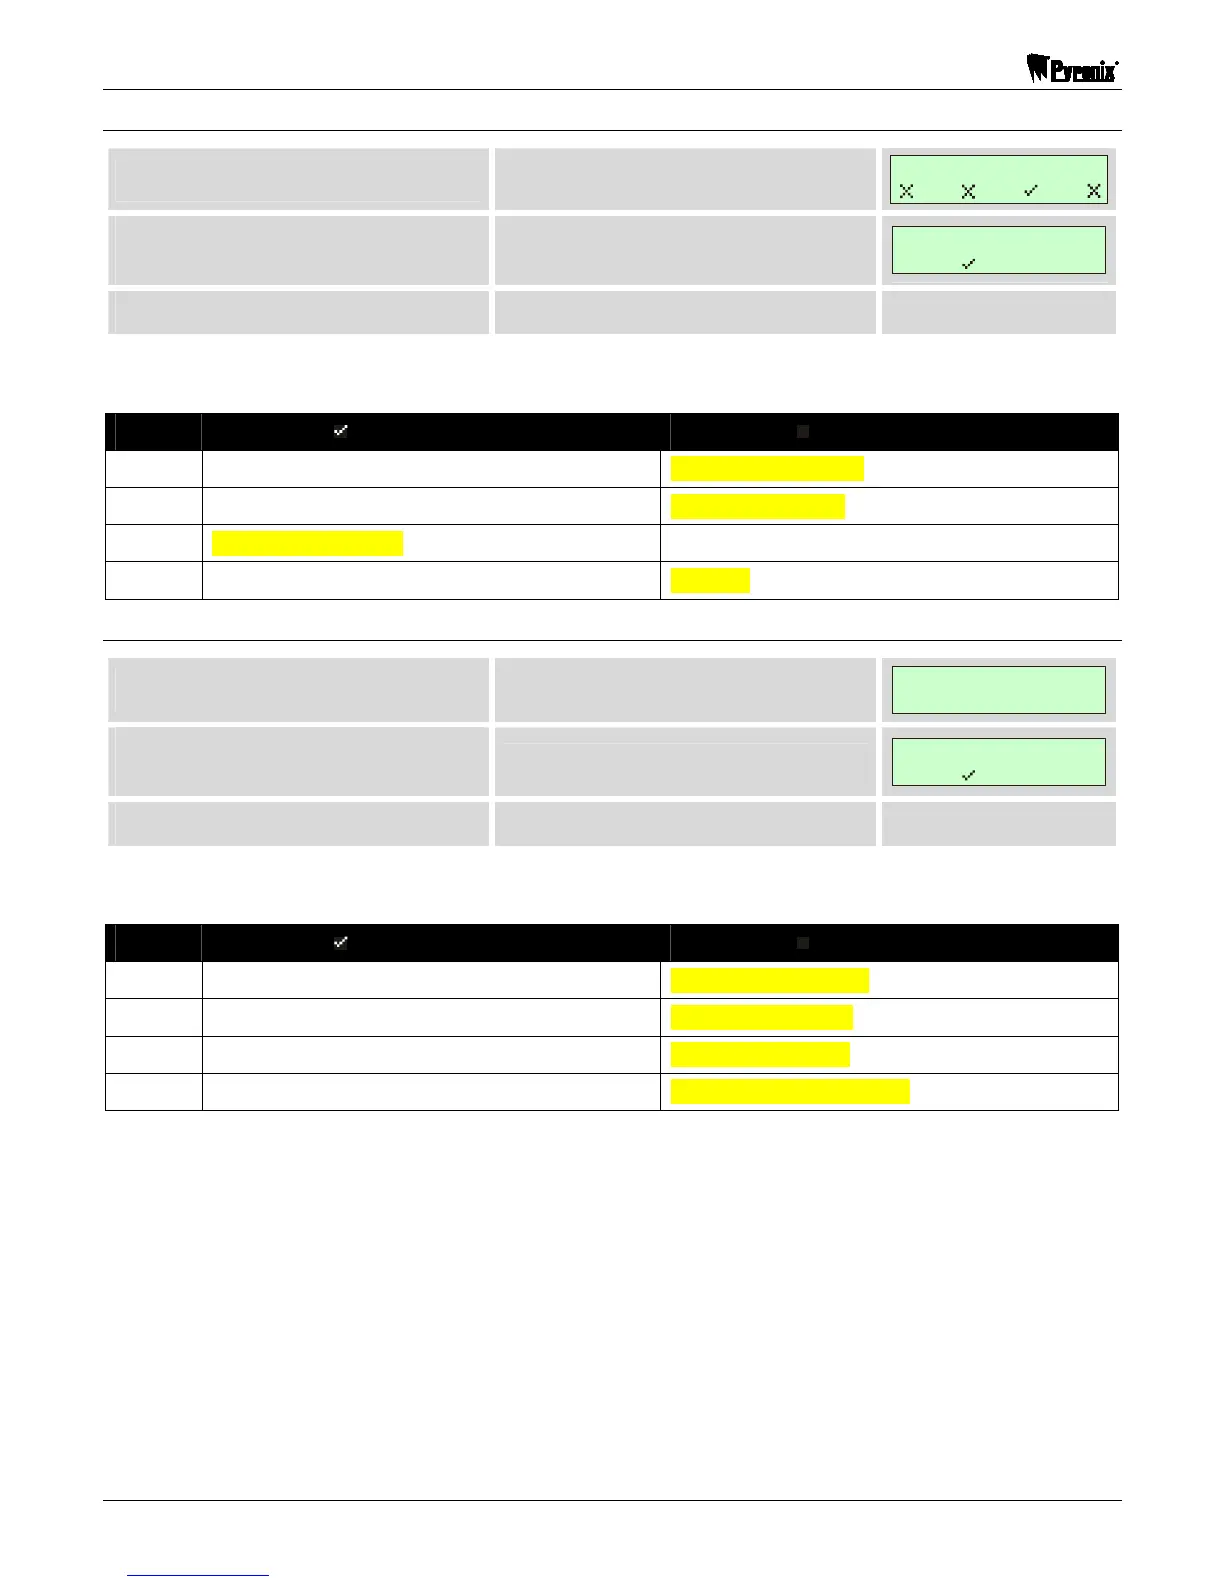
6.6.2 System Options 2 (Function 23)
Press
This starts the function
ENTER SEQUENCE
Use keys to to toggle the
options on or off.
Example shows option 2 on.
ENTER SEQUENCE
x x x
Press
You will be returned to engineer mode.
Options:
Option Option On ( ) Option Off (
) (Default)
1 Engineer Code Lock NVM Reset Power Up NVM Reset
2 Bell Enable on Line Fail No Bell on Line Fail
3 Panel Arm on AC Fail No Panel Arm on AC Fail
4 Limited Reset All Reset
6.6.3 System Options 3 (Function 24)
Press
This starts the function
ENTER SEQUENCE
x x x x
Use keys to to toggle the
options on or off.
Example shows option 2 on.
ENTER SEQUENCE
x x x
Press
You will be returned to engineer mode.
Options:
Option Option On ( ) Option Off (
) (Default)
1 Alarm Digi Active High Alarm Digi Active Low
2 P.A. Digi Active High P.A. Digi Active Low
3 Fire Digi Active High Fire Digi Active Low
4 Confirmed Digi Active High Confirmed Digi Active Low
 Loading...