10
You may view this DVR using a standard 19” (or larger) VGA monitor or a television. The
former is connected using the VGA port on the back panel while the television utilizes the
BNC “Video Out” port on the back. Your DVR is configured to use the VGA port as the main
display. To use a TV, you will need to press and hold the STOP/ESC, EXIT or VGA/TV button
(depending on model) for approximately 10 seconds until you hear a beep indicating that the
video mode has been switched. A display connected to the other port will not show the menu.
CONNECTIONS AND CONTROLS
CHAPTER 2
2.1 MOUSE
The mouse is the default tool for navigating through the menus. Specific instructions for its use
within a function appear in the appropriate sections of the manual, but a basic overview is below:
In Live View:
Double-click the left button on any camera
view in split-screen mode to bring it to full-
screen display.
Double-click again to return to split-screen
mode.
Right-click to show the control bar at the
bottom of the screen.
Right-clicking again will hide the control bar.
In Setup:
Left-click to make a selection. Right-click to
cancel setup or return to previous screen.
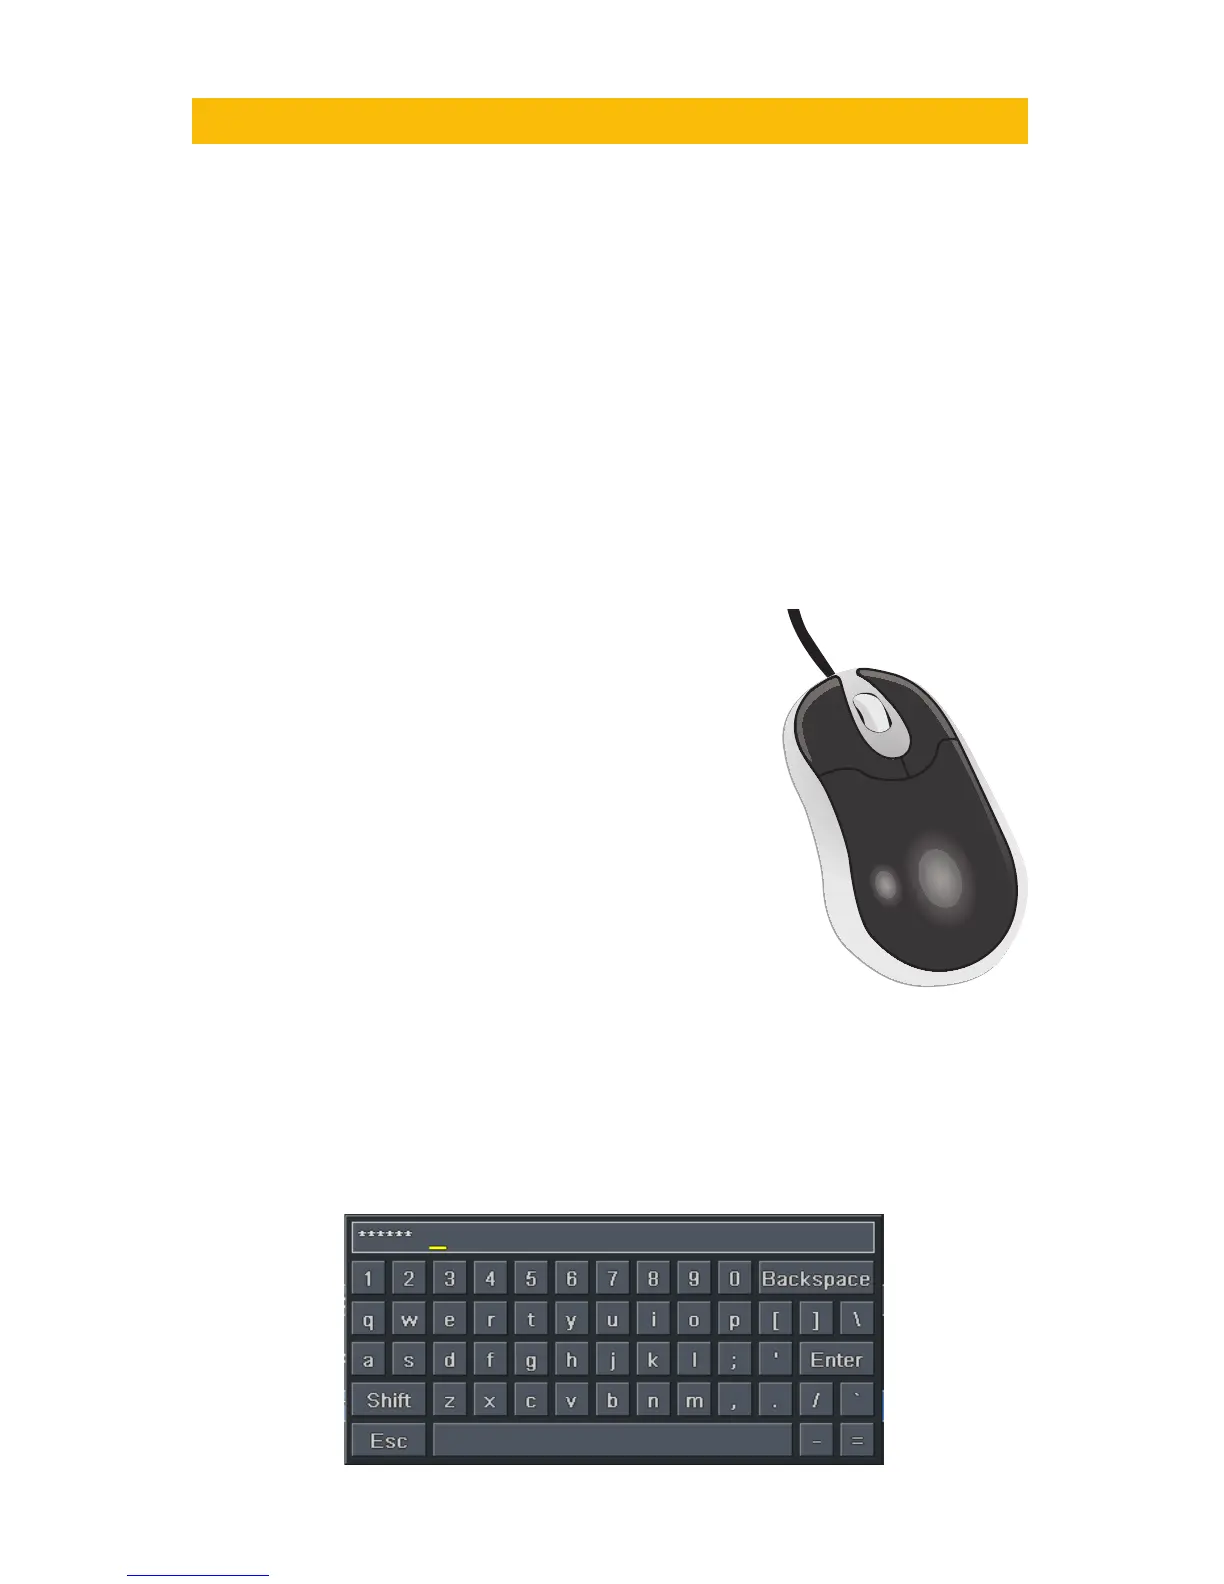
To Input Values:
Move the cursor to a blank field and click. A virtual keyboard will appear which supports
numbers, letters and symbols. The Shift function will access symbols in addition to upper case
letters.
Certain values, such as time settings, can be changed using the mouse wheel.
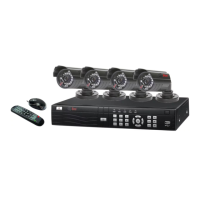
In addition to the buttons on the front of the DVR, your system can be controlled through the
USB mouse and the remote control. We have found that the majority of our customers prefer
to operate their DVRs using the USB mouse because of its ease of use and flexibility and our
manual is set up with this in mind.
PICTURE 2-1
PICTURE 2-2

 Loading...