18
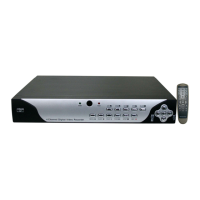
2.4 CAMERAS
CONNECTING CAMERAS
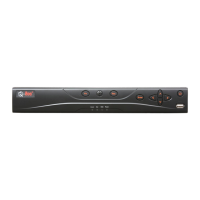
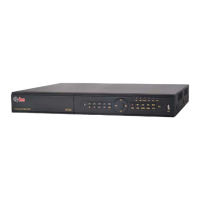
Your DVR uses BNC connectors and ports to ensure quick and secure connections for your
cameras’ video cables. While both conventional analog and digital SDI (Serial Digital Interface)
high definition cameras use this interface, they cannot be connected to a port intended for
the other type because of incompatible signals. It is therefore important to ensure that you are
attempting to connect to the proper port.
1 2 3
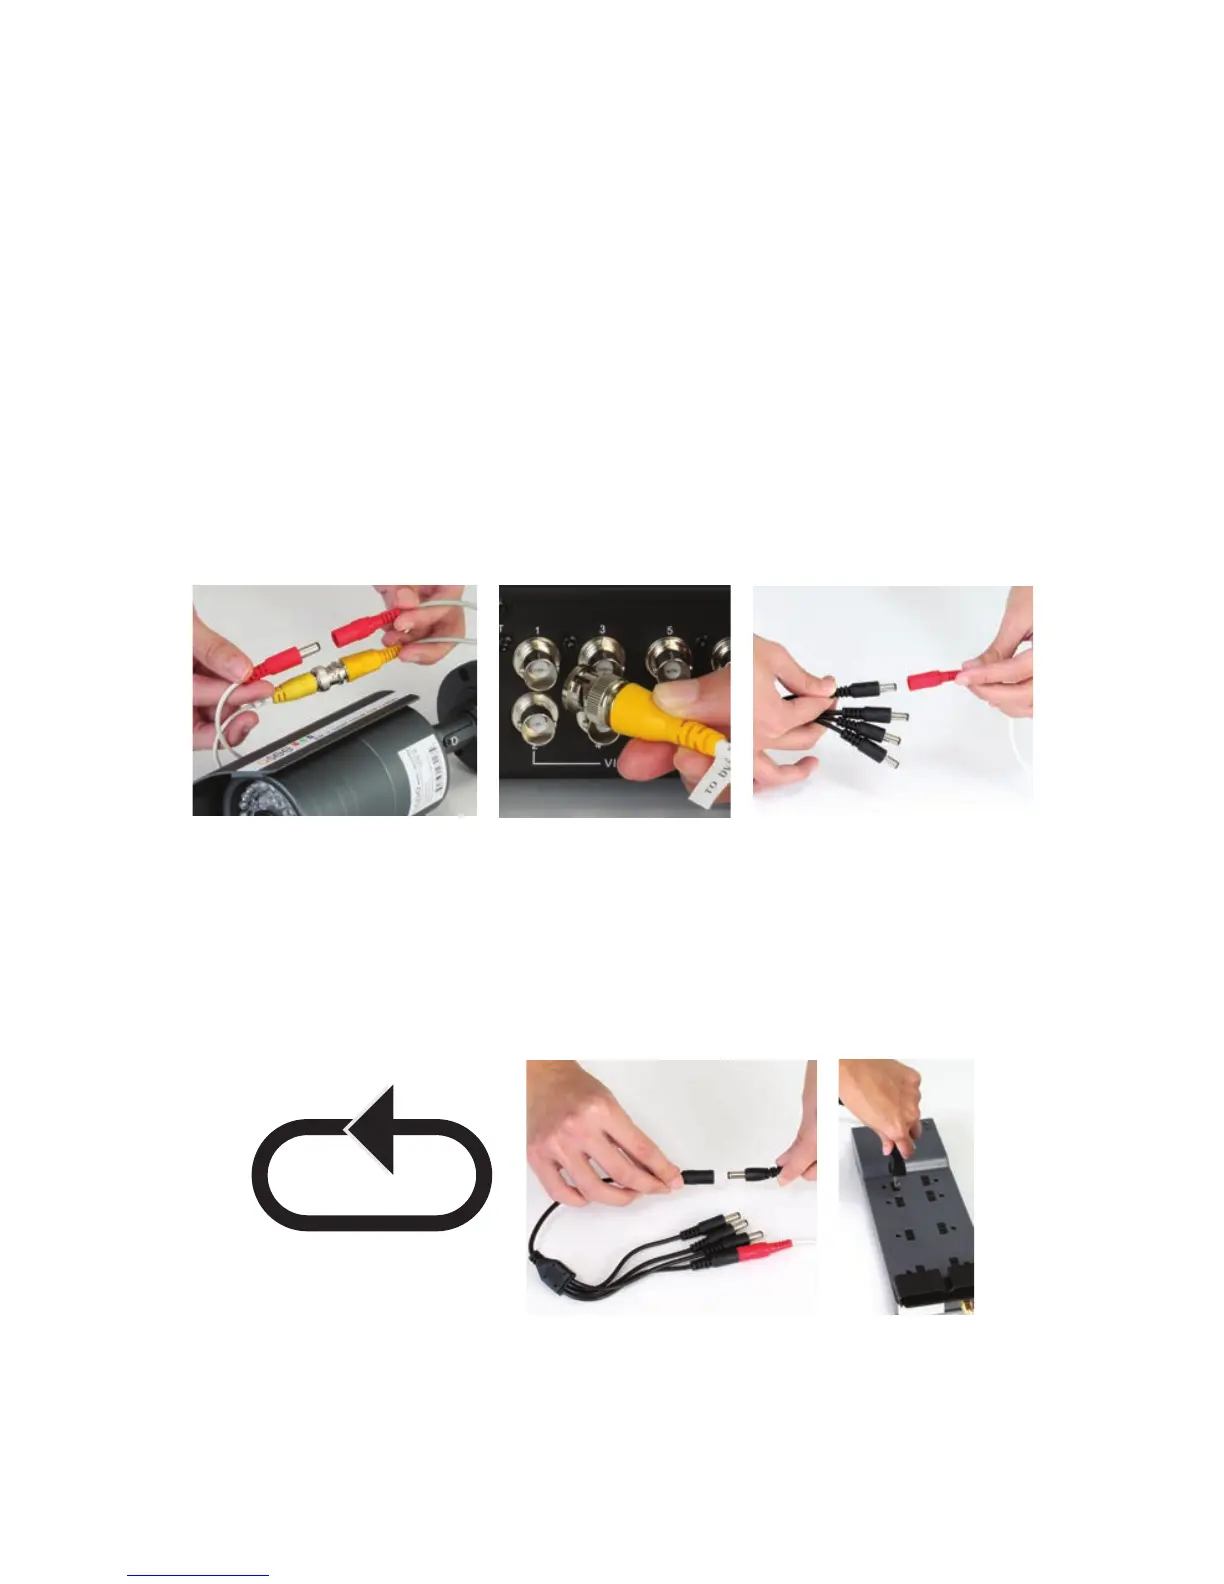
Some camera bundles may contain more than one camera power supply and splitter. Repeat
the steps above as necessary to connect all of your cameras. For bundles containing multiple
types of cameras, make sure to connect to the proper power supply as mixing and matching
may either cause damage or insufficient power to your cameras.
You may now mount your cameras.
STEP 4. Repeat for each camera included with your package to ensure proper
connection and function.
STEP 5. Connect the single end of the power splitter to the power adapter.
STEP 6. Plug the power adapter into a surge protector. You should now see a live video
feed from each of your cameras.
PICTURE 2-10
PICTURE 2-11
4 5 6
REPEAT
RÉPÉTEZ
STEP 1. Connect the BNC and power leads on the camera to the matching connectors
on the power and video cable.
NOTE: The male power end fits into the matching power lead on the camera.
STEP 2. Connect the BNC connector on the other end of the cable to any of the Video In
ports on the back of the DVR.
STEP 3. Plug one of the power leads on the power splitter (if your camera kit includes one)
into the power lead on the power and video cable. If you are connecting only a single
camera, connect the power lead to the power adapter and skip to Step 6, below.

 Loading...