168 QXS G2 Hardware Installation and Maintenance Guide
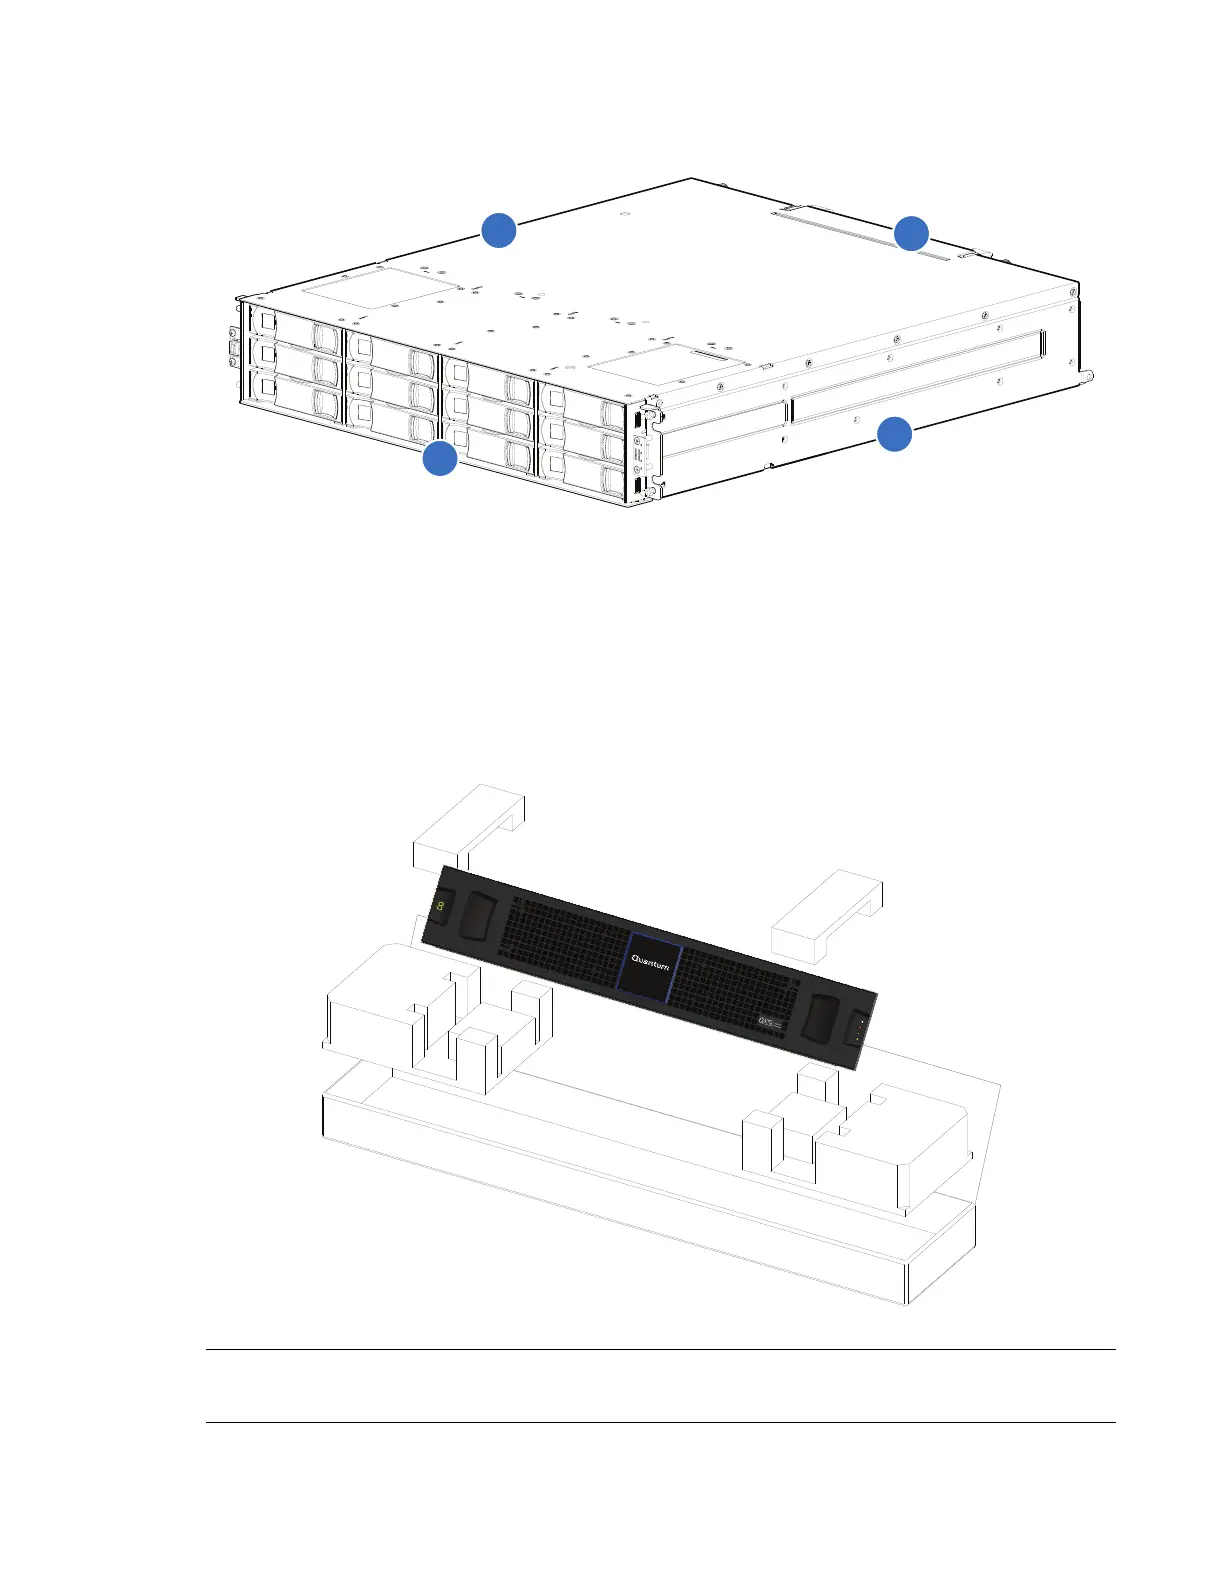
Figure 127 shows a pictorial view of a 2U12 chassis. The bezel attaches to the chassis face labeled
“Front.” The bezel installation process is the same for the 2U12 and 2U24 chassis.
Figure 127 Orientation Key
1 Identify the chassis to which the bezel will be attached.
Figure 127 shows a 2U12 chassis — with ears exposed — that is ready for bezel installation.
2 Open the box containing the bezel, and swing the lid back to reveal the bezel assembly packaged
in foam. Remove the contents.
Figure 128 Bezel Assembly
NOTE: Once you have removed the bezel assembly from its foam-packed box, examine it carefully,
to verify that it is properly configured (with or without an air filter) to address your site requirements.
1
Front
2
Back
3
Left
4
Right
 Loading...


