A similar dialog box will be displayed for each of the channel buttons contained in the configuration
file. Although the boxes will be different each will contain the setup instructions in the upper left hand
corner. Follow the setup instructions and make the desired modification. After you have made your
modifications select the OK button to accept the changes.
Repeat the above process until all of the modifications have been made. Next select the “Save” icon in
the toolbar or select the Save option located in the File main menu selection to save your changes to
disk.
Step 3: Writing the Configuration
The final step is to write the configuration file to your data logger. Be sure the serial cable is still
connected between the data logger and your PC and the power is connected to the data logger. Next
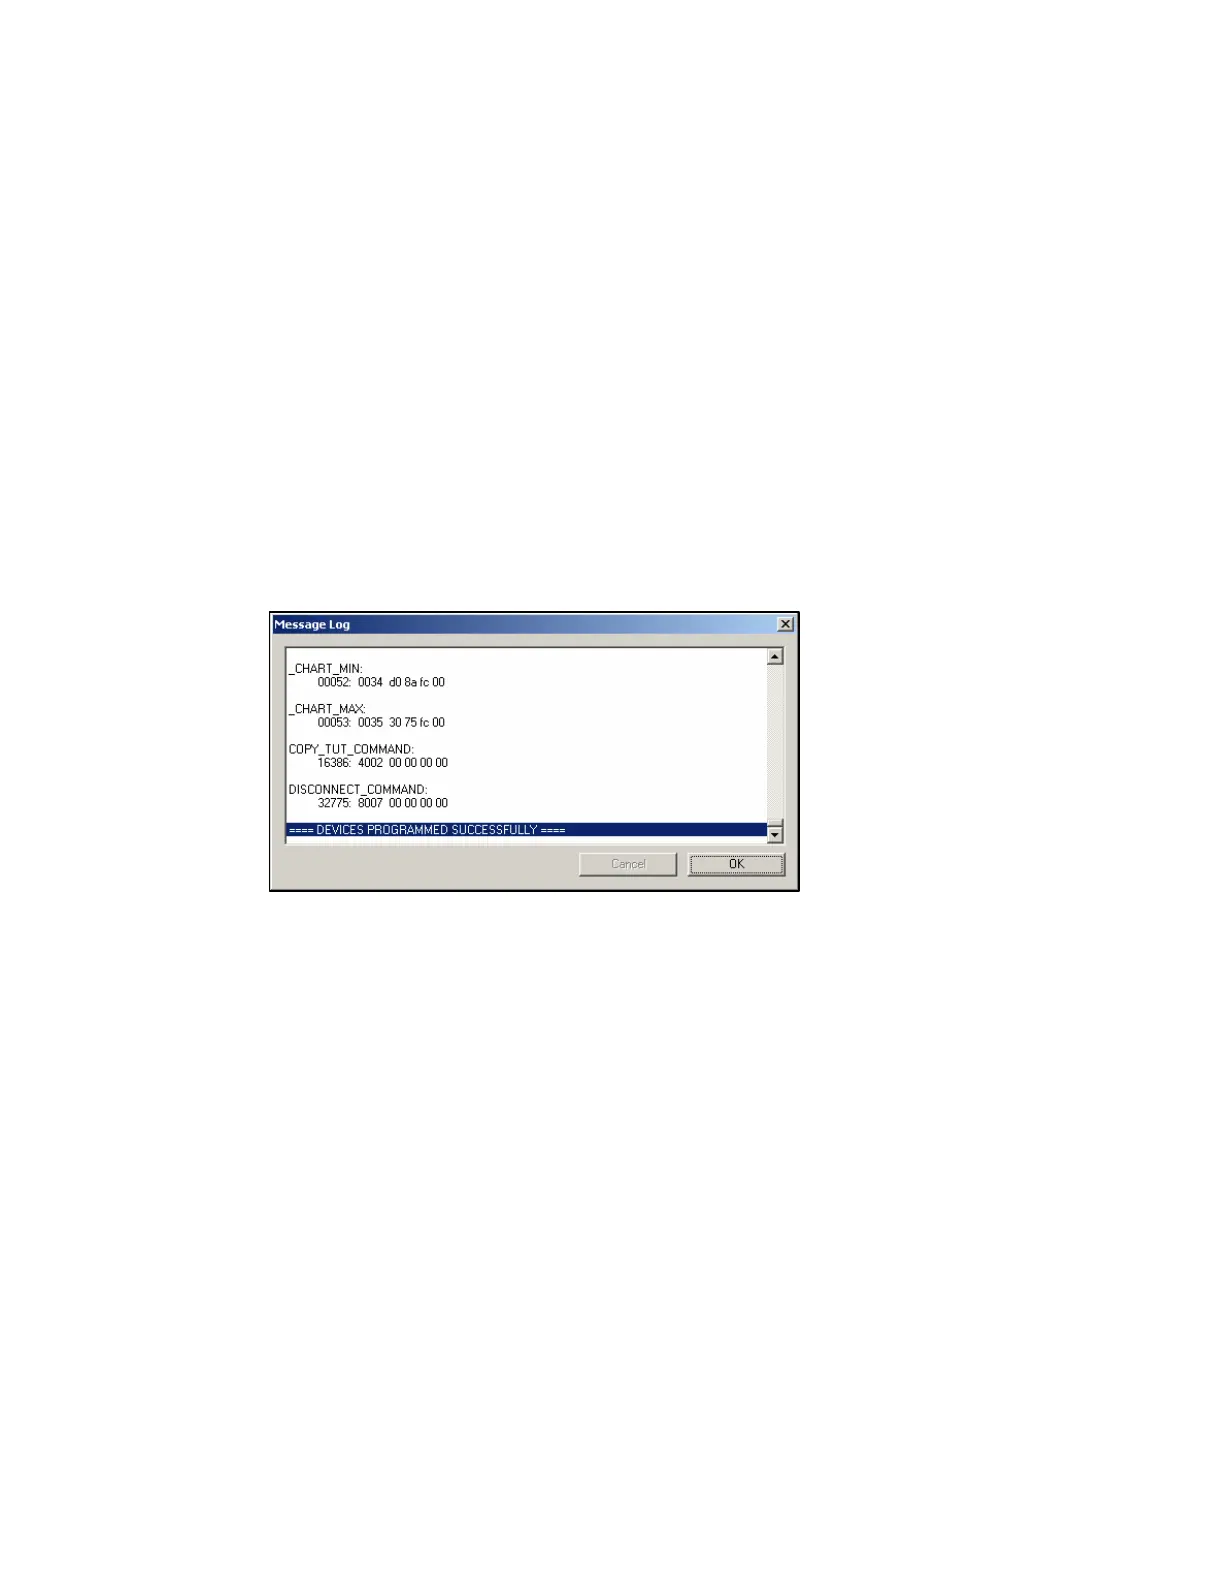
select the Write VNet Config menu item located in the Edit main menu selection. The Message Log
dialog box will be displayed and status messages will scroll on the box as the configuration is updated.
When the write operation is complete the message Devices Programmed Successfully will be displayed
on the bottom of the Message Log dialog box as shown below.
Your data logger has now been programmed with the new changes. Before the data logger can be used
the serial cable must be removed from the data logger and power to the data logger must turned off and
back on.
43