Understanding Object Menus
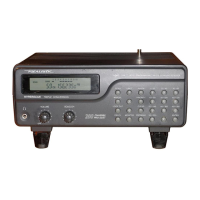
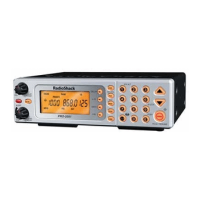
When you turn on your scanner for the first time,
the scanner is in Program Mode for you to create
your first object into memory. If you do not see
this screen, press PGM.
Press NEW to
Create objects
NEW EDIT GLOB
Press F1 to
create a new
scannable
object.
Press F2 to
edit existing
object.
Press F3 to
change the
scanner’s global
configuration
settings.
1. Press F1, the NEW softkey, to begin entering a
new object.
Select object
type to create
TGRP CONV SRCH
Press F1 to
create a new
Talkgroup
Object.
Press F2 to
create a new
Conventional
Object.
Press F3
to create a
new Search
Object.
2. For the purpose of this explanation, press F2,
the CONV softkey.
3. The Conventional Channel menu opens.
T
f CONV Channel e
Scan Lists: *01
Freq: 25.000000
Save Exit Dflt
Menu name
Active menu item
Next menu item
(Scroll down for more
menu items)
Indicates cursor
location in menu
Menu softkeys. Press F1,
F2, and F3 to access.
Object menu notes:
• The first line of the display shows either:
d to indicate the cursor is at the top position
of the menu,
c
to indicate the cursor is
at the bottom, or
c
d to indicate there are
menu items above and below the cursor.
• The center (third) line of the display contains
the blinking cursor indicating the active menu
item.
• To see the help text for the active menu item,
press FUNC, then press SEL on the 5-way
pushbutton pad. To exit help, press SEL again.
• The last line of the display shows the softkeys,
which will change with each menu. In this
menu, the Save softkey will save your new
object to the file system, the Exit softkey
aborts the creation of the new object, and the
Dflt softkey restores the parameter of the
active menu item
to its default setting.
• If you press the T key on the bottom of the
5-way pushbutton pad, you can scroll down
and see all of the parameters that can be
specified for the object.
 Loading...

