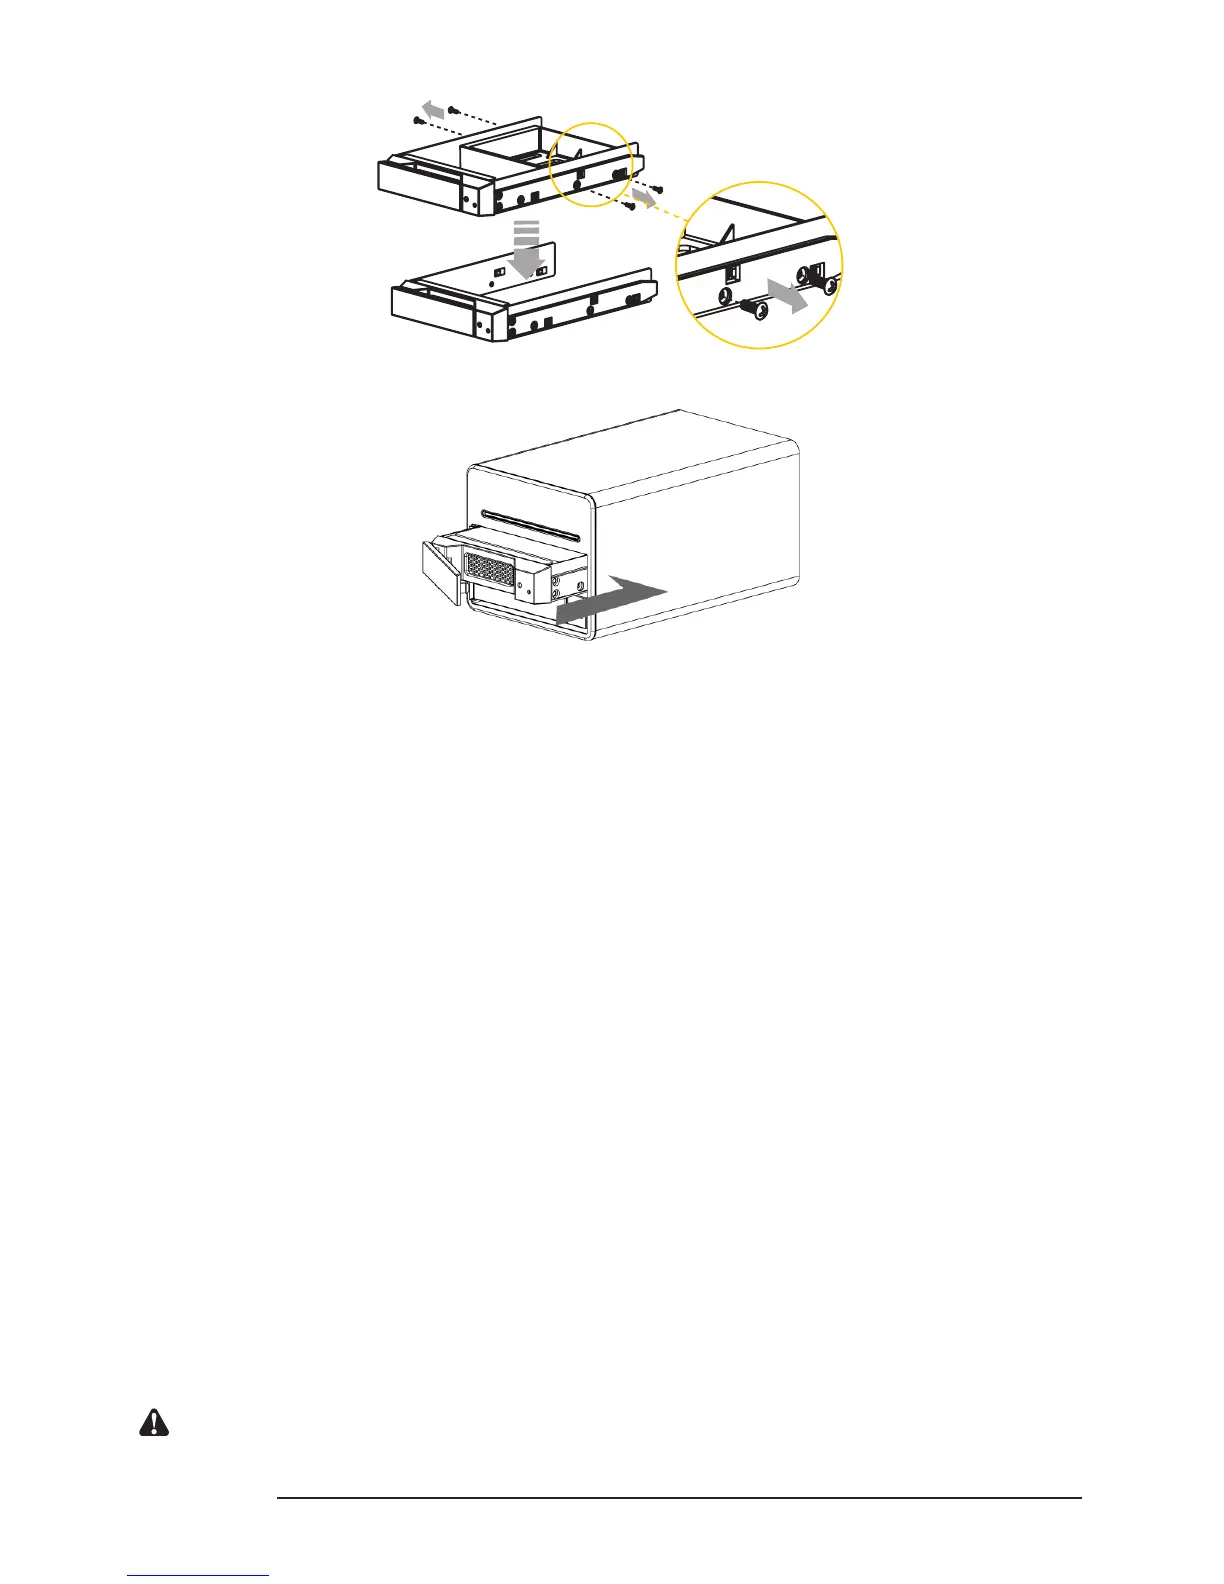
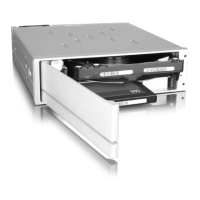
4. Once the installation is completed, insert the tray back and x it rmly in the proper place.
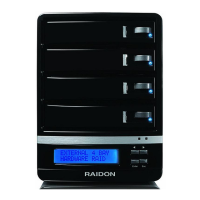
5. Connect the Gigabit LAN port and, nally, connect the power cord.
6. Hardware installation is completed. You can power on the system to start the related setup and
application.
7. You can use related management interfaces to make the respective congurations. Please refer to
Chapter 3.
2.4 Initial Setup
SL3610/3620-2S-LB2 supports the use of the graphic user interface (GUI) for system management.
You can manage settings via the GUI. It takes about 2 minutes to start SL3610/3620-2S-LB2 after
power on. Before the startup is completed, the system will be unable to nd SL3610/3620-2S-LB2.
1. Open the browser and enter the IP address
(1) Use DHCP to deliver IP address:
You can use IP detect tool (Please nd the software “Setup Util.exe” attached on the CD and refer to
Chapter 3.8 for the user instruction) to search the delivered IP address for SL3610/3620-2S-LB2. Open
the browser to input the IP address and then you can login to the Web GUI to set up the system.
(2) Use Static IP address:
The default IP of SL3610/3620-2S-LB2 is 192.168.1.1. Please change the IP of the computer which is
connected with SL3610/3620-2S-LB2 to the same IP as 192.168.1.xxx. Next, open the browser to input
the IP address, and then you can login to the Web GUI for setting up the system. Changing IP address
is available as well. For operation method, refer to Chapter 3.
Notice : The attached software “Setup Util.exe” only supports Windows, other operating system please use
method (2).