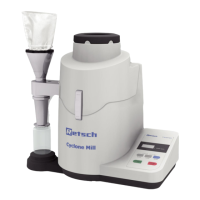
10 Accessories
Information on available accessories as well as the respective manuals are accessible directly
on the Retsch GmbH homepage (http://www.retsch.com) under the heading "Downloads" of the
device.
Information on wear parts and small accessories can be found in the Retsch GmbH general
catalogue also available on the homepage.
In case of any questions concerning spare parts please contact the Retsch GmbH
representative in your country, or Retsch GmbH directly.
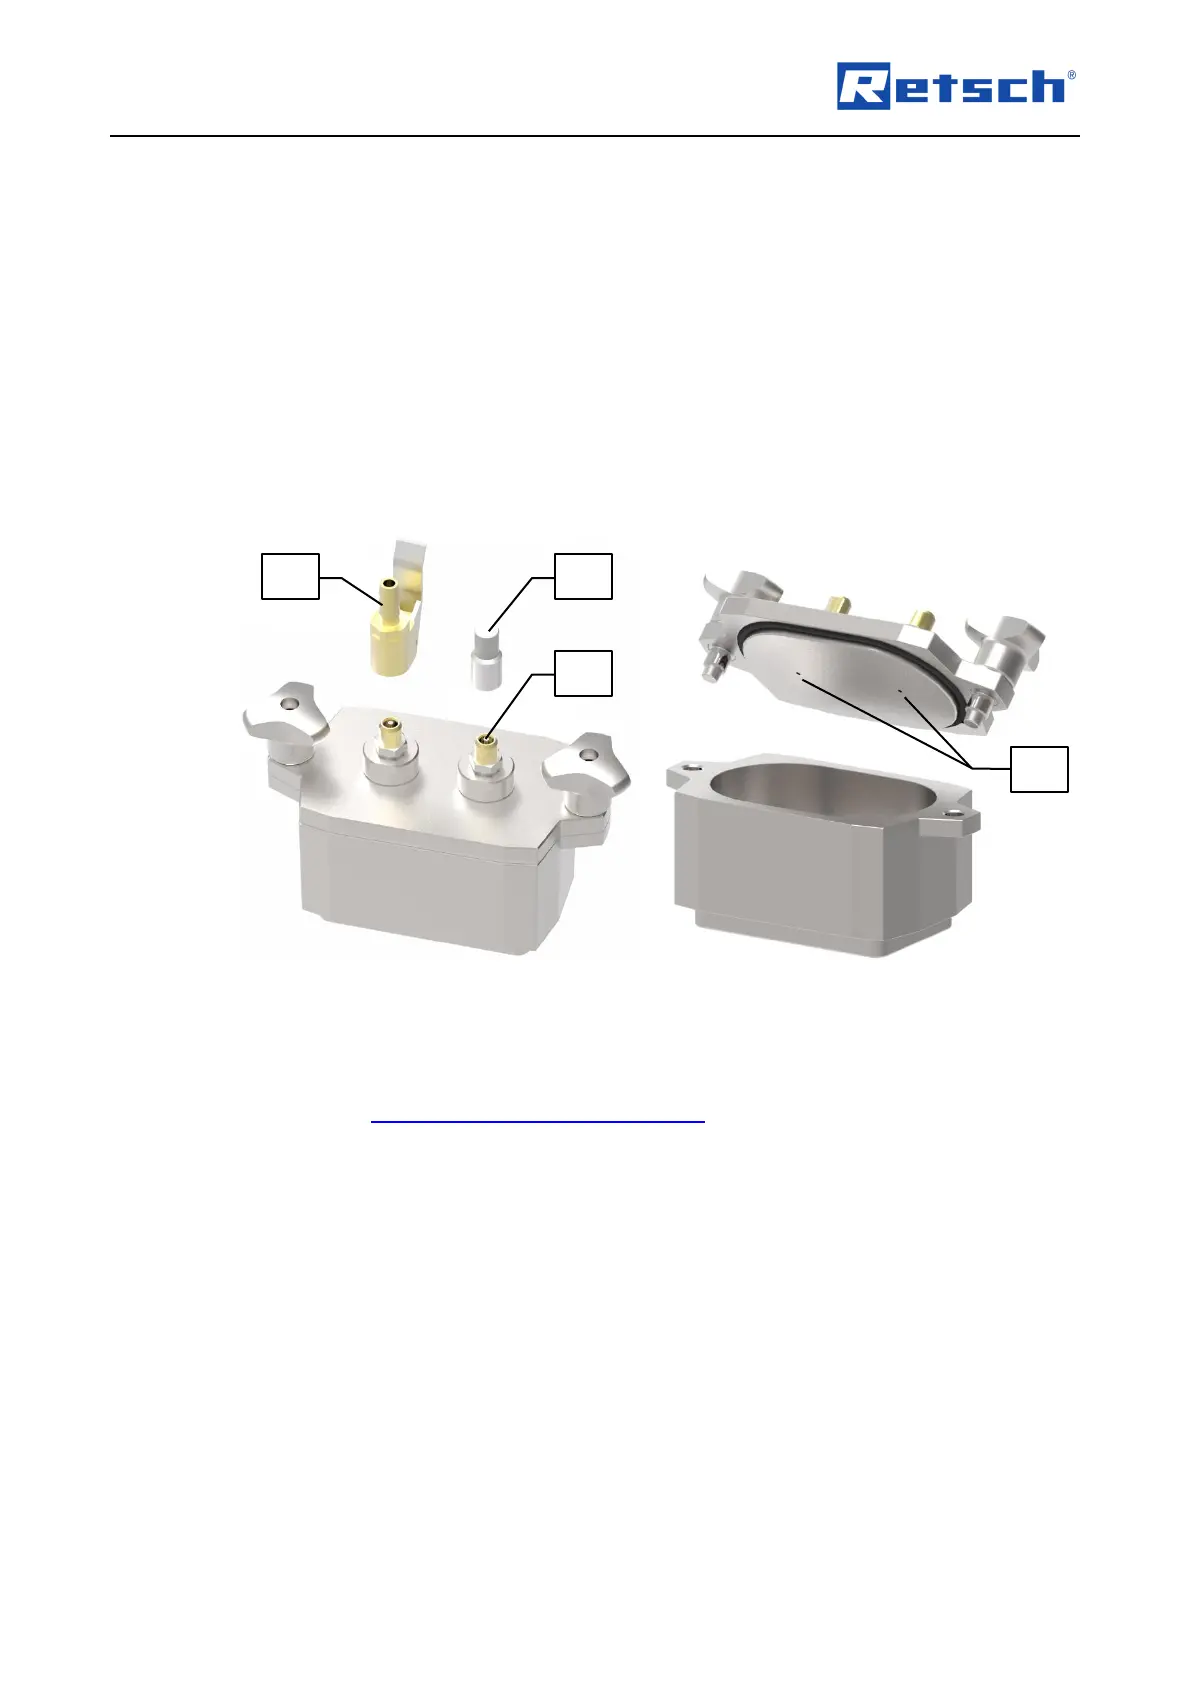
10.1 Aeration Lid
By using the optional aeration lid, grinding processes can be carried out in an inert atmosphere.
Put the grinding material together with the grinding balls into the grinding jar.
Close the grinding jar with the aeration lid. Use the opening aid (OE) for this purpose
(→ Chapter "Opening and Closing the Grinding Jar").
Clip the supplied valve nipple (BD1) on one of the two valves (BD3). The valve is
permanently opened by the valve nipple.
Screw the supplied valve cap (BD2) onto the other of the two valves (BD3). The valve can
be opened by pressing the valve cap.
Connect the desired inert gas to the valve nipple (BD1) using a hose (not supplied).
Let the inert gas flow through the valve nipple (BD1) into the grinding jar, while
simultaneously pressing on the valve cap (BD2) to allow the air to escape from the grinding
jar and be replaced by the inert gas.
Once all air in the grinding jar has been replaced with the desired inert gas, release the valve
cap (BD2) (usually after a few seconds). The valve closes.
Stop the supply of the inert gas and remove the valve nipple (BD1).
Unscrew the valve cap (BD2).
Alternatively, a negative pressure can be generated in the grinding jar instead of an inert
atmosphere. For this purpose, instead of a gas cylinder, a compressor can be connected to the
valve nipple (BD1). The valve cap (BD2) remains permanently closed during this procedure.