3.Replacement
68
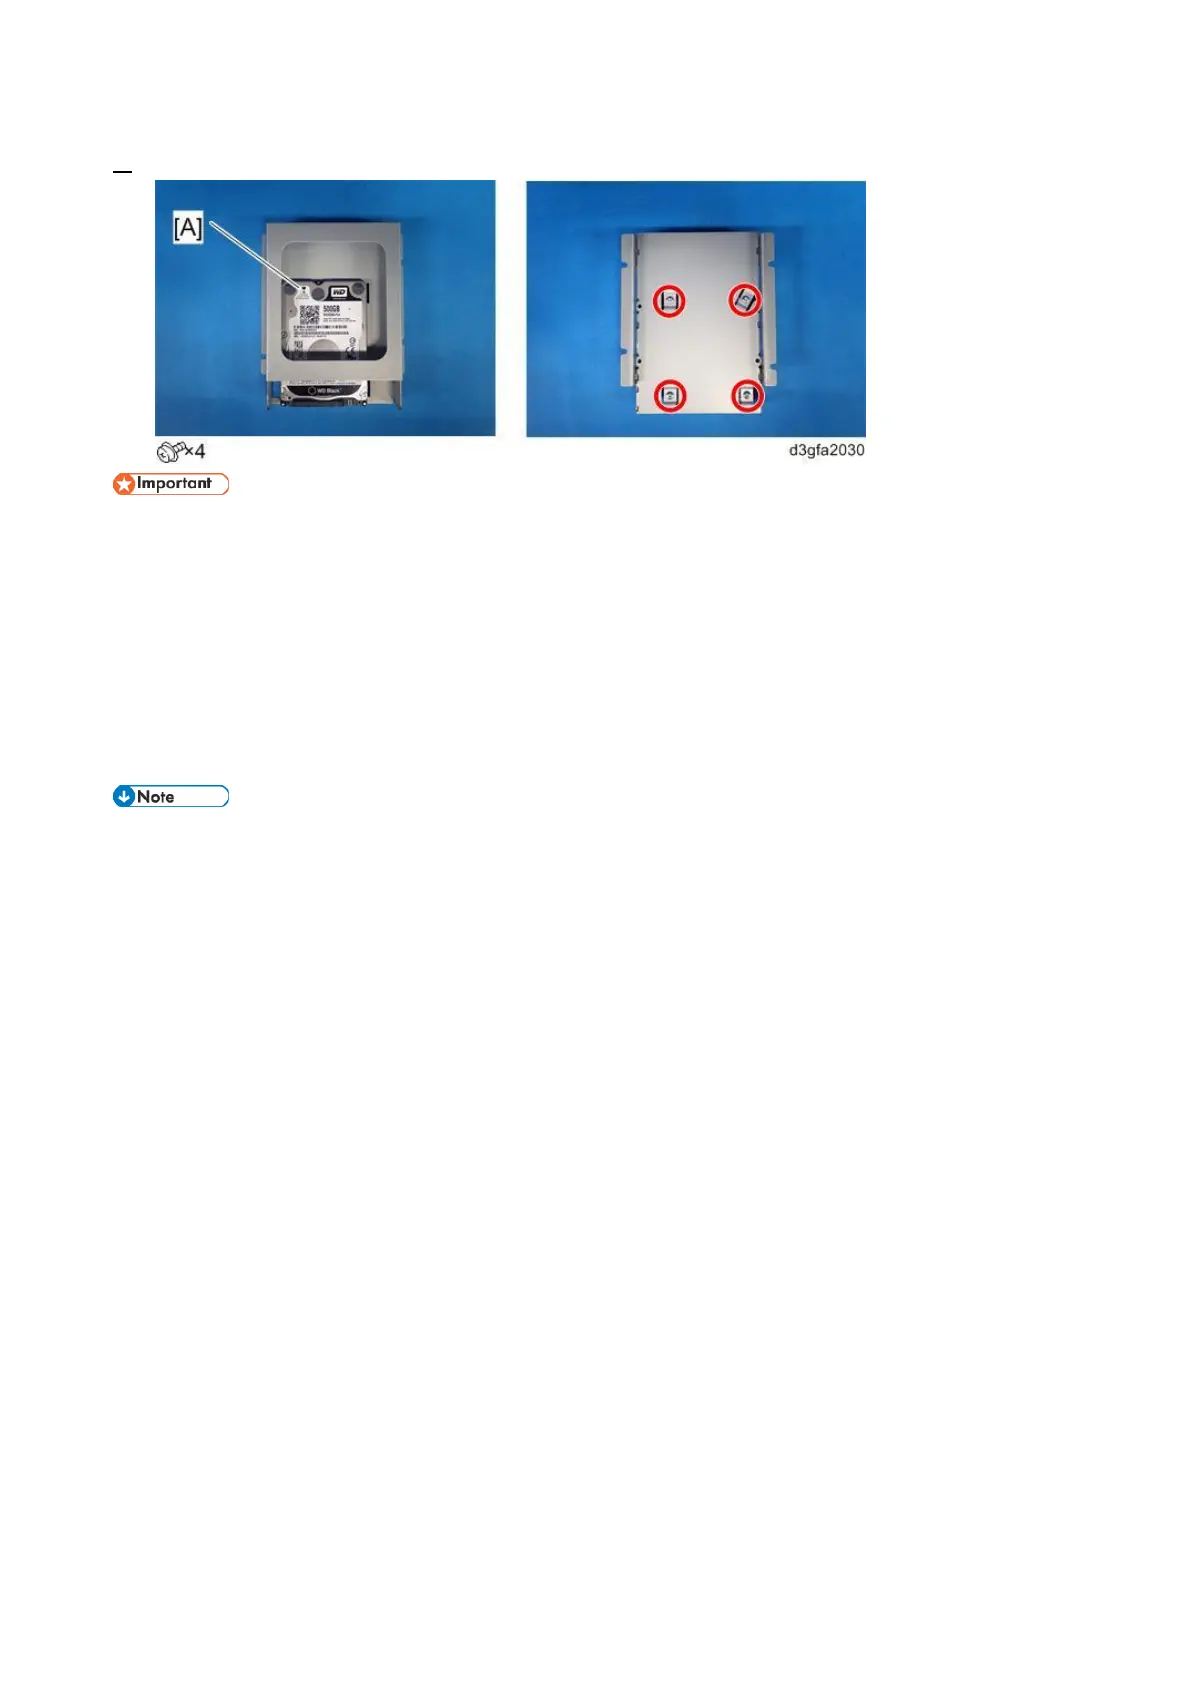
3. Remove the HDD [A].
Do not loosen or remove the screws on the HDD covers. Loosening or removing these screws
will break the seal and void the HDD warranty.
Do not touch the HDD with magnetic objects (such as magnetic screwdrivers), and avoid
placing magnetic sensitive items, such as credit cards and employee ID cards, near the HDD.
Place the HDD in an antistatic bag.
For reassembling:
Connect the SATA cable to the "SATA0" connector on the motherboard.
System Software is not included on replacement HDDs. After installing a new HDD, be sure to
install system software [Link to System Software Installation Procedure] and patches [Link to
Updates and Patches Installation Procedure].
If there is a backup file of the same E-25C unit which was formally created with the Fiery
System Restore feature with bootable option or Fiery Clone Tool, it is possible to restore the
backup file to the new HDD [Link to Restoring the E-25C System Directly with a USB Flash
Drive and Service Switch or Restore: Transferring Clone Image Files to E-25C].