Specifying Paper Type and Paper Size Using
the Control Panel
This section explains how to specify the paper size and paper type using the control panel.
• Paper type and size can also be specified using the printer driver. For details, see the printer driver
Help.
• For prints from the bypass tray or Tray 1, you can select to print according to either the printer
driver settings or the control panel settings with [Bypass Tray Priority] or [Tray1 Priority] under
[Paper Input]. For details about [Bypass Tray Priority] and [Tray1 Priority], see page 77 "Paper
Input Menu".
• If [Auto Continue] under system settings is enabled, printing stops temporarily if a paper type/size
error is detected. The printing restarts automatically with the settings made with the control panel
after about ten seconds. However, if the size of paper specified on the control panel and that of the
paper loaded in the paper tray or the paper size specified for the print job do not match when
printing restarts, it may cause a paper jam. For details about [Auto Continue], see page 83
"System Menu".
Specifying the Paper Type
This section explains how to specify the paper type.
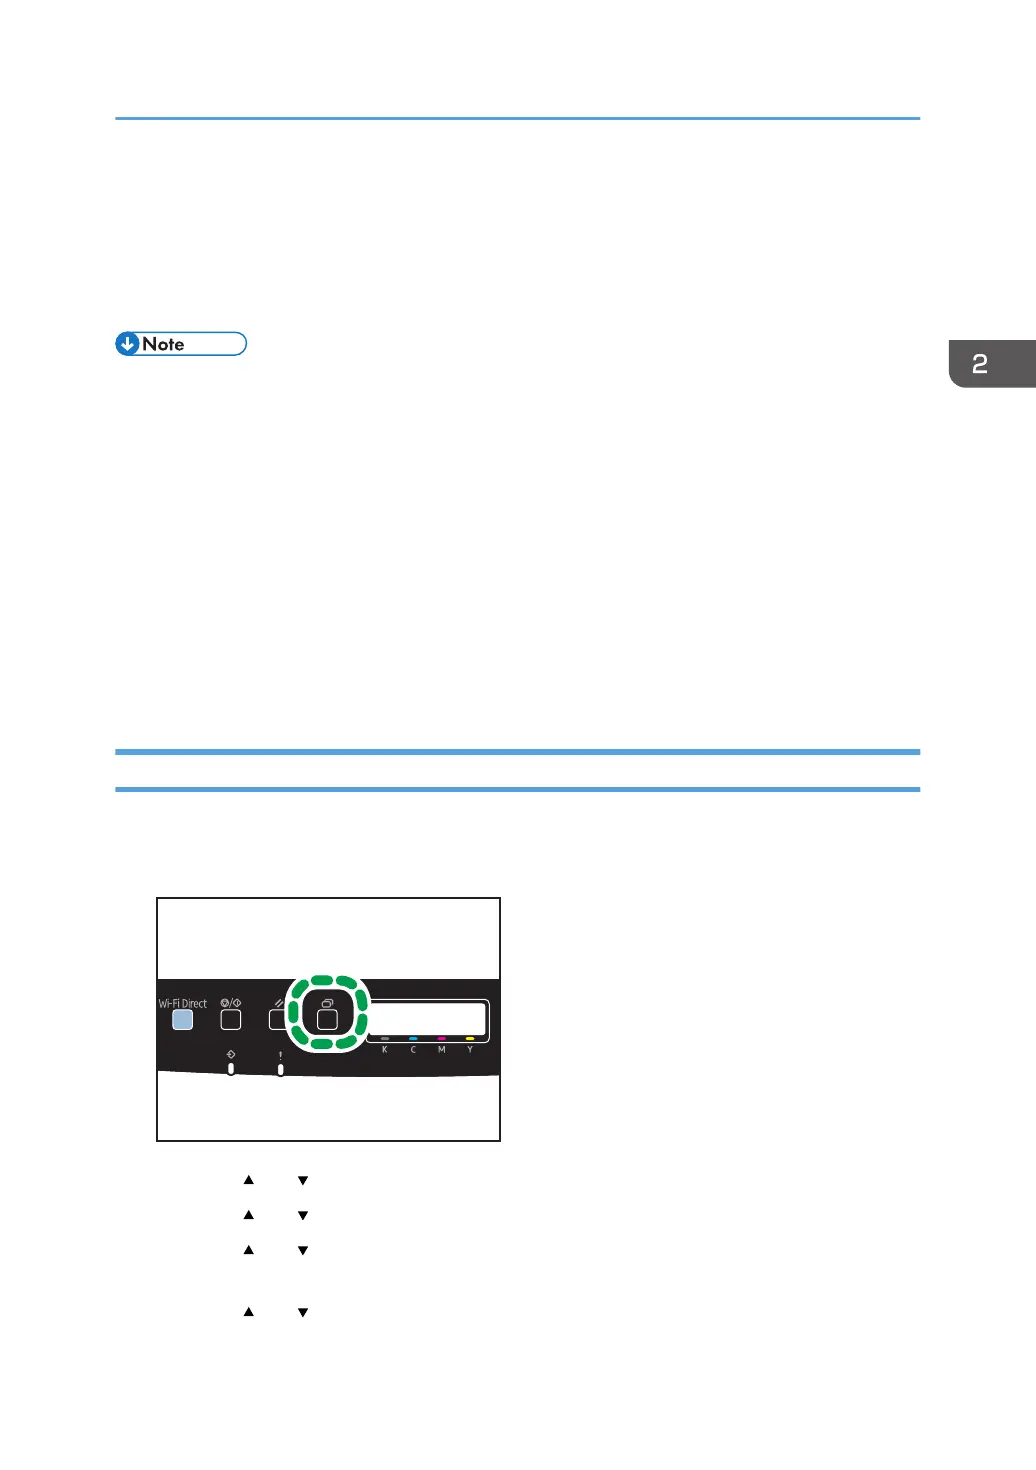
1. Press the [Menu] key.
2. Press the [ ] or [ ] key to select [Paper Input], and then press the [OK] key.
3. Press the [ ] or [ ] key to select [Paper Type], and then press the [OK] key.
4. Press the [ ] or [ ] key to select the paper type setting for the desired tray, and then
press the [OK] key.
5. Press the [ ] or [ ] key to select the desired paper type, and then press the [OK] key.
Specifying Paper Type and Paper Size Using the Control Panel
35
 Loading...