2.Replacement and Adjustment
21
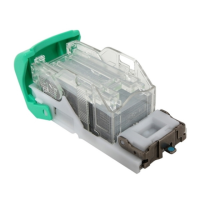
Board
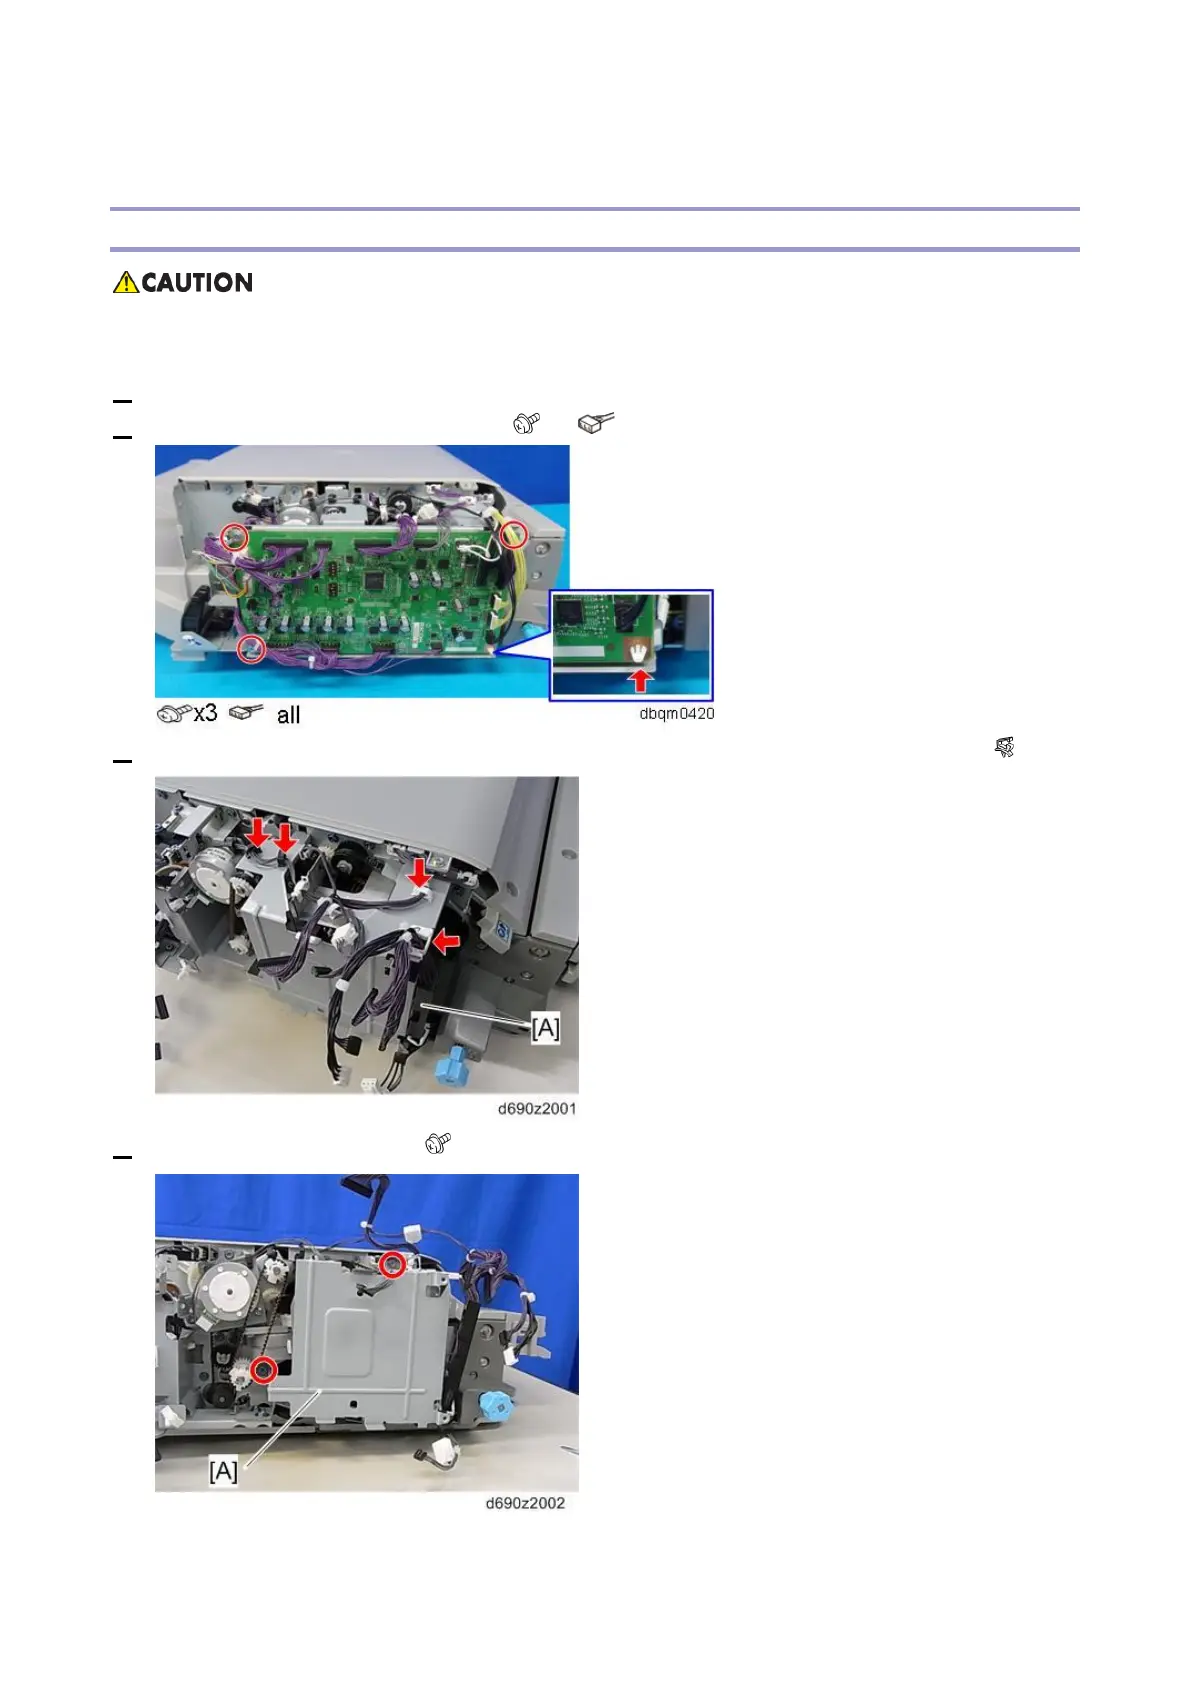
Controller Board (PCB1)
• When a controller board is replaced, use the same DIP switch settings as those of the
controller board before replacement.
1. Remove the finisher front cover. (Finisher Front Cover)
2. Remove the controller board (PCB1). ( ×3, ×all, plastic rivet×1)
3. Release four clamps and remove the harness bracket [A] on the controller board bracket. ( ×4)
4. Controller board bracket [A] ( x2)
 Loading...