15
Setup with a Kemper Profiling Amp
The Kemper Profiling Amp (or KPA) is another device that is frequently used with the Mastermind GT. The KPA has an
extensive MIDI implementation that allows it to communicate bidirectionally with the Mastermind GT, reporting effect
block status, effect types, tempo and tuner data.
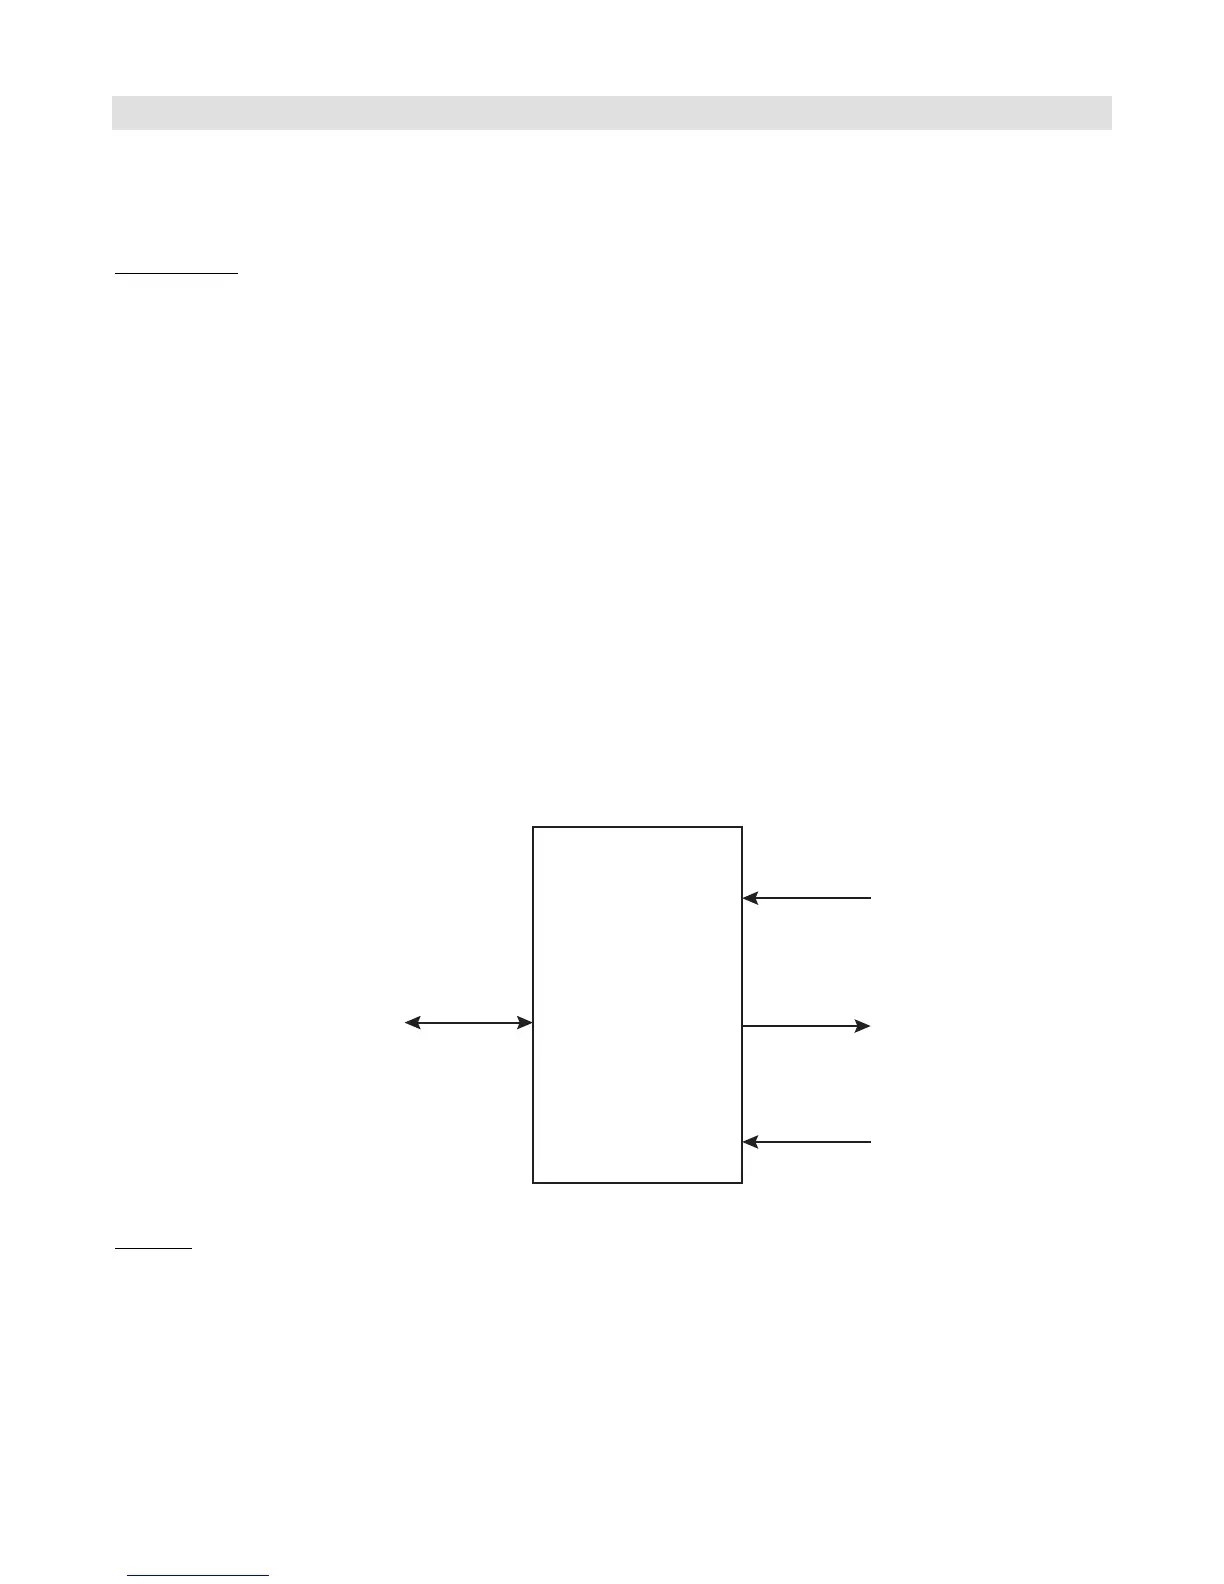
Connections
The KPA needs two MIDI cables to communicate to the Mastermind GT, one for input and one for output. There are two
ways you can make the connection:
Two MIDI cables – this is the simplest connection. Simply connect two standard 5-pin MIDI cables: one from the
Mastermind GT’s MIDI output to the KPA’s MIDI input, and one from the Mastermind GT’s Remote In to the KPA’s MIDI
output.
These cables can be “3-pin active” or “5-pin active” types – either is fine. Even though the MIDI connectors on the
Mastermind GT are 7-pin, it’s okay to use 5-pin MIDI cables – the two extra pins are used only for phantom power and
can be left unconnected.
With this option, you should power the Mastermind GT normally – with its included power supply.
Phantom Power Adapter – you can also phantom power the Mastermind GT. This allows you to keep the power
supply backstage in a rack, with only one MIDI cable going to the GT. We sell a phantom power adapter box, part
number PPA-DIN7F-2, which is a small box that goes between the Mastermind GT and KPA. It combines both MIDI
connections from the KPA and power from the AC adapter into a single 7-pin MIDI connection that goes to the
Mastermind GT. This adapter also has the advantage of improving the grounding of the MIDI connections, greatly
reducing any noise generated by the MIDI data stream.
Settings
Setup on the Mastermind GT requires only a few steps:
1. In Mastermind GT setup, select Edit Devices.
2. Select a device slot. If you’re starting with a Mastermind GT that’s in the factory state, select the “Rack Gizmo”
slot. If you also have a Rack Gizmo, you can leave the “Rack Gizmo” entry and instead select one of the empty
slots.
3. Press the Type button, then select Kemper. Next, select KPA. Don’t select the “KPA (slave)” option – this
option is described a bit later.

 Loading...