If the list of functions takes up more than one page, the Next Page buttons will be shown. This will let you move
between the pages of functions.
Once a function is selected, the menu will ask which button should receive the function. This is done using the Button
Selection menu described earlier. You will be asked if you wish to replace or add the function to the button.
Replace will delete the existing contents of the button, then copy the new function to the button. The button will be
turned into an instant access button with the newly selected function assigned to it.
Add will add the newly selected function to the button, preserving the button’s type and list of existing functions.
When pressed, the button will activate or deactivate all of the functions assigned to it.
The Assign Buttons menu is designed to be a quick way to set up your buttons. To do more detailed editing, you can
use the Edit Button menu, which is described next.
Low Level Editing
If you need more control over your buttons, you can edit the Actions assigned to each button. Button Actions are a list
of things a button does when it’s pressed. This could be sending a MIDI message or changing a parameter or mode on
the Mastermind GT itself. You can define up to 20 actions for each button.
By using the Set Default Buttons and Assign Buttons functions as described in the previous sections, Actions have
already been assigned to buttons. In the Edit Buttons menu, now press the Button Actions button. The Button Actions
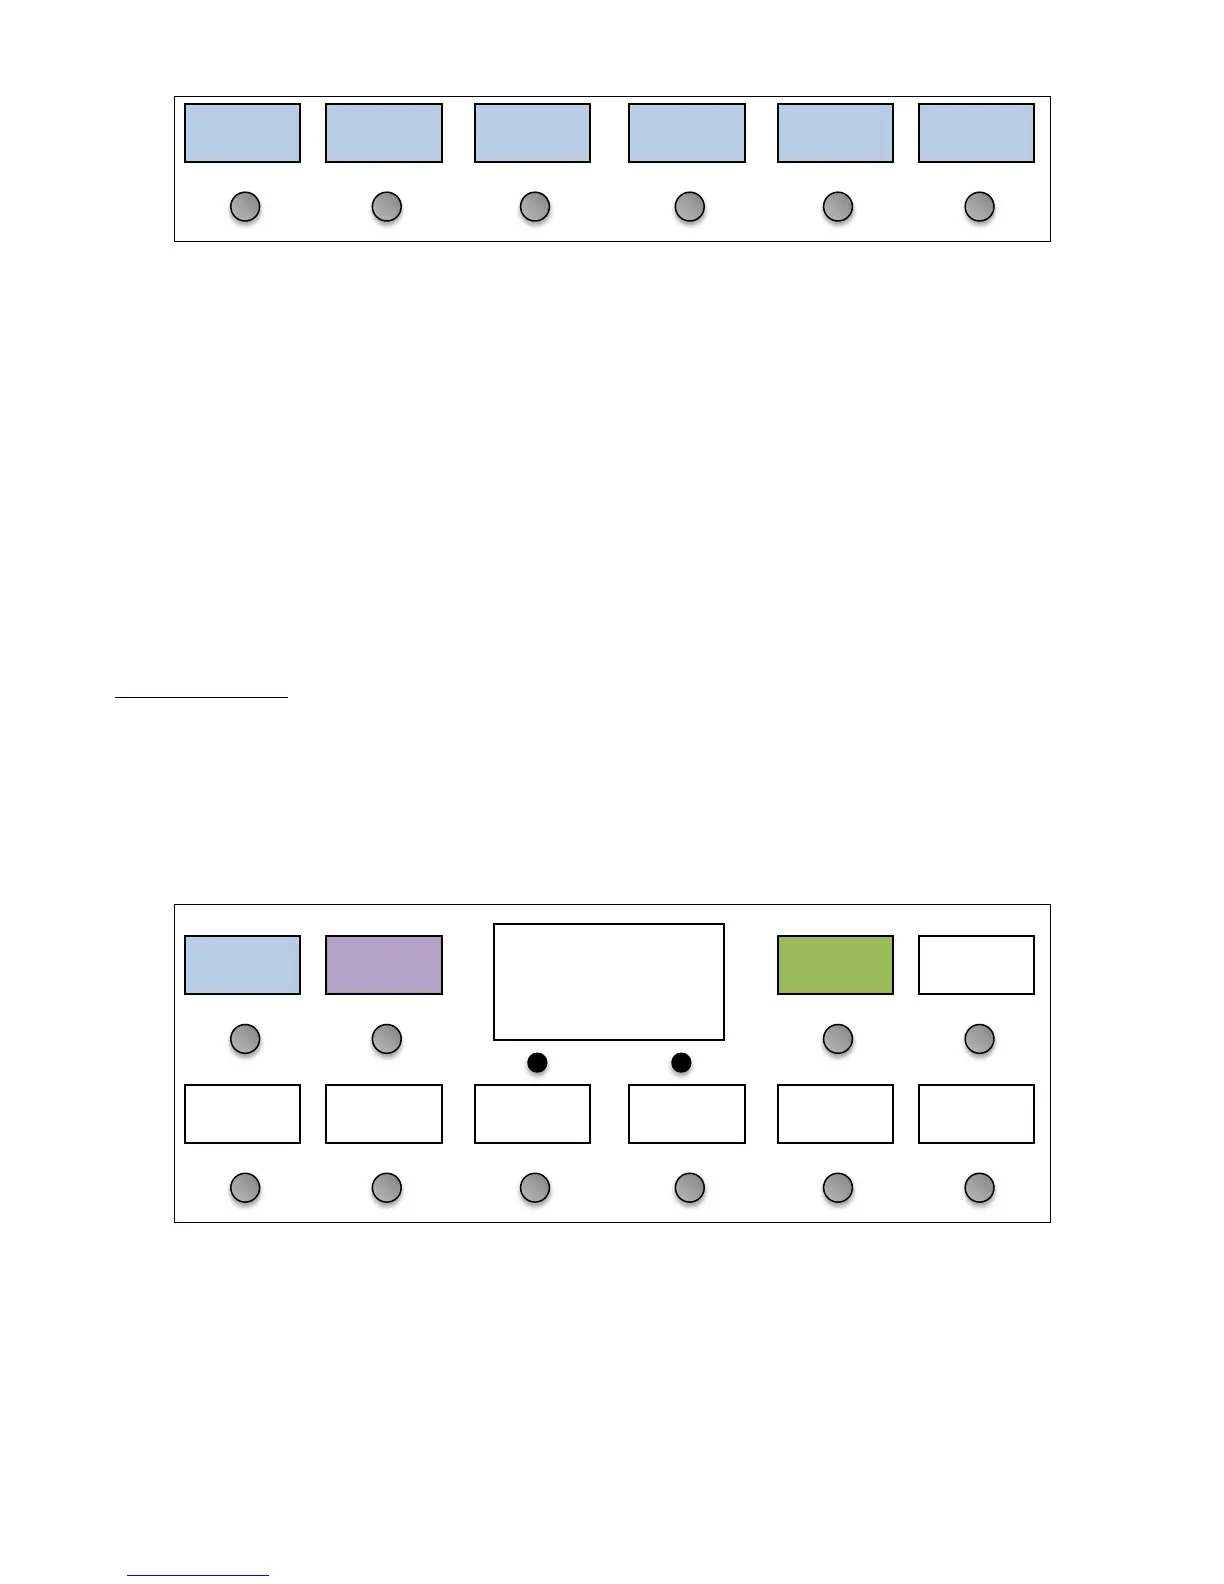
screen will be displayed, where you can see the list of actions:
In this example, we see that there is one action defined: to the “Mega FX” device, it is sending a CC message to control
the Chorus On/Off parameter. You can either add another action to this button by pressing the Add Action button, or
you can edit the existing Action by pressing its button. In either case, you will be taken to the Action Edit menu:
Looper
On/Off
Looper

 Loading...