Within some submenus or programming sections, the specific data are as option or
attribute types; the status of these options / attributes is display-able on 1 to 8 zone LEDs. In
order to turn these options / attributes activate / deactivate, you should press [1] to [8] keys
and the corresponding zone LEDs will turn ON / OFF. If the zone LED is ON means the
appropriate option / attribute is enabled and if the zone LED is OFF means the option /
attribute is disabled. Finally, to confirm the option / attribute data and pass to the main
programming menu”, the installer must press [#] key.
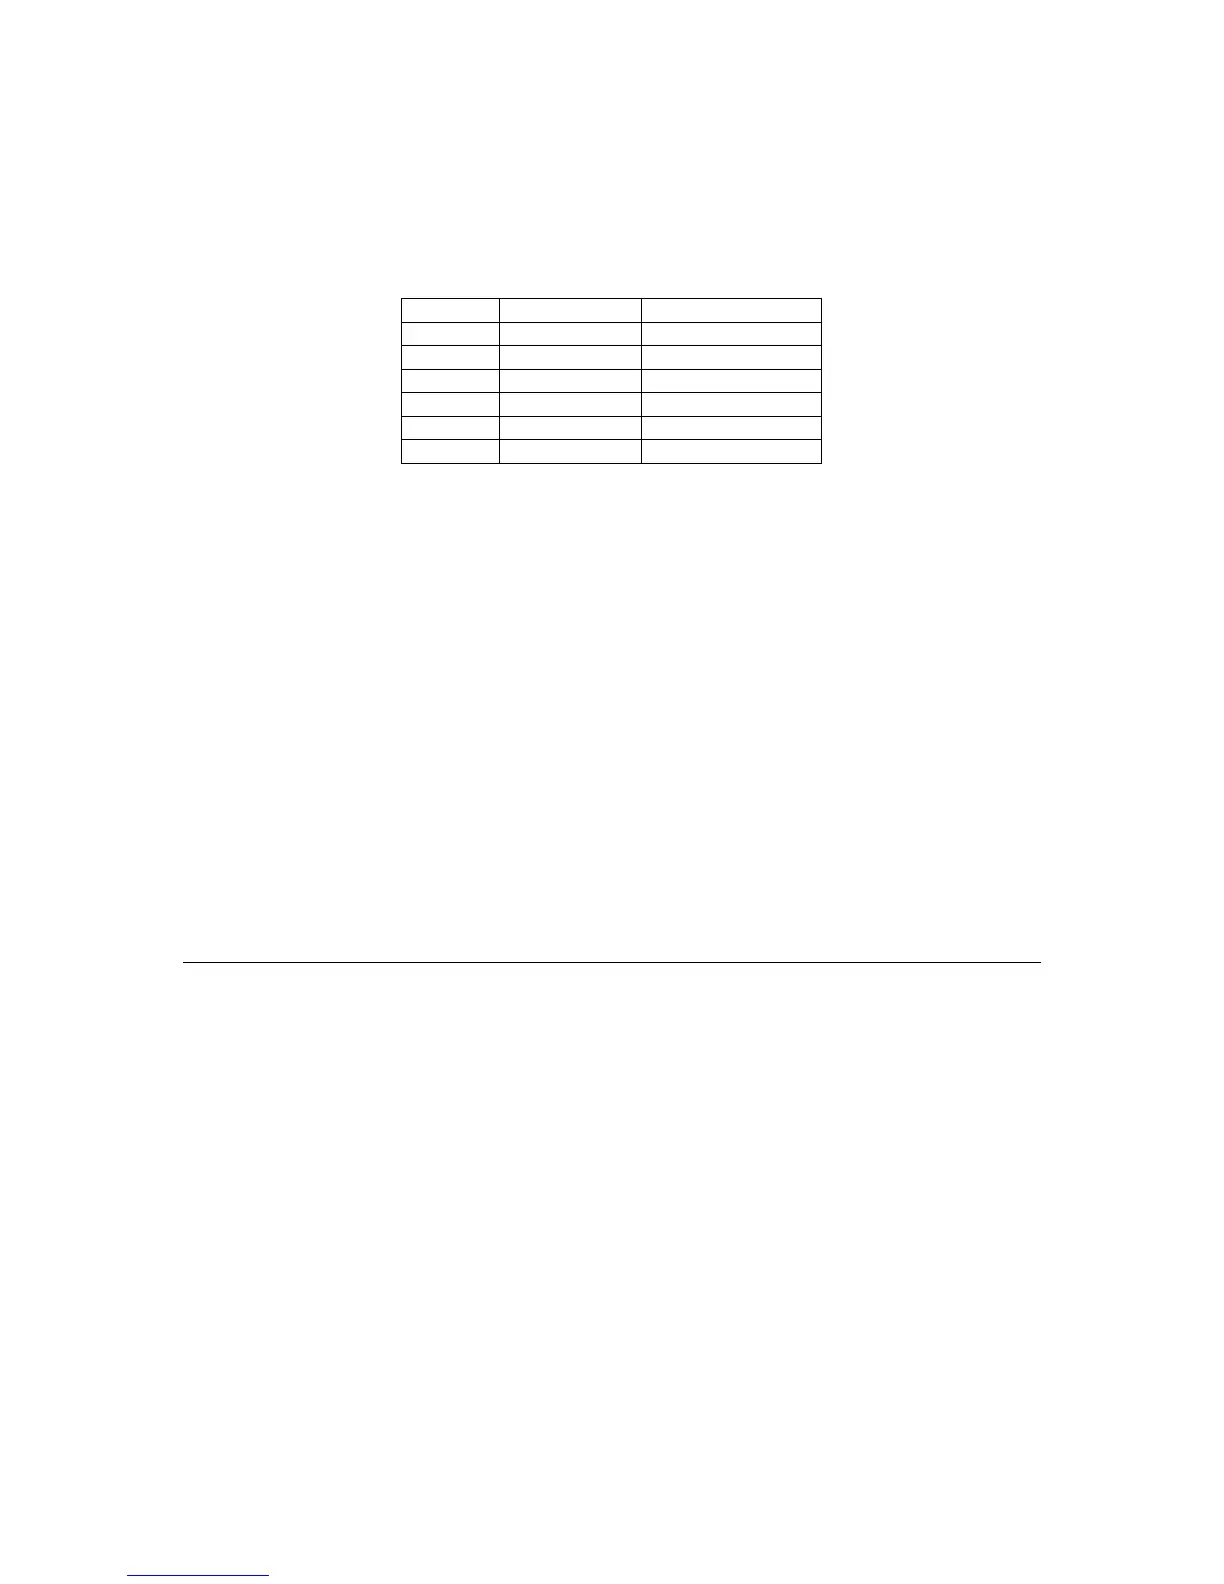
Remark: Certain sections may require entries of HEX digits. To enter these HEX-values, press [*] key followed by a
number from 0 to 5, according to the table below:
Note: after pressing [*] key, the READY A LED will blink and after digit was pressed, the LED will stay ON.
2.2 While the system is within any submenu of each programming section, modifying
of that parameters can be canceled by pressing the [#] key; the system will pass to
the next submenu.
3. While the system is within „main programming menu”, in order to program / modify
another set of parameters within another programming section, you should start the
procedure from step no. 2.
4. Finally, in order to exit the „main programming menu”, you should press [#] key.
Note: The control panel is programmed to leave any programming menu automatically 2 minutes after the
last key pressing. Thus, 2 minutes after the keypad was last worked with, the system will exit that submenu
automatically, passing within next submenu or on the next programming level, as when [#] key is pressed. Each time
when the system passes automatically from one submenu to the next, the keypad buzzer will sound 3 confirmation
beeps. In case that submenu is the last one within any programming section, the keypad buzzer will sound 6
confirmation beeps and the system will go back within „main programming menu”. In case the system stays within
„main programming menu” more than 2 minutes since the keypad was last worked with, the system will go back within
disarmed status.
PROGRAMMING SECTIONS
SECTIONS [01] … [10]/[16] (1 TO 10/16 ZONES’ DEFINING)
Zone characteristic programming is performed within [01] to [10]/[16] sections.
While the system is within „main programming menu”, select the respective section from [01]
to [10]/[16] for each zone from 1 to 10/16 and then enter the following sequence:
[__][__][ATTRIBUTES
1
][#][ATTRIBUTES
2
][#],
where [__][__] is a 2-digit group for the type of the selected zone and ATTRIBUTES
1
and
ATTRIBUTES
2
are 1 and 2 attribute sets for the selected zone.
While the system is within „main programming menu”, you should follow the next steps
to program the characteristics of each zone from 1 to 10/16:
1. Select one of the sections from [01] to [10]/[16]. Next, the keypad buzzer will sound
3 confirmation beeps and the panel is waiting for another 2-digit group to be entered, which
stands to the type of the selected zone.


 To Next Page