8 Zero Calibration
202208081959/V0.1
48 xMate ER7Hardware Installation Manual
Figure 41. Step 4
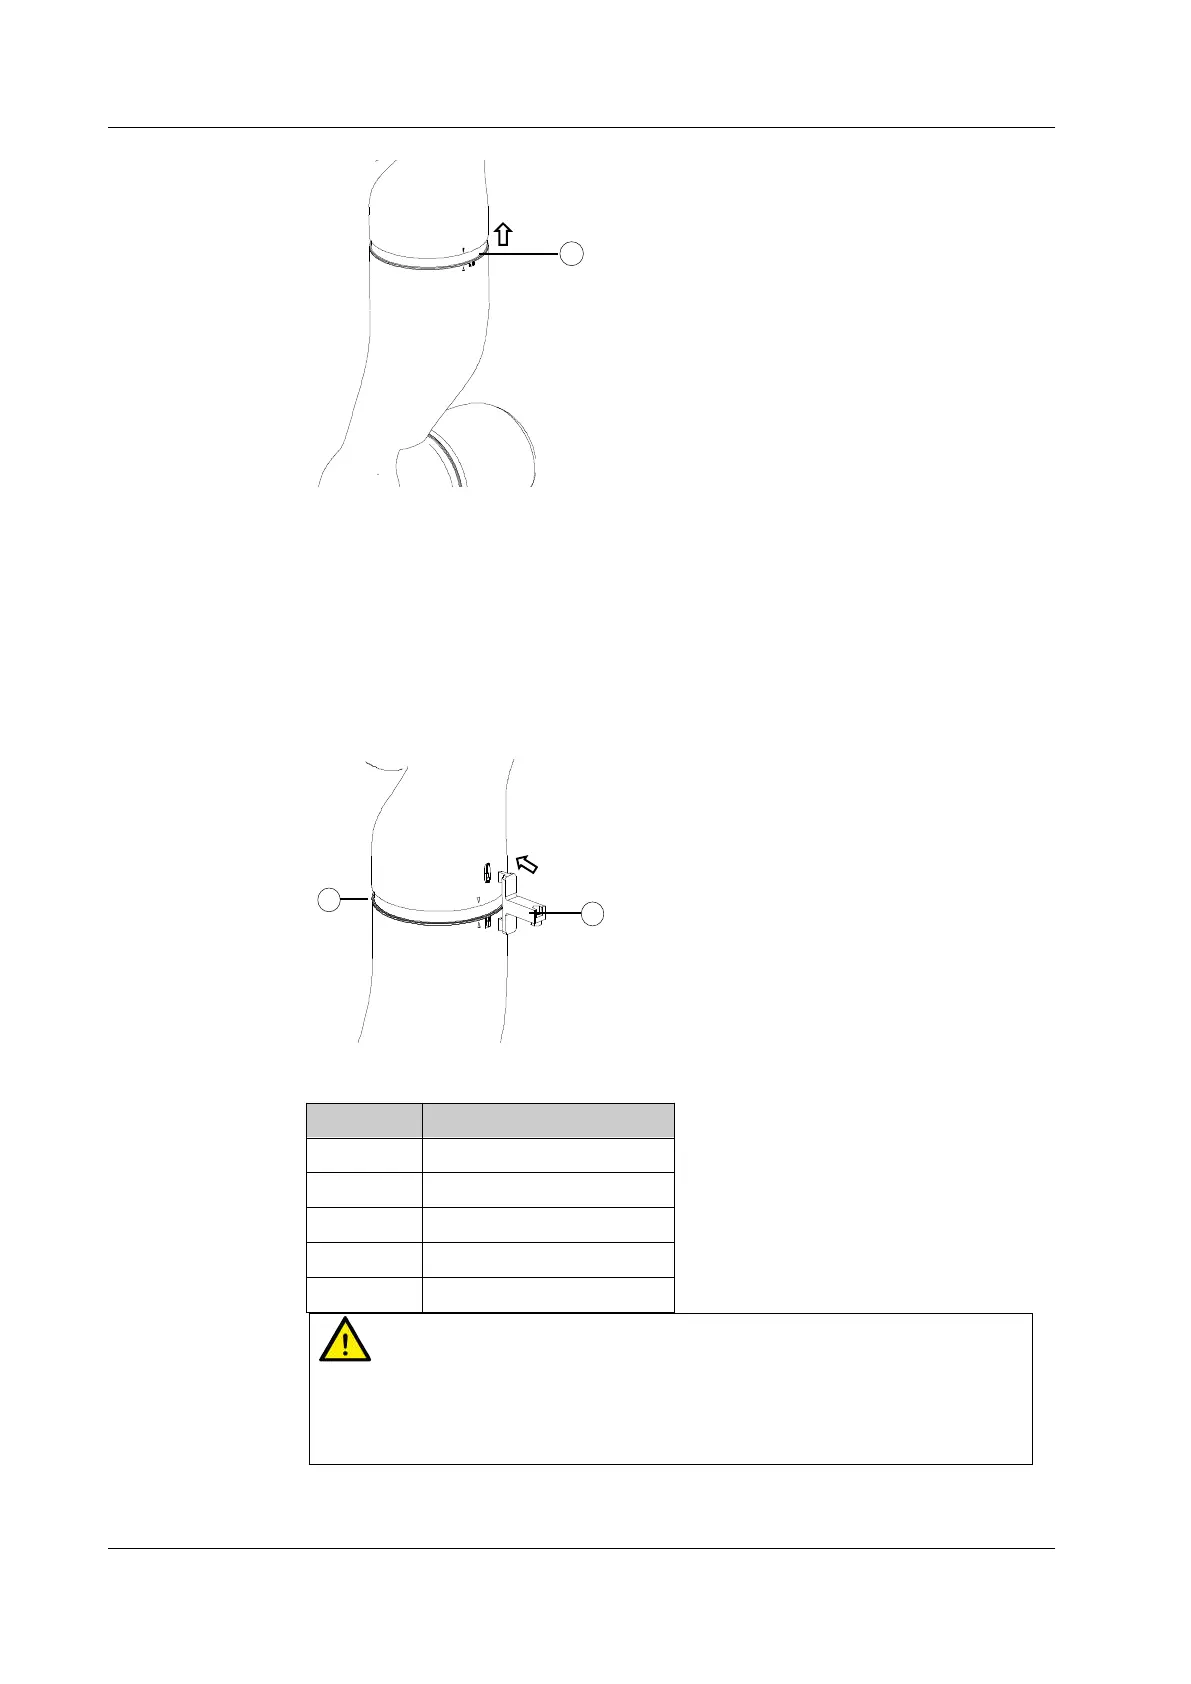
Step 4: Calibrate Axes 2 to 4
Push the plastic ring of Axes 2 to 4 onto the link in the direction shown in the figure, and
calibrate them as described in Step 3.
Step 5: Calibrate Axes 5 to 6
Calibrate Axes 5 to 6 as described in Step 3. Note that the direction of using the dedicated
calibration tool is opposite to that in Step 3.
Figure 42. Step 5
No. Description
1 Rubber ring
2 Plastic shell
3 Calibration slot
4 Calibration pin
5 Dedicated calibration tool
Warning
After the mechanical zero calibration, restore the plastic shells and rubber rings to the
state before calibration and remove the dedicated calibration tool from the calibration
slot. After all these are done, check the robot status to avoid potential accidents.
 Loading...