14
Playing
Turning the power on/o
* Before turning the unit on/o, always be sure to turn the volume
down. Even with the volume turned down, you might hear some
sound when switching the unit on/o. However, this is normal
and does not indicate a malfunction.
Turning the power on
1. Turn on this instrument rst, and then any
connected devices.
A screen like the one shown below (top screen) appears.
* The power to this unit turns o automatically to save energy after
a certain amount of time (20 minutes by default) has passed since
it was last used or since its buttons or controls were operated.
* If the Auto O function is set to “OFF”, this screen does not appear.
2. Press the [ENTER] button to close the popup screen.
* If you don’t want to show this screen again, move the cursor to
“Don’t show again”, use the [INC] and [DEC] buttons to select the
check box and then close the popup window.
3. Turn the [MASTER VOLUME] knob to adjust the
volume.
Turning the power o
1. Turn o any connected devices rst, and then turn
o this instrument.
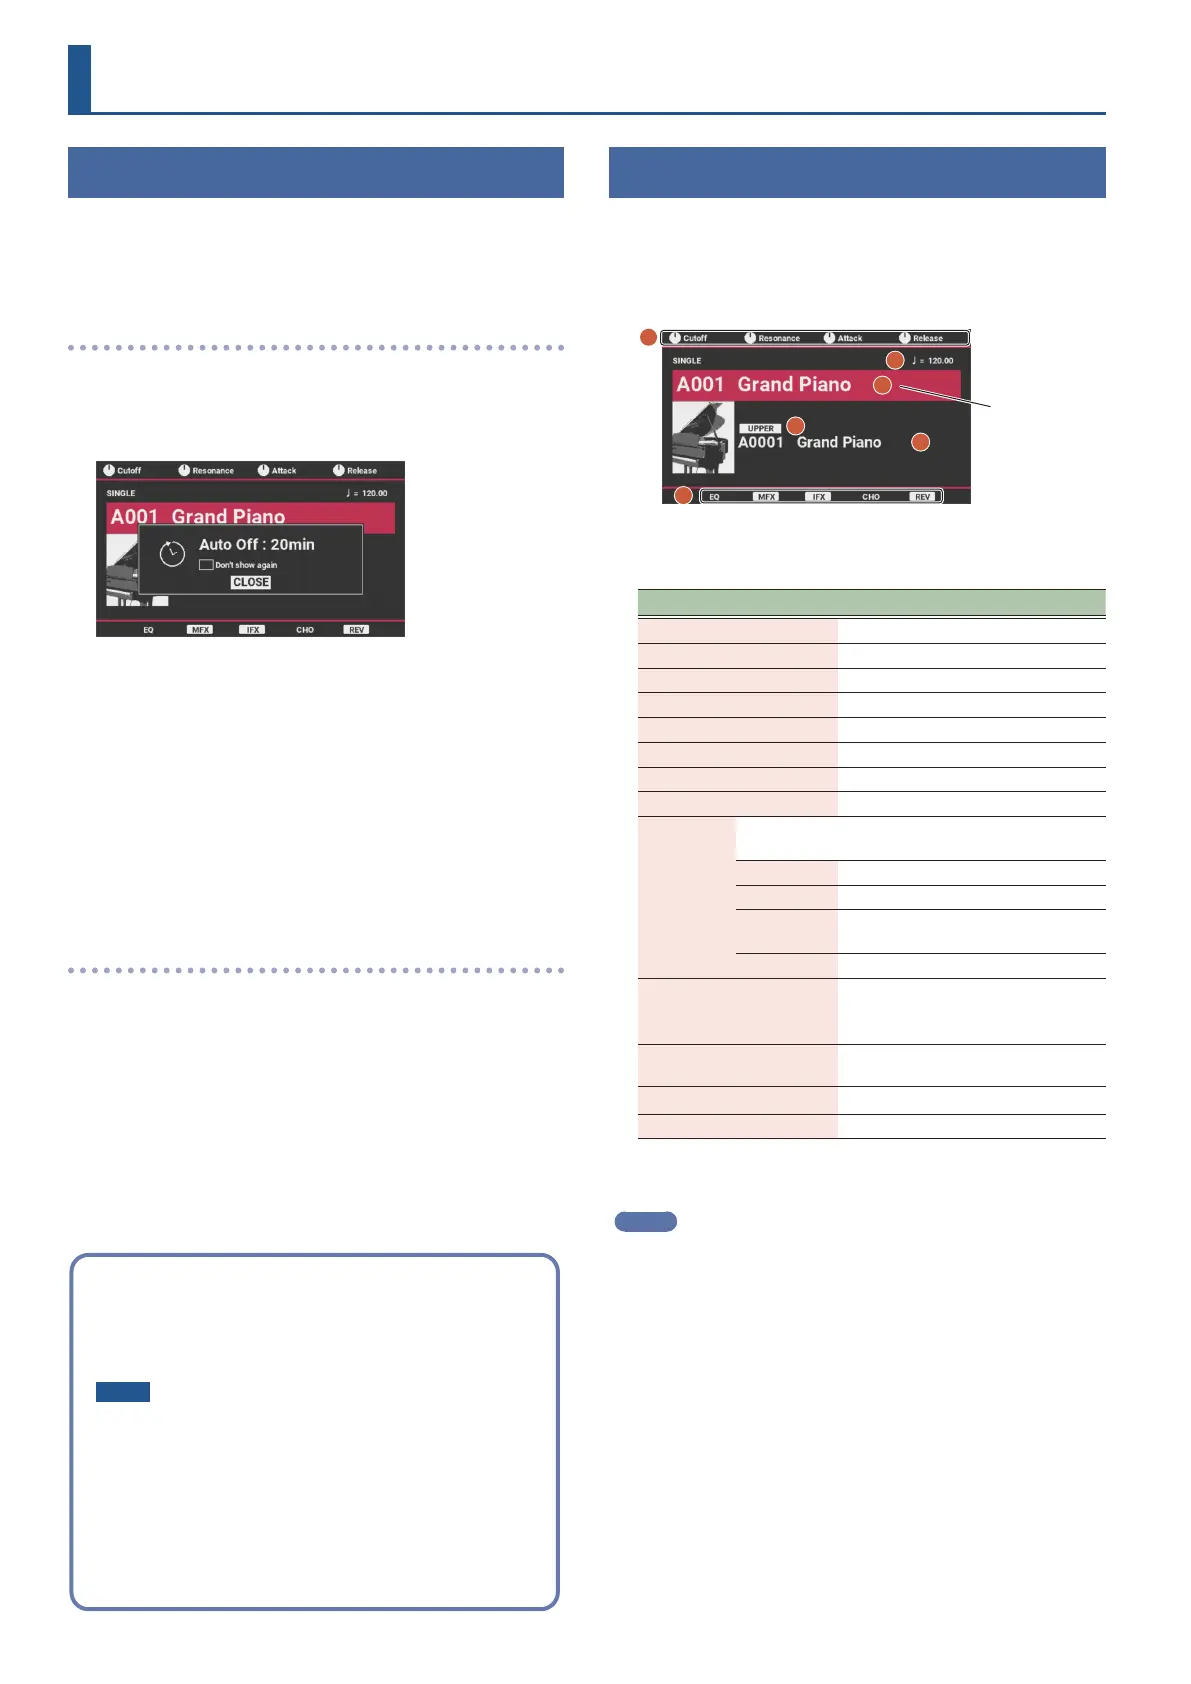
Selecting a scene
1. Move the cursor to the scene.
* When you select a scene that’s set for single, split, dual or Super
Layer mode, the corresponding screen appears.
Below is a screen example of a scene with single settings.
1
2
3
4
5
6
Scene
2. Press a category button ([A.PIANO/E.PIANO]–
[USER]) to select a category.
Category Explanation
A.PIANO/E.PIANO Acoustic piano, electric piano
ORGAN/KEYBOARD Organ, keyboard
STRINGS Strings
BRASS/WIND Brass and wind instruments
GUITAR/BASS Guitar, bass
SYNTH Synthesizers
CHOIR/PAD Choir, synth pad
PERCUSSION/FX Percussion, sound eects
WORLD
Folk instruments and sounds specic to certain
regions
INDIA India
ASIA Asia
LATIN
AMERICA
Latin America
OTHER Middle East, Africa and other regions
VOCODER
Vocoder
* Connect a mic to the MIC INPUT
connector for vocoder eects.
EXP
World Expansion or other expansion
tone
SAMPLE Sample phrases
USER User scenes
3. Use the value dial to select a scene.
MEMO
¹ You can also press the [ENTER] button to select from the list
screen. When you press the [ENTER] button on the SCENE LIST
screen, you can switch between scene category list view (by
category) and scene bank list view (by bank).
¹ For a list of scenes, see “Scene list” in the “Sound List” (Roland
website).
¹ When you select a scene that’s set for single, split, dual or Super
Layer mode, the corresponding button lights up.
Concerning the Auto O function
The power to this unit turns o automatically to save energy
after a certain amount of time has passed since it was last used
or since its buttons or controls were operated.
NOTE
¹ If the power automatically turns o, any unsaved data is
lost. Before the power turns o, save the data that you
want to keep (p. 32).
¹ If you don’t want the unit to turn o automatically, turn
this setting o (p. 49). Note that when the setting is
turned o, the unit may consume more power.
¹ You can simply turn the power back on after it has turned
o automatically.