Installation
Quantum Intelligent EV Charging Pedestal EVQM-V01-R6 Installation and Operation Manual
Page 21 of 52 December 2023
Install the Pedestal
IMPORTANT: All electrical work must be performed in accordance with the current
legislation applicable in the geographical region of the installation.
CAUTION: Equipment Damage – Sensitive Equipment
If you will be performing insulation resistance tests on the power supply cables, it is
advised to be done BEFORE connecting the power cable to the chargepoint. The high
voltages applied during the test may damage sensitive components if tested after the
cable is connected.
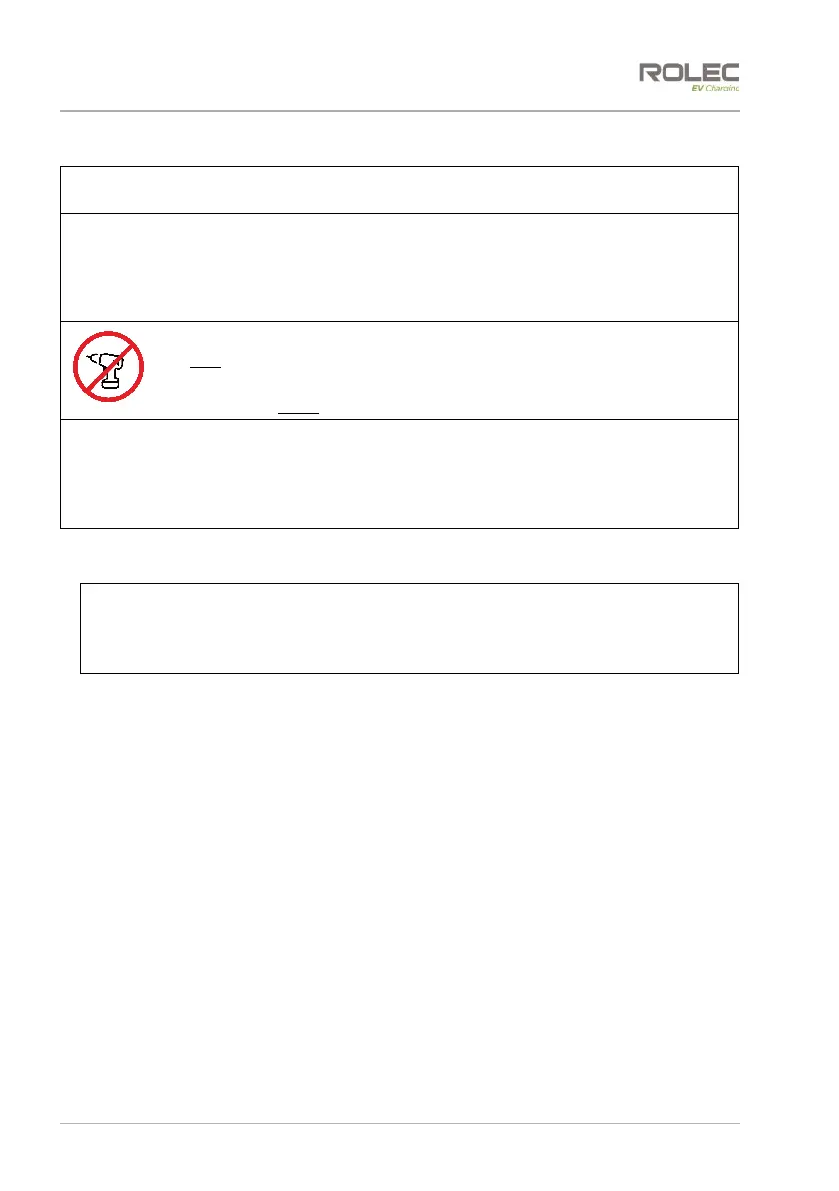
CAUTION: Equipment Damage
Do NOT use power tools to remove/install fixings.
Power tools can damage the fixings, making them difficult to remove.
Use hand tools ONLY and do not overtighten fasteners.
IMPORTANT: If Load Balancing is required, install it before completing the standard
installation. Refer to page 22 Install Load Balancing shown immediately after these
‘standard’ installation instructions.
Alternatively, if a third-party Load Balancing or Load Management device/system is to
be used, refer to the manufacturer’s instructions.
1. Remove and retain the fixings that secure the front and rear fascia panels to the
pedestal chassis.
CAUTION: Equipment Damage
Fascia panels may be connected to the main assembly by electrical cables. Take
care not to damage, strain, or disconnect the cables. Make sure all connections are
secure before refitting the panels.
2. Carefully ease the panels away from the unit.
3. If required, cut ‘X’ shaped slits in the rubber mat to match the mounting points of
the base and to allow incoming cables to pass though.
4. If required, create a hole in the base of the pedestal aligned with the ‘X’ in the mat
to allow incoming cables to enter the pedestal enclosure.
x Later in this procedure, Installers may wish to supplement the water resistance
provided by the mat to seal the cable entry hole with a suitably sized cable
gland and/or silicon sealant.
5. Carefully lift the pedestal then lower it to fit the power cable and any other cables
through the mat and into the enclosure. Fully lower the chassis onto either:
x the ground mounting base (align the four holes in the chassis with the four studs
of the base).
x the prepared surface.
6. Secure the chassis to the ground or ground mounting base with appropriate fixings
for the location.
7. Trim around the base of the pedestal to remove any excess rubber from the mat (if
required).