86
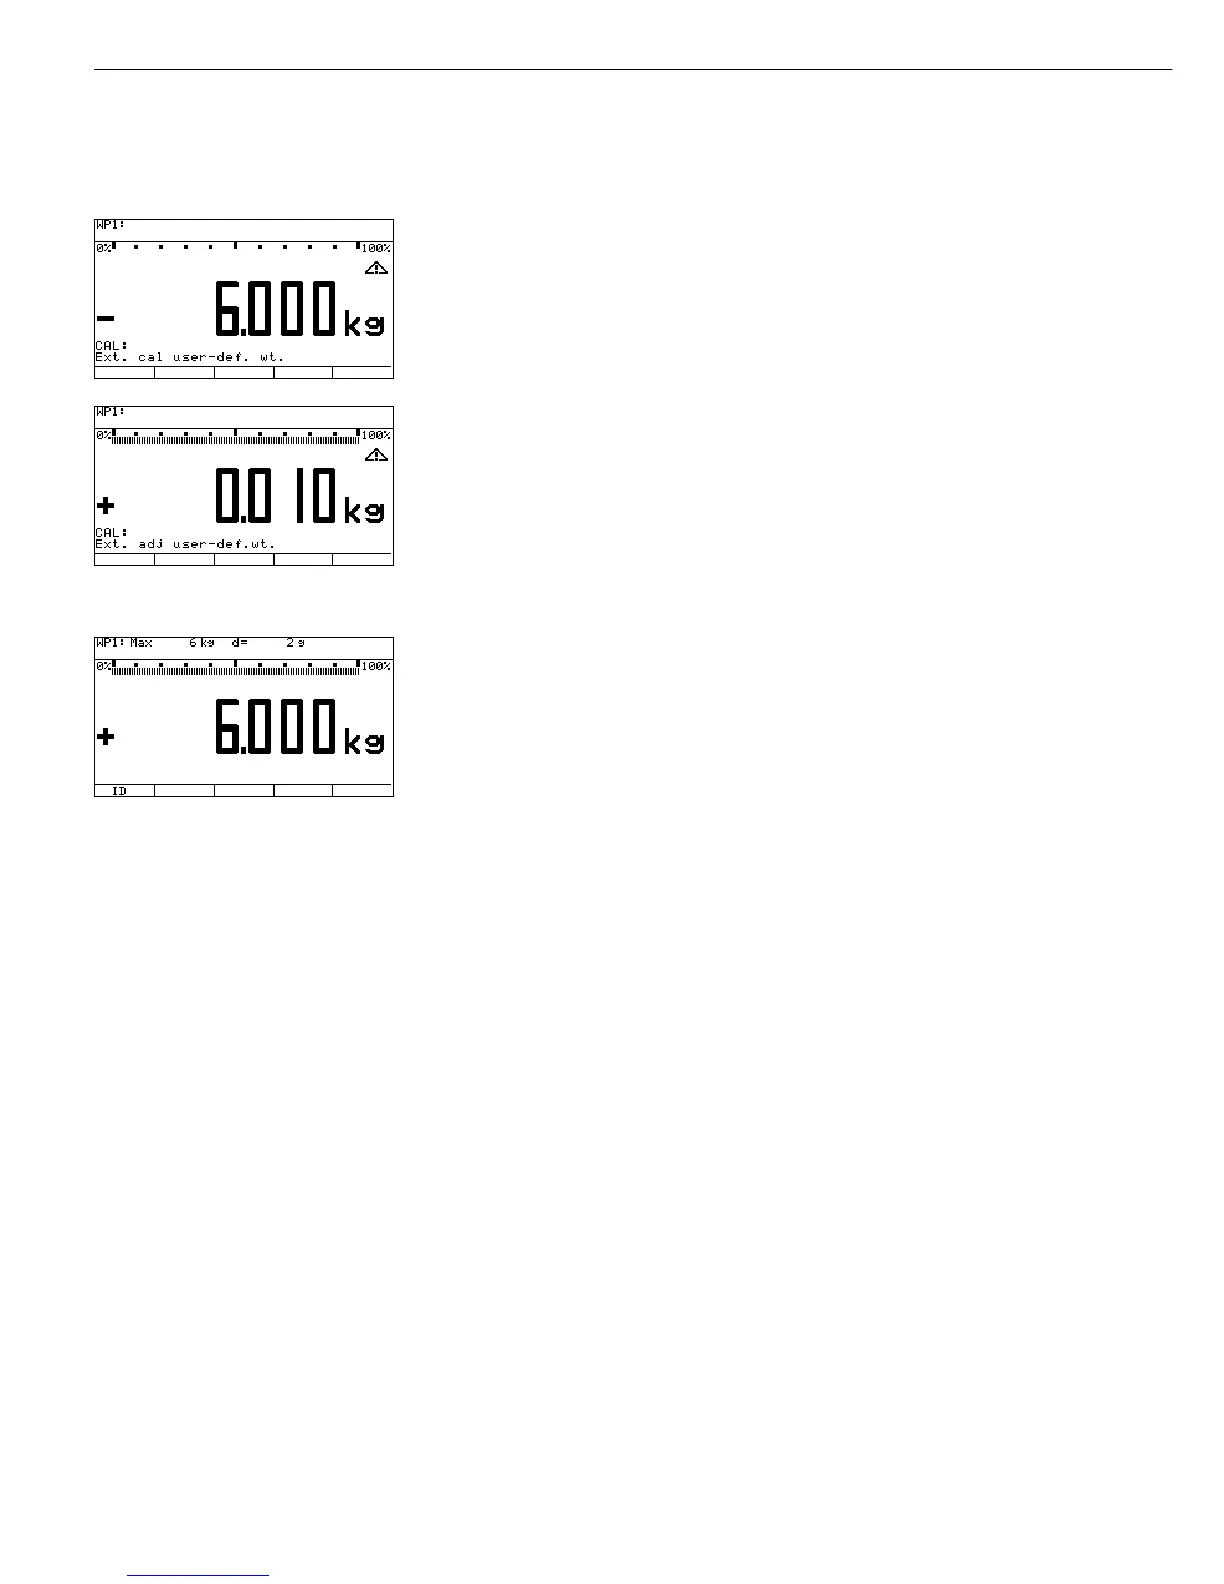
The nominal value of the required calibration weight (in this example, 6.000 kg) is shown
as a negative value on the display.
§ Place the required weight on the scale.
If the calibration/adjustment sequence is set to “Cal then auto adjust”, refer to the note
under “External Calibration/Adjustment with Factory-Defined Weight (Default Weight).”
After a brief pause, the difference since the last span adjustment is displayed (calibration).
$ To stop the procedure after calibration and before adjustment takes place, press (.
) Perform calibration/adjustment.
At the conclusion of the calibration procedure, the calibration weight is displayed as a
positive value.
-------------------- When calibration/adjustment has been completed, the GMP-compliant printout shown
14.01.2003 13:50 here on the left is generated. If the adjustment procedure is canceled (only calibration is
Type CW3P1-6DC-LCE performed), the last two lines, “External calibration” and “Diff. + 0.000 kg” are not
Serrano. 12345678 printed.
Veers. 1.0103.11.2
Boers. 01-26-02
--------------------
External calibration
Targ. + 6.000 kg
Diff. + 0.010 kg
External adjustment
Diff. + 0.000 kg
--------------------
14.01.2003 13:52
Name:
--------------------
§ Unload the scale.
ee Restart the scale: Turn the indicator off and then on again.
The Sartorius logo is displayed briefly, after which the device is in normal weighing mode.
Note:
If a serious operator error should occur during calibration, refer to the “Note” above for
details on corrective measures.
Internal Calibration/Adjustment
This function is available only if a digital weighing platform (for example, an IS platform)
is connected as WP 2, either as a second weighing platform or as the only weighing
platform without using the built-in A/D converter. The WP 2 device must be connected
to the COM1 or COM2 port, and this interface must be configured accordingly.
This function is also accessible without activating the Service mode.
 Loading...