Changing a Menu Code Setting
To select specific functions, you will need to set the
respective menu code.
There are three steps to changing a code setting:
– Accessing the menu
– Setting a code
– Confirming and storing the code
The keys have special functions for setting a menu
code. To set a code, use the four keys which are
defined on the display as arrow points to indicate
the direction:
<
w and > p = to move to the left and right
^
f and v F = to increase and decrease
a number by one with each press
t* = to confirm a code setting
c = to store a code setting and exit
the menu
Now try changing the weight unit in the second
weighing range from grams to “kg,” code 3 1 3.
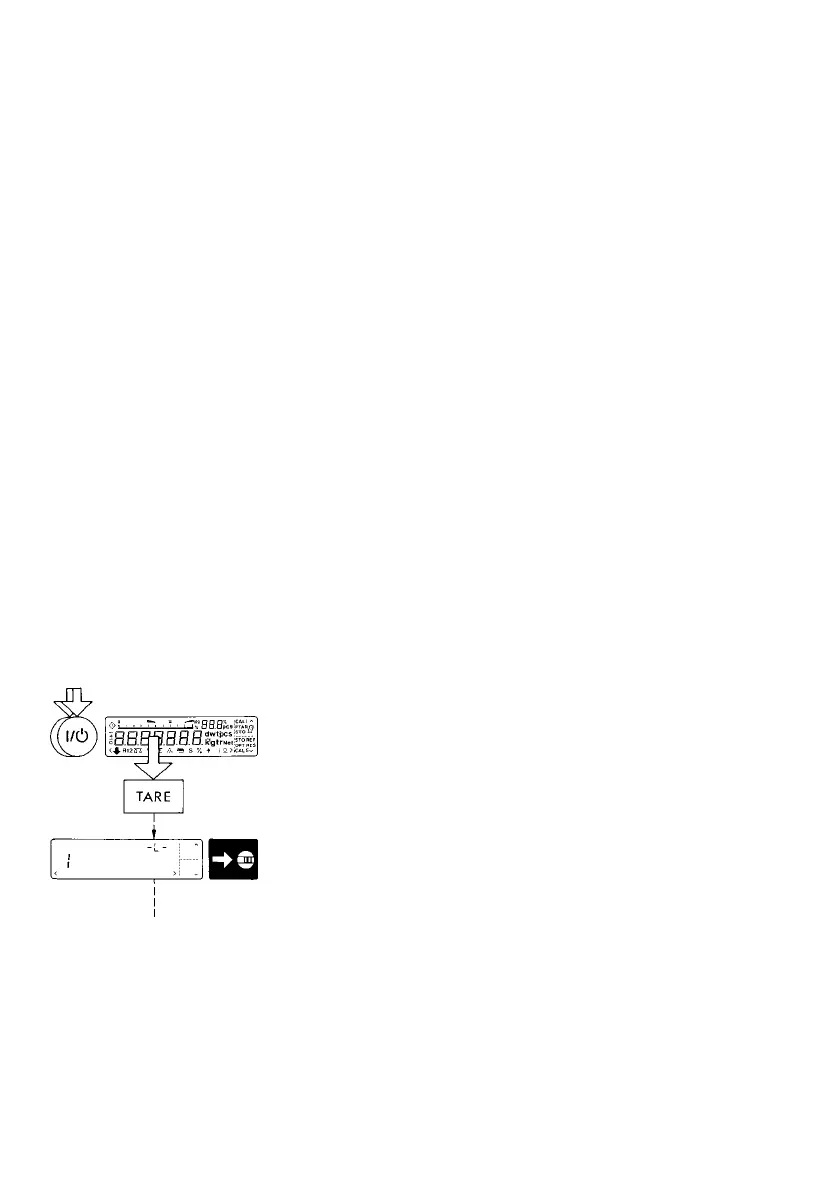
Accessing the menu
– Turn the balance off
– Turn it back on again
– While all segments are displayed, briefly press the
tare key* (10)
– If -L- is displayed, unlock the menu as follows:
– on balances with a weighing range less than 12 kg,
remove the protective cap on the front, right-hand
side of the unit
– on balances with a weighing range greater than
12 kg, remove the large screw located on the
left-hand side of the rear panel to expose the menu
access switch (5)
– Move the switch (5) in the direction of the arrow.
* = Labeled “T” on standard LC series balances with
a capacity greater than 12 kg
2–2