Assembly
09.00 | PGN-plus | Assembly and Operating Manual | en | 389296
19
5 Assembly
5.1 Installing and connecting
WARNING
Risk of injury due to unexpected movements!
If the power supply is switched on or residual energy remains in
the system, components can move unexpectedly and cause
serious injuries.
• Before starting any work on the product: Switch off the power
supply and secure against restarting.
• Make sure, that no residual energy remains in the system.
CAUTION
Damage to the gripper is possible!
If the maximum permissible finger weight or the permissible
mass moment of inertia of the fingers is exceeded, the gripper
can be damaged.
• A jaw movement always has to be without jerks and bounce.
• You must therefore implement sufficient reduction and/or
damping.
• Observe the diagrams and information in the catalog data
sheet.
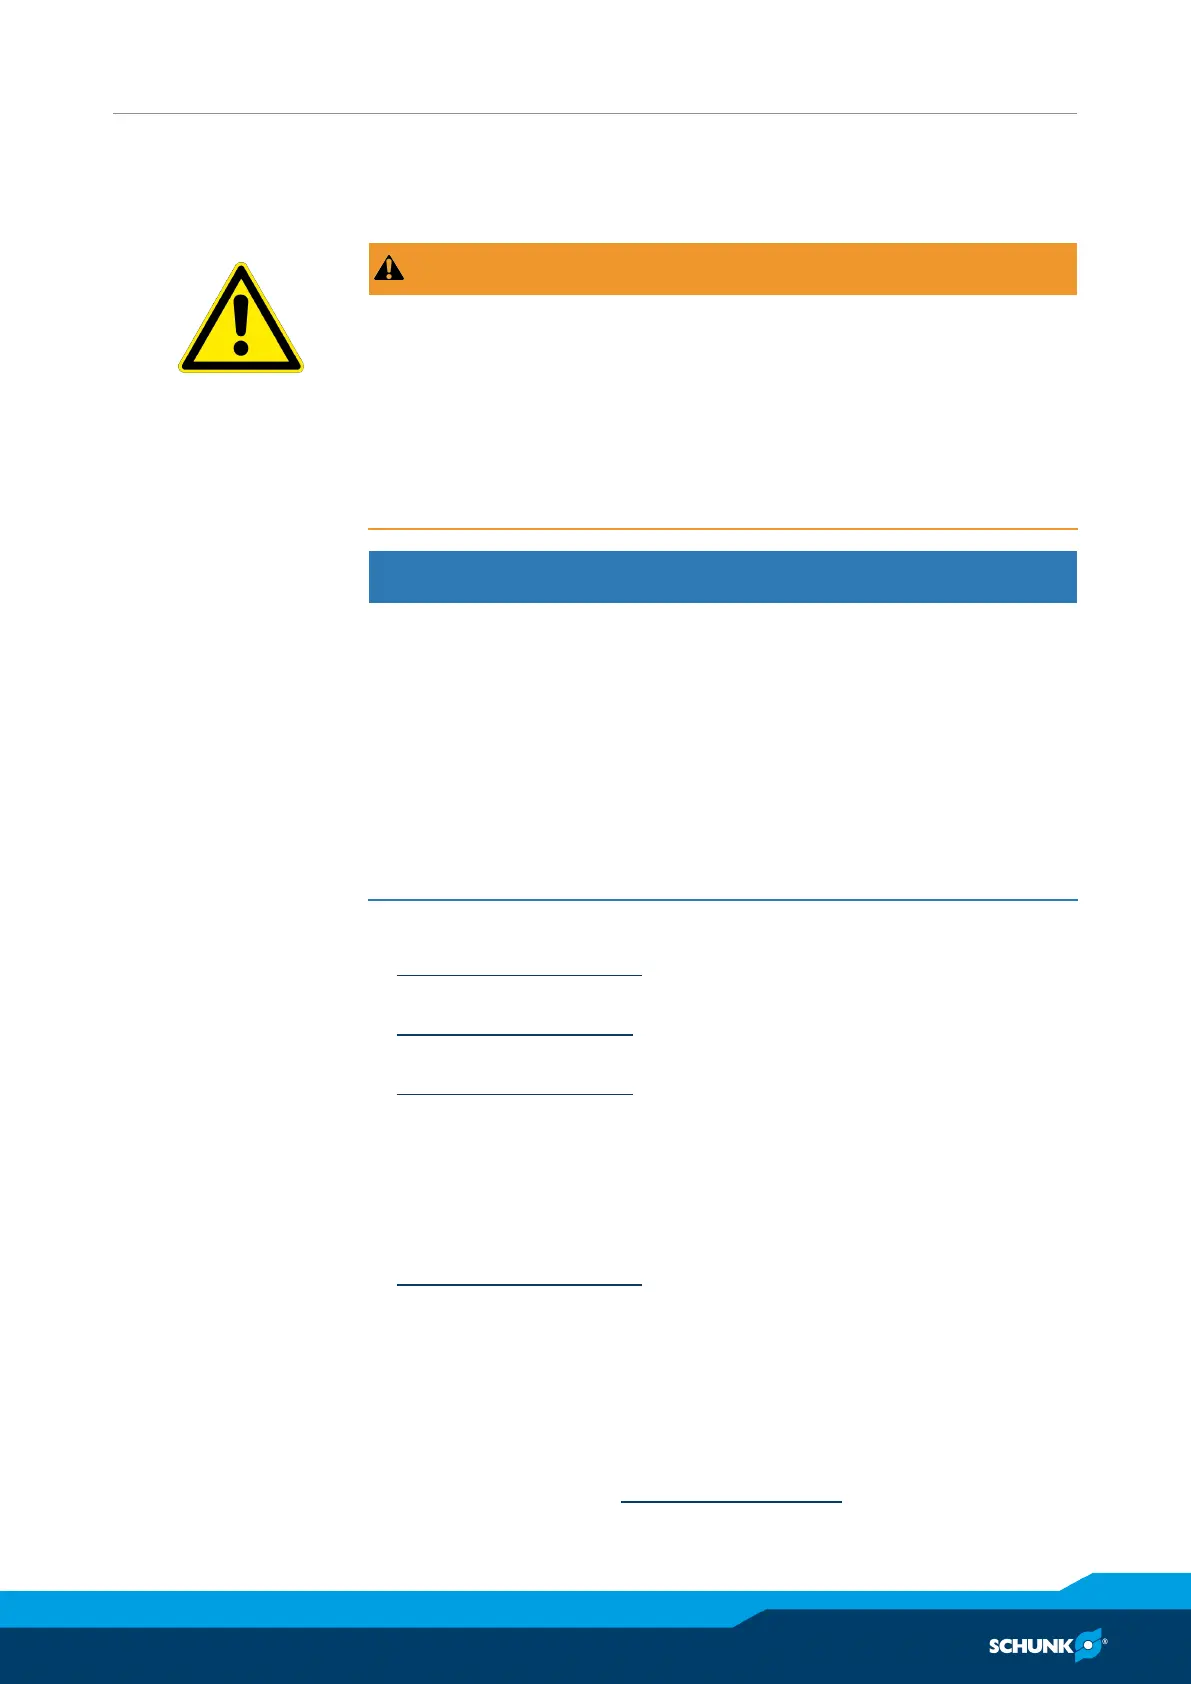
Ø Check the eveness of the mounting surface,
Mechanical connection [
}
20].
Ø Connect product via the hose-free direct connection,
Pneumatic connection [
}
23].
Ø OR: Connect supply lines to the main air connections A and B,
Pneumatic connection [
}
23].
✓ Unscrew locking screws.
✓ Screw air connections.
✓ OR: Screw throttle valve in order to be able to carry out
sufficient throttling and/or dampening.
Ø Screw the product to the machine/system,
Mechanical connection [
}
20].
✓ Use suitable connecting elements (adapter plates) if
necessary.
✓ Observe permissible depth of engagement and if required
strength class.
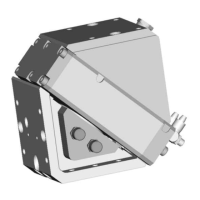
Ø Connect air purge connection if necessary.
Ø Connect the sensor, see sensor assembly and operating manual.
Ø Installing the sensor, Mounting the sensor [
}
24].