SEAWARD PRIMETEST SERIES USER MANUAL
TESTED. TRUSTED… WORLD WIDE Page 49 of 77
10 Uploading your PrimeTest
The PrimeTest Elite+ and Pro have the ability to Upload from the following:
From PATGuard 3(AUS/NZ) uploads a .gar file from PATGuard 3(AUS/NZ)
Printer Logos uploads custom logo that can be used on the 75mm labels
Clone Data uploads a backup file (.tar) with the current user setting
Background images uploads an image that can be used for a background image
List Configuration Data uploads user defined configuration data
10.1 Uploading from PATGuard 3 (AUS/NZ) to an PrimeTest Elite+ or Pro
From the Main Menu Page 2 select Upload by using the keyboard arrow keys or selecting the
key number 2.
In the Upload data into PrimeTest field select From PATGuard 3 (AUS/NZ), using the keyboard
arrow keys to select from the dropdown menu.
In the “using:-” field select “ USB-PC cable”. An additional PrimeTest drive (for example
PrimeTestXXXX:) will appear on your PC, as long as a USB cable is connected.
or
In the “using:-” field select “ Flash Memory Stick” (PrimeTest Elite+ only)
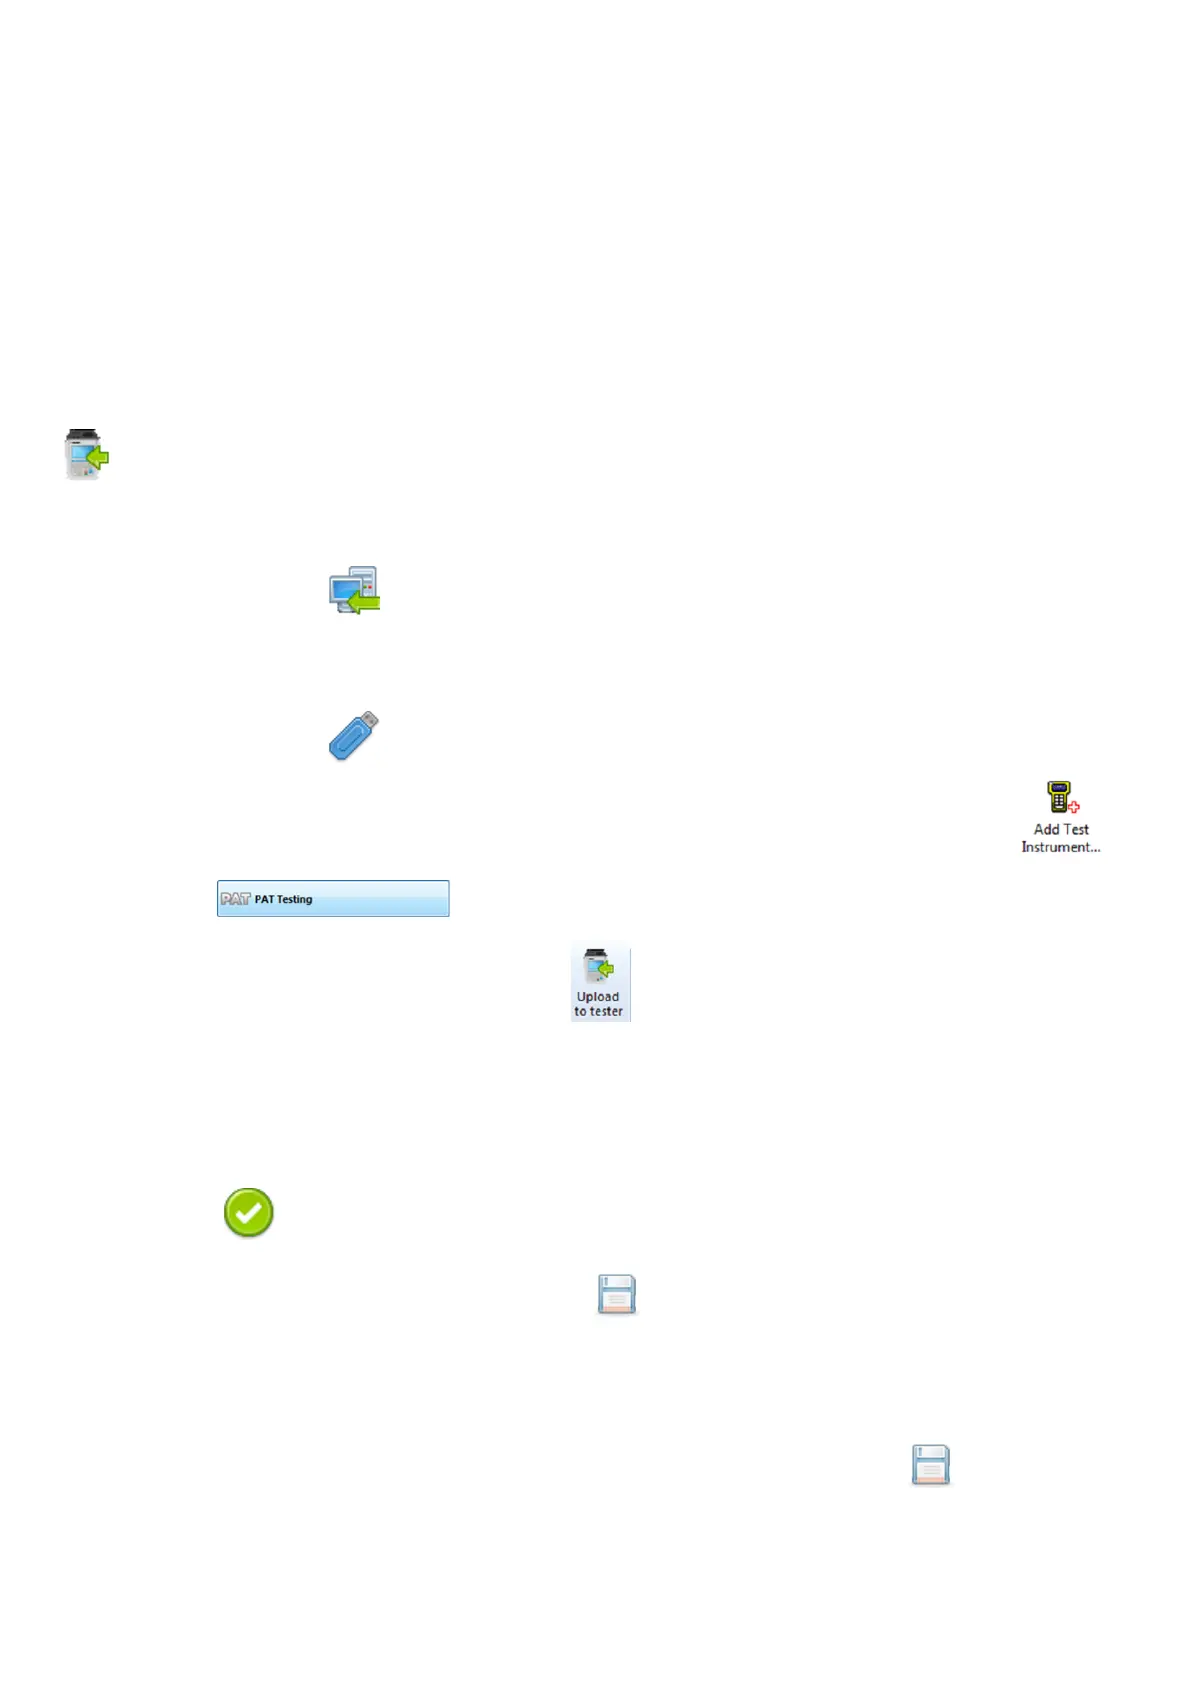
In PATGuard 3(AUZ/NZ), If you have not already, select “Instruments” and “Add Test Instrument”
select your instrument name using the dropdown and enter the instrument serial number if
the instrument has not been added previously.
In “PAT Testing” , select the “Site” or “Location” you wish to upload.
Select the “Data Transfer” tab and “Upload to Tester” , select the “Destination” test instrument
and correct drive (from the dropdowns – this will be either the PrimeTestXXXX: drive or Flash Memory
Stick drive from a previous step - next select the Site & Location you want to upload including the
data to be included (where applicable) - press OK.
A message saying – “File Saved Successfully :\PrimeTestUpload.gar” should appear on the PC.
On the PrimeTest the message “Save data to PrimeTest drive, press F3 when done” – select this using
the function key (F3). The following message will then appear on the PrimeTest “Valid Data files
from PC. Select one of these files and press F4. Select the file containing your uploaded data (*.gar),
using the keyboard arrows keys, and save by selecting (F4).
or
After transferring the USB memory stick (you will receive a message if you have not done this), in the
field below “Valid data files from USB memory stick. Select one of these files and press F4” - select the
file containing your uploaded data (*.gar), using the arrows keys, and save by selecting (F4)
(Flash Memory Stick, PrimeTest Elite+ only).
Note:
When selecting one from multiple files please ensure the correct file is highlighted.
 Loading...