22 | TeamConnect
Installing and connecting the TeamConnect components
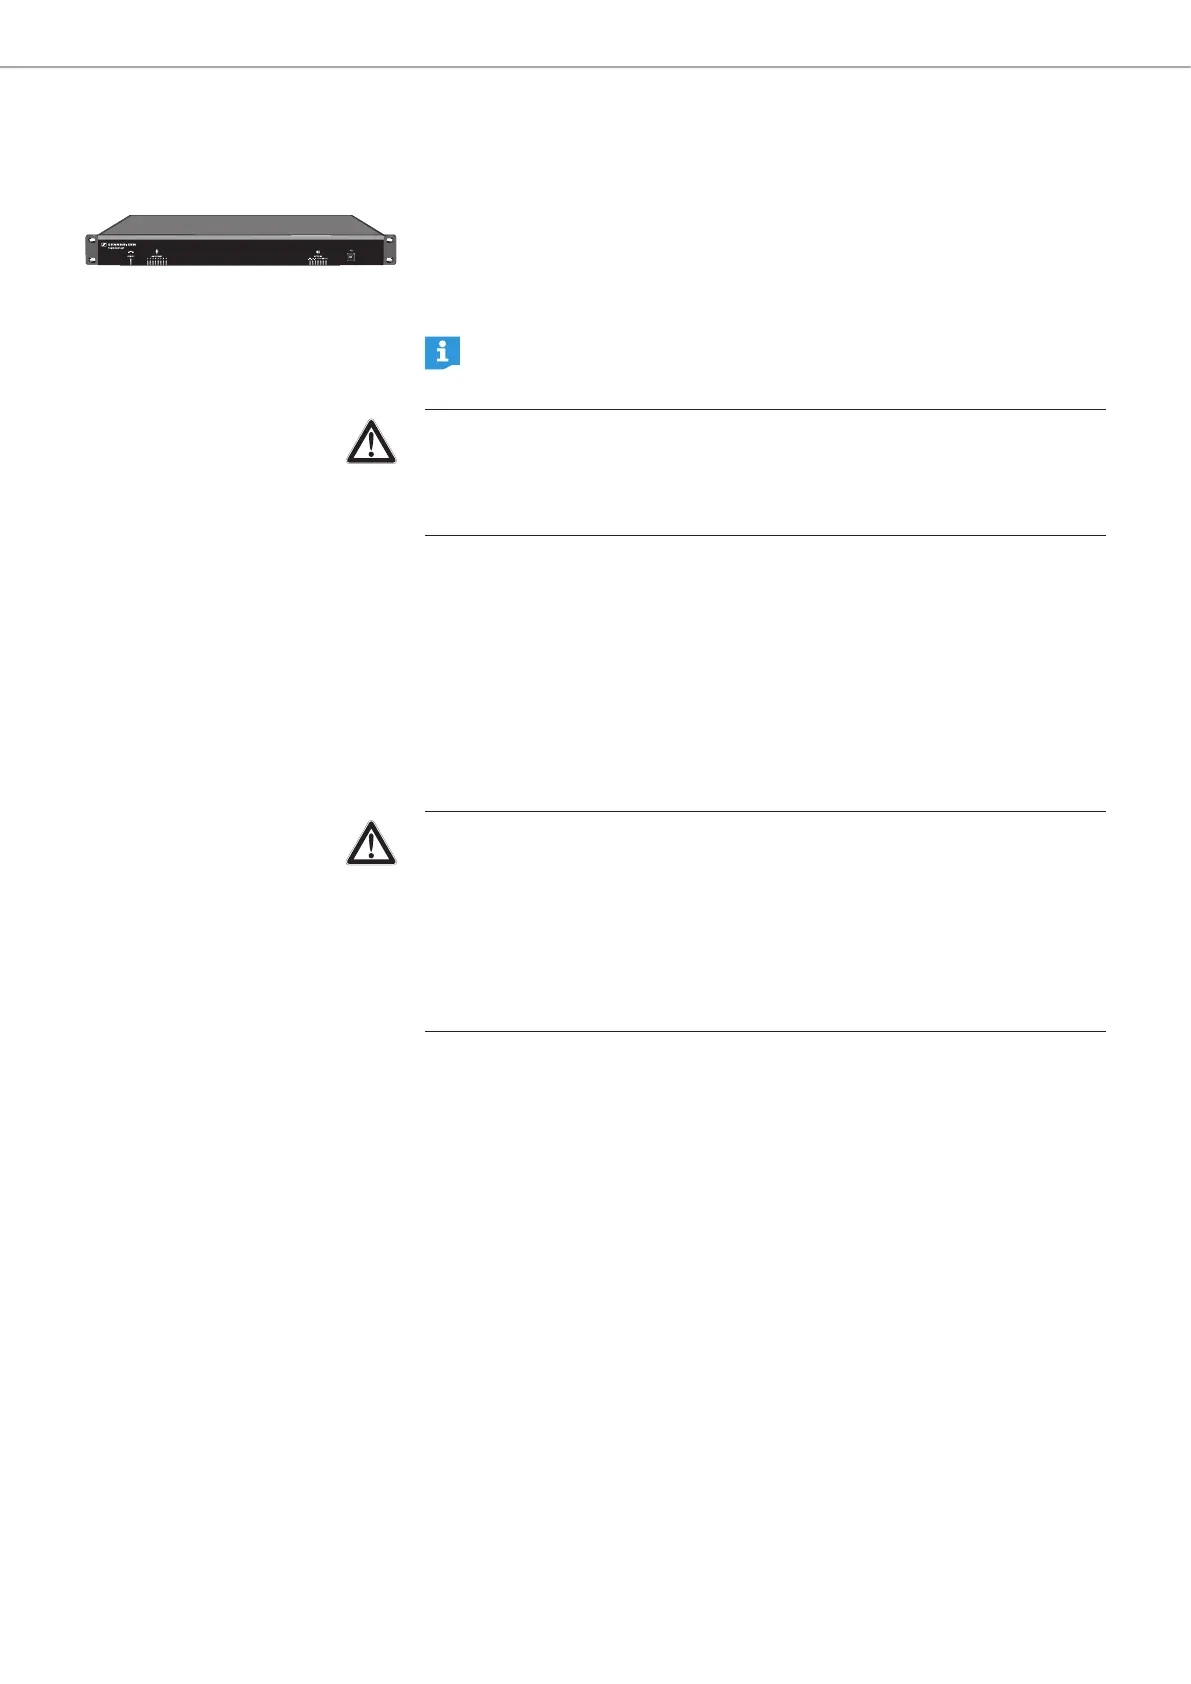
Installing the SL TeamConnect CU1
All components of the TeamConnect system used in the meeting room setup must
be connected to the central control unit SL TeamConnect CU1. When all cables are
connected, the SL TeamConnect CU1 can be installed permanently. The user does
not need to access the SL TeamConnect CU1 directly. All further configuration and
operation is performed via iPad / iPhone or computer.
The supplied rack mounting brackets and screws allow for an installation of
the CU1 in a rack unit.
CAUTION
Danger of injury and material damage due to incorrectly laid cables!
X Make sure that all cables to the product are laid so that no one can stumble
over them and suffer injury or cause damage to the cables and the product.
Connecting the SL TeamConnect CU1 to the mains power supply
X Connect the cable of the power adapter to the power adapter input B of the
SL TeamConnect CU1.
X Connect the mains cable to the power adapter.
X Connect the mains plug of the mains cable to a power outlet.
Disconnecting the SL TeamConnect CU1 from the mains power supply
X Pull out the mains plug from the power outlet.
CAUTION
Product damage due to unsuitable mains cables or power outlets!
An unsuitable power supply can damage the product.
X Only use the supplied mains cable and power adapter for connecting the
product to the mains power supply.
X Only use multi-outlet power strips or extension cables with protective ground
contacts.