28/221
Siemens Switzerland Ltd User manual RVS61.843 CE1U2355en_02
HVAC Products 3 Mounting and installation 23. November 2007
2359Z61
Connections / power supply
The room unit is powered by three 1.5 V alkaline batteries type AA (LR06).
Radio connection
Make the radio connection in the vicinity of the RF module prior to mounting so that all
system components are within easy reach.
Prerequisite for the radio connection is that all components receive power, which
means that the RF module must be correctly connected to the controller and the
batteries must be correctly installed in the room unit.
1. Press the button on the installed RF module for at least 8 seconds until the LED
on the module starts blinking at high frequency.
2. Press the OK button on the room unit to switch to programming.
3. Press the info button for at least 3 seconds and select operating level
“Commissioning“ with the setting knob. Then, press the OK button.
4. Select menu “Wireless“ and press the OK button.
5. Select operating line “Used as“ (40) and make the appropriate selection. Then,
press the OK button.
6. Set the setting knob to “YES“ and press the OK button. The process of opening
the connection is started.
7. The display shows the progress of opening the connection in %. This process
can take 2 to 120 seconds.
8. The connection is established when “Device ready” appears and the LED on the
RF module extinguishes
The test is made to check the quality of the radio link.
• The test can be aborted by pressing the ESC button
• While the radio link can be opened on the controller, the test should be made at the
location where the room unit will be installed
On the room unit, as described above (points 2 through 4), select menu “Radio“ and
activate the test mode on setting line “Test mode“ (121).
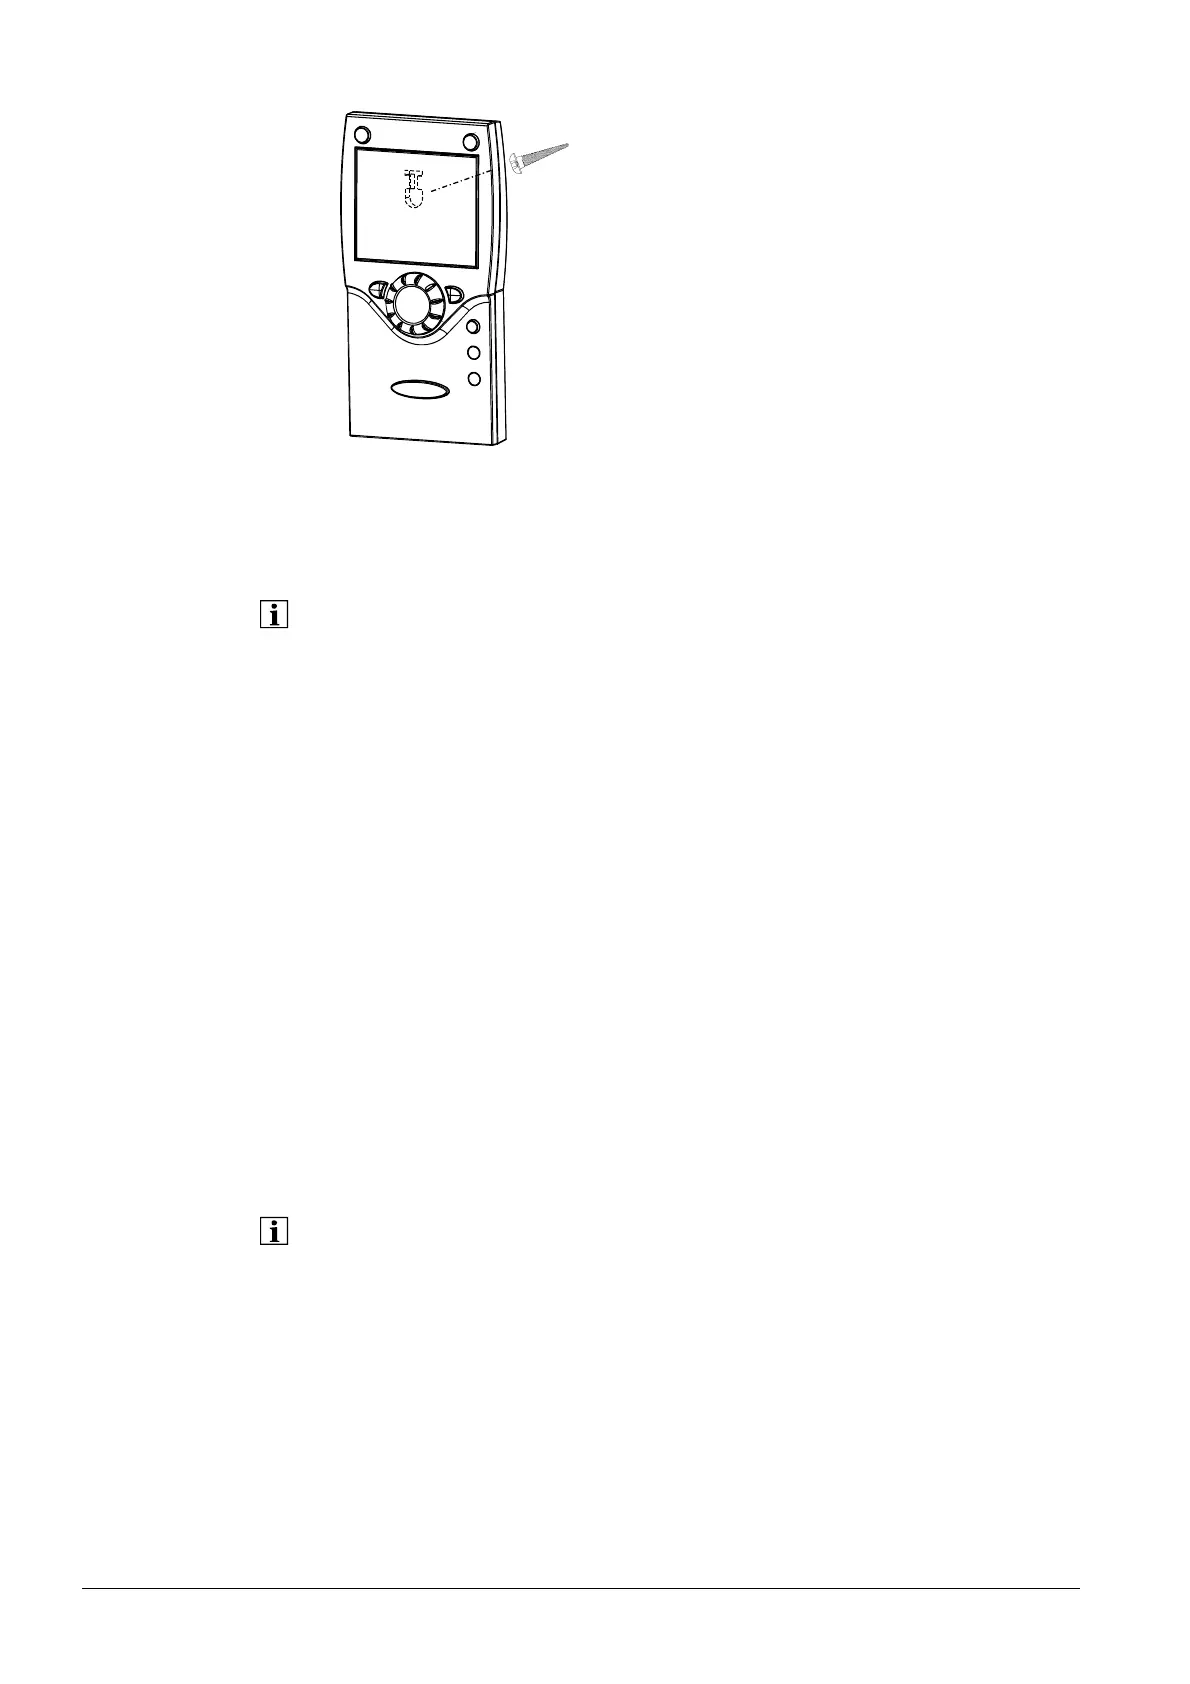
Mounting without
the base
Establishing the link
Testing
 Loading...