2-4
Installation
lockwashers, and finally the nuts over the
two studs. Tighten them securely.
Connect the AC mains to MPS-6/12 as
follows:
Terminal
Black (hot) 1
White (neutral) 2
Green (earth ground) 3
Install the 14 gauge green ground strap
spade lug side to Terminal 3 (green, earth
ground) of the MPS-6 or MPS-12. Secure
the ring lug side of the ground strap to the
nearest available stud in the enclosure. The
stud size may vary depending on the actual
system modules and enclosure used.
Because the stud may be either a #10
thread of ¼" thread, nuts for both have
been provided. The ground strap provided
is long enough for all applications and the
ring lug is good for both #10 and ¼" studs.
If possible, install the ring lug under one of
the lockwashers and nuts which secure the
MPS-6 or MPS-12 itself.
Connect the 3-wire cable coming from the
MPS-6 to the SMB-2, P1, or connect the 8-
wire cable coming from the MPS-12 to the
SMB-2, P14.250
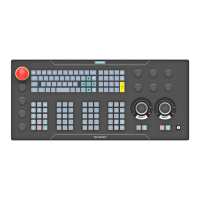
6. Install the MKB-4 Keyboard/
Annunciator
Remove all system power
before installation, first
battery and then AC.
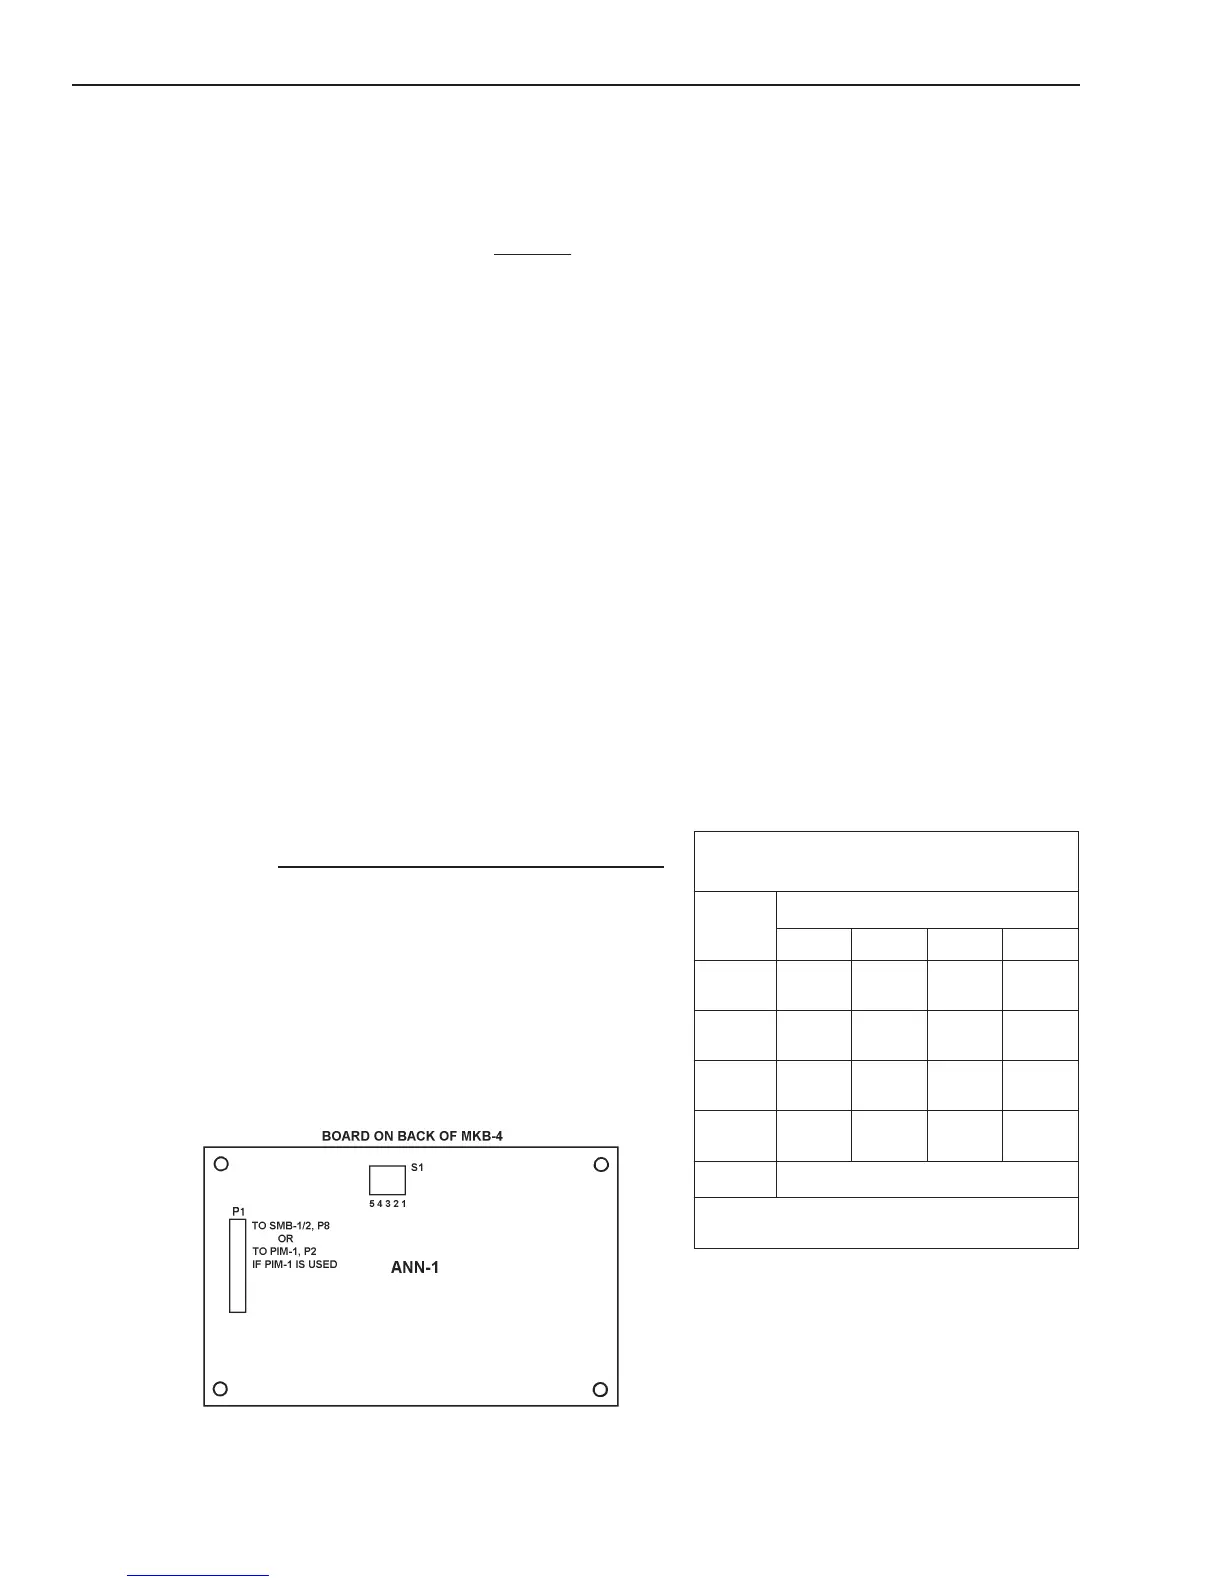
Figure 25
Setting S1 on the ANN-1 Board
Unpack the MKB-4. Inspect the module for
such things as integrated circuits (ICs) not
firmly seated in their sockets, bent IC pins,
connectors not properly installed, dirt, and
packing material on the board.
NOTE: The MKB-4 is supplied with the
keyboard/annunciator mounted to the
hinged panel.
Setting the Network Address
(See Figure 25)
a. Before installing the MKB-4 panel, set its
network address on S1, the switch on
the ANN-1 board located on the back of
the MKB-4. Use dipswitches SW1 and
SW2 on switch S1 to set the network
address of the MKB-4. Refer to Table 2
for switch settings.
b. The MKB-4 module address is always
set within network addresses 248
through 251.
c. One supervised MKB-4 must be
installed at network address 251.
Other supervised MKBs may be at the
other addresses.
2ELBAT
1-NNAEHTNOSGNITTESHCTIWS
HCTIWS
:ROFSGNITTESSSERDDA
842942052152
1WS-1S
-nepO
FFO
-desolC
NO
-nepO
FFO
-desolC
NO
2WS-1S
-nepO
FFO
-nepO
FFO
-deso
lC
NO
-desolC
NO
3WS-1S
-desolC
NO
-desolC
NO
-desolC
NO
-desolC
NO
4WS-1S
-desolC
NO
-desolC
NO
-desolC
NO
-desolC
NO
5WS-
1S
noisivrepuSgnitteSeeSnoisivrepuSgnitteSeeS
noisivrepuSgnitteSeeS
noisivrepuSgnitteSeeSnoisivrepuSgnitteSeeS
:ETON:ETON
:ETON
:ETON:ETON.esuerutufrofera4WS-1Sdna3WS-1SsehctiwS
.noisivretpustcelesotdesusi5WS-1ShctiwS
Setting Supervision:
Use switch S1-SW5 on the ANN-1 to select
or deselect supervision. If your ANN-1 has
a switch with position 1 indicated on the
left-hand side, ignore the printing on the
switch. SW1 on S1 is at the extreme right-
hand side of S1, regardless of any other
marking.