Do you have a question about the Siemens POLYMOBIL III and is the answer not in the manual?
Explains warning, caution, and note text formatting for safety and clarity.
Lists necessary documents like wiring diagram and description of functions.
Lists essential tools and measuring instruments for service.
Details crucial safety precautions and protective measures to observe during operation and maintenance.
Specifies the type of screws to use for replacements according to DIN standards.
Provides instructions on how to clean the unit using water or mild household cleaners.
Describes performing a high-voltage test using a radiation detector and oscilloscope.
Lists error codes related to initialization, such as EPROM check sum or circuit errors.
Lists error codes occurring during stand-by, like current or voltage discrepancies.
Lists error codes related to exposure, such as inverter short circuits or maximum exposure time.
Instructions to measure the supply voltage using a digital multimeter at the safety socket.
Procedure to check the overcurrent circuit breaker F1 and unlock it if tripped.
Details specific fuses on board D920 and their current ratings for troubleshooting.
Guide to interpreting LED indicators on control boards for system status and diagnostics.
Measure the 24 V and filament circuit supply voltages on D920.
Measure various supply voltages on D910.X3 connector.
Measure the intermediate circuit voltage on D111, up to 350 V.
Measure and adjust the maximum main inverter frequency using potentiometer P2.
Measure the oscillating current during kV rise and after kV rise using an oscilloscope.
Connect oscilloscope to D910 to measure nominal and actual kV values.
Check filament and tube current using oscilloscope on D910.
Set the maximum filament frequency on D910 using potentiometer P3.
Connect oscilloscope to D910 to measure actual tube current (IR).
Check kV and tube current (IR) simultaneously using oscilloscope on D910.
Trigger exposures and measure mAs values using a mAs meter.
Adjust the mAs value using potentiometer P7 on D910.
Load cassette, set SID, format, and trigger exposure to align fields.
Check support arm movement and release turning knob.
Readjust spring tension if support arm does not stop with accessories.
Check light-beam localizer operation and diaphragm rotation.
Steps to remove and install the single tank from the mobile stand.
Procedure to completely replace a damaged collimator.
Procedure to replace the defective light-beam localizer lamp.
Steps for replacing the caster, including loosening screws and positioning the new caster.
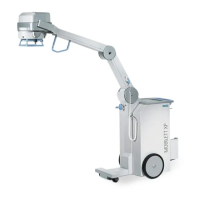
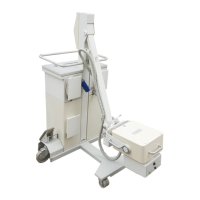
| Type | Mobile X-ray system |
|---|---|
| Generator Power | 20 kW |
| kV Range | 40 - 125 kV |
| Image Receptor Compatibility | Film, CR, DR |
| Focal Spot Size | 0.6/1.2 mm |
| Battery Operation | No |
| mAs Range | 320 mAs |
| Collimator | Manual |
| mA Range | 10 - 160 mA |