CN-Series Hardware Installation and Maintenance Guide Installing a Power Supply
1. Carefully remove the replacement power supply from its packaging.
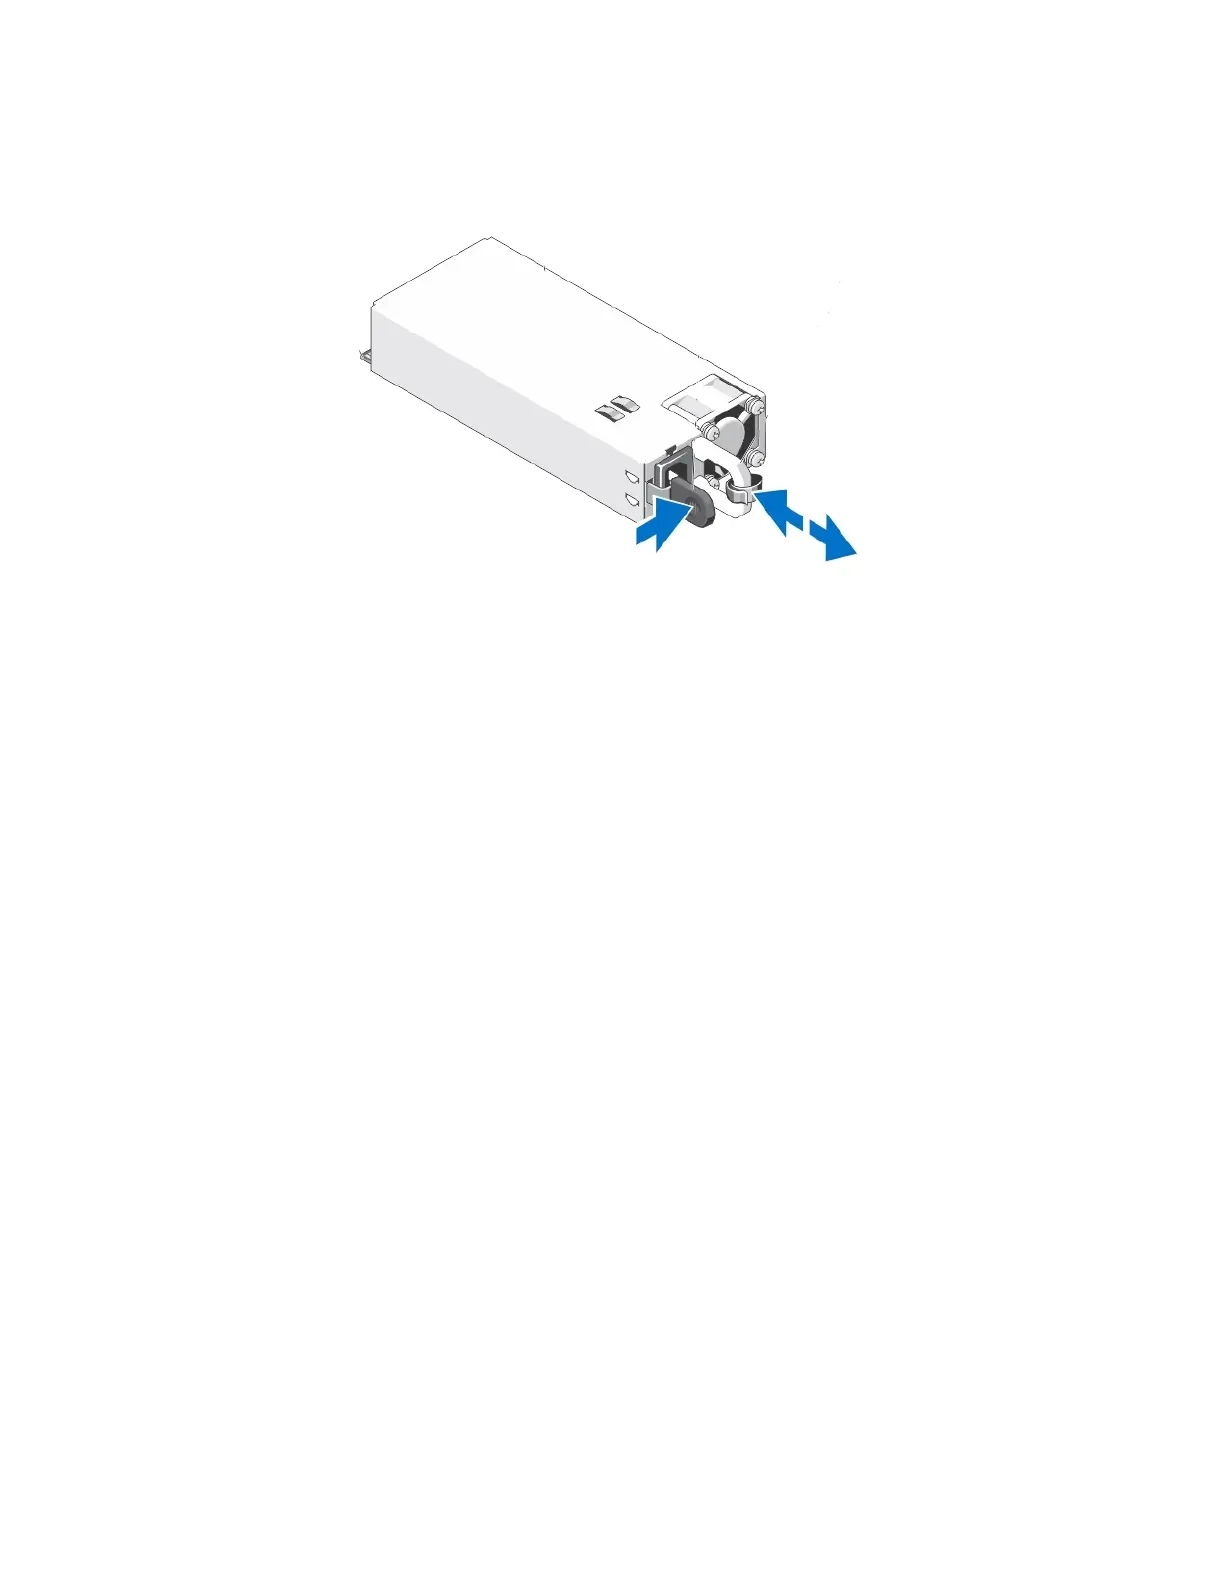
2. Orient the power supply so that the release latch is in the appropriate location, depending on the model.
3. Slide the power supply into the empty slot until you hear the latch engage.
4. Ensure that the power supply is fully inserted and locked in by the orange, spring-loaded clip.
5. Connect and secure the power cable to the new power supply.
6. Ensure that the power cables are fully inserted at both ends.
7. Ensure that the new power supply is operational.
8. Examine the LEDs and event messages to ensure the power supply is operational.
Related Topics
Protecting Sensitive Hardware from ESD on page 16
Guidelines for Maintaining Power Supplies on page 53
Power Supply Monitoring on page 42
Removing a Power Supply on page 53
55