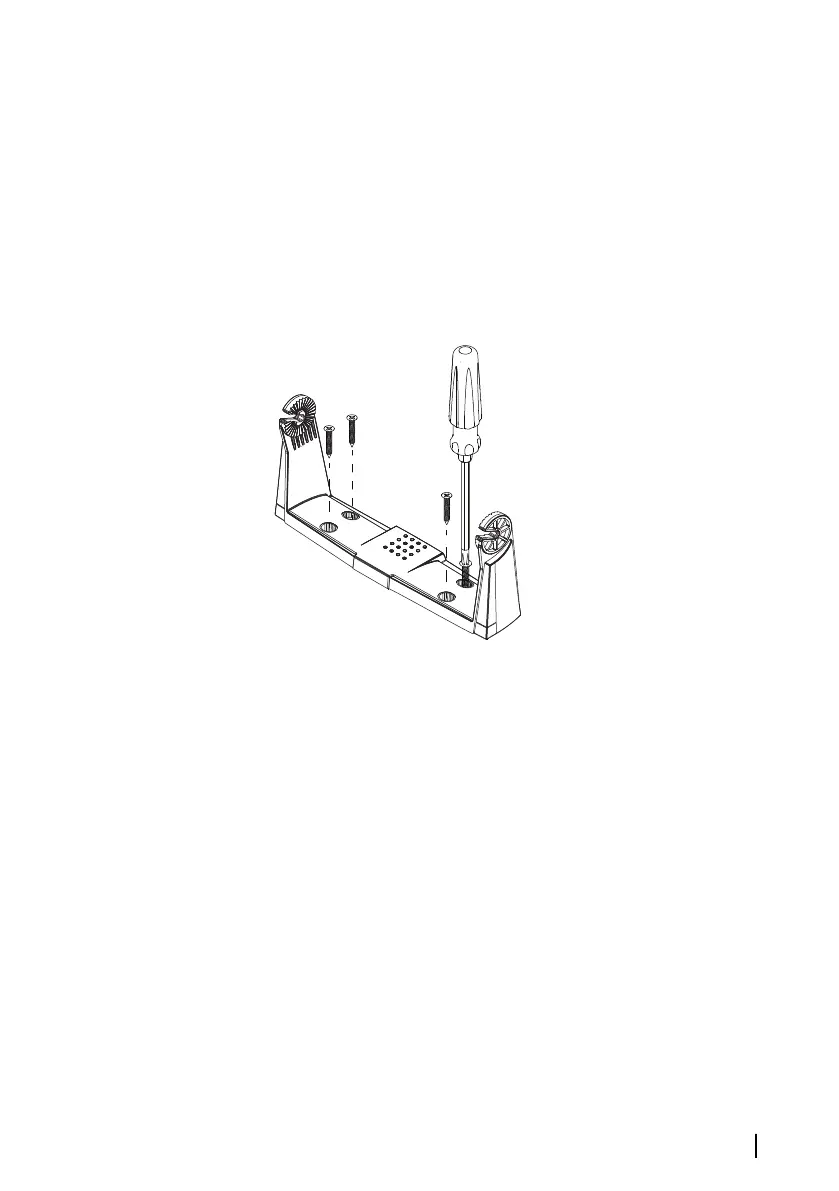
1. Place the bracket in the desired mounting location. Ensure that
the chosen location has enough height to accommodate the
unit fitted in the bracket, and allows tilting of the unit. Also
adequate space is required on both sides to allow tightening
and loosening of the knobs.
2. Mark the screw locations using the bracket as a template, and
drill pilot holes. Use fasteners suited to the mounting surface
material. If the material is too thin for self-tappers, reinforce it, or
mount the bracket with machine screws and large washers. Use
only 304 or 316 stainless steel fasteners.
3. Screw down the bracket.
4. Mount the unit to the bracket using the knobs. Hand tighten
only. The ratchet teeth in the bracket and unit ensure a positive
grip and prevent the unit from changing from the desired angle.
Installation | GO XSE/XSR Installation Manual
19

 Loading...