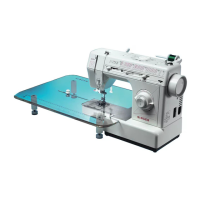
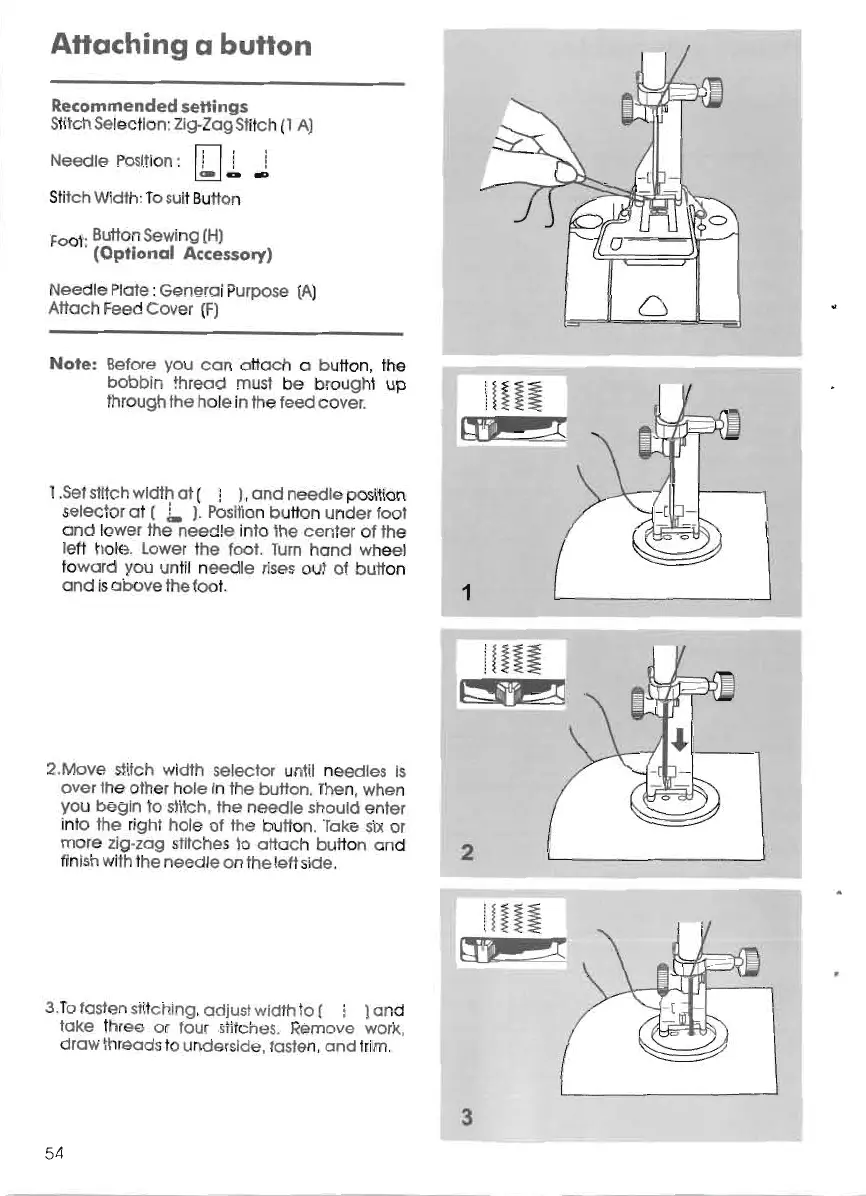
Attaching
a
button
Recommended
settings
Stitch Sel
ec
tlon: Zlg-Zag Stitch (1A)
Nee
dle
Posit
i
on:
fTl
i !
~
- ~
SlitchWidth:To sult Button
Foo t: Button Sewing (H)
.
(Optlonal
Accessory)
Needle Plot
e:
Genera
l Pur
po
se (A)
Att
ac
h Fe
ed
Cov
er (F)
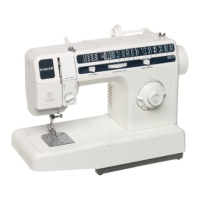
N ote: Before vou
ca
n attac h a button,
lhe
bobb
in
threc
d must be brought up
through the hole in the
leed
cover.
1.Sel slitch width 01(
! ),
and
n
eedle
po
silion
sele
ct
or 01(
J.
).Posllion button under loot
and lower the
nee
dle in
lo
lhe
cen
ter of lhe
left hole. Lower lhe
loo
t.
Tum
hand wheel
lo
ward vou unlil n
ee
dle rises out ot button
and lsa
bo
ve lhe toot.
1
2.Move st
ilch
width selector unlil needles Is
over
lhe other hole In the bufton. Then, when
vou
begln
lo
slltch, lhe ne
ed
le should enler
inlo
lhe
right hoje 01 lhe button. Take six or
more zig·zag sfltches
lo
att
ac
h bu tton and 2
finlsh wllh lhe needle on lhe left side.
3.To
la
sten stttc hlnq , adjusl width lo ( i )a rd
take Ihr e or lou r stilches. Remove work,
draw th
read
slo undersl
de
. tasle n,
and
Irlm.
3
54