IM Machine Name Rev.: END 49
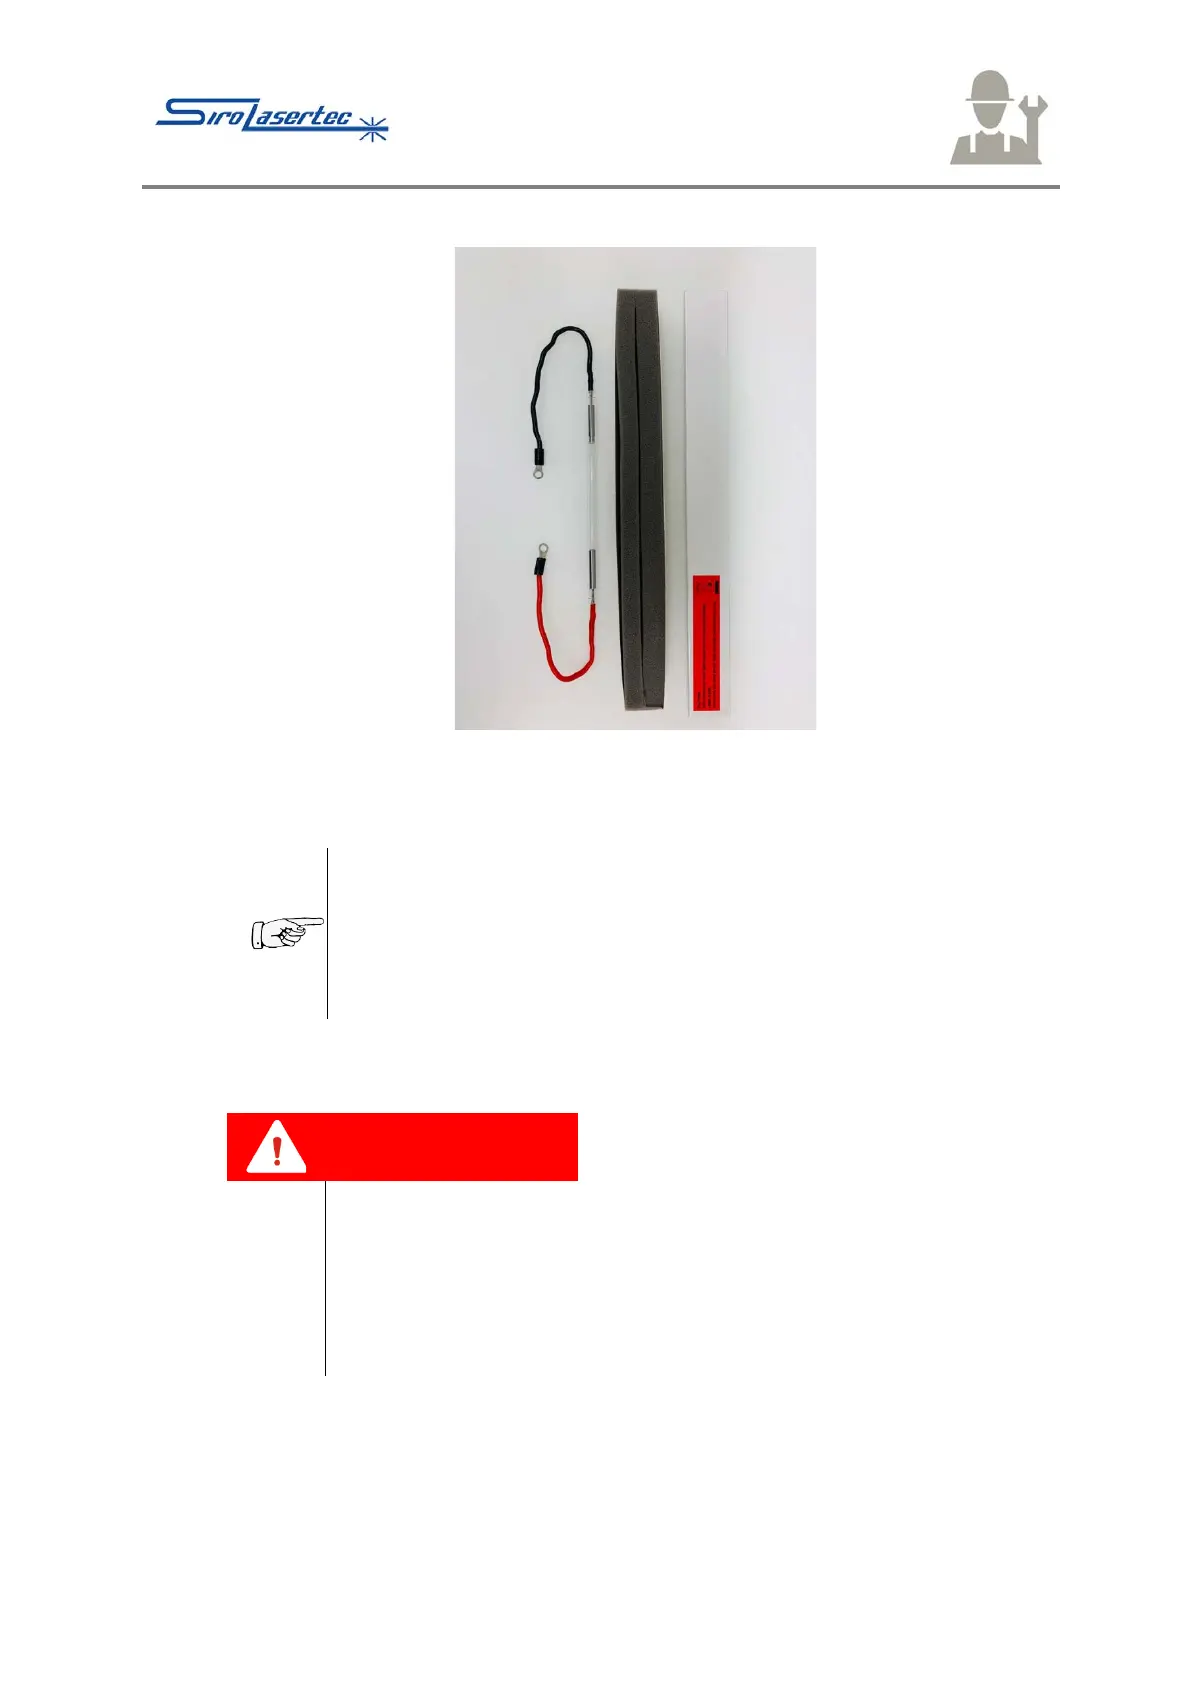
Illustration 29 Laser Lamp
● Remove the new laser lamp from its packaging and fit it.
The laser lamp is water-cooled. It is equipped with seals on the
holders.
● When fitting and removing the laser lamp, ensure that these
seals are not damaged.
● Replace damaged seals.
● Carry out the fitting of the new laser lamp in the reverse order of the removal.
● Carry out a test run before closing the housing.
Danger to life due to electric shock
Electric shock can result in fatal injuries.
● Do not touch the welding laser system during the test run.
● After the test run, switch off the welding laser system again.
● Pull out the mains plug.
● To do so, insert the mains plug into a socket intended for this.
● Switch on the welding laser system using the key switch (Illustration 7, 2).
● For approx. 2 minutes, check the leak-tightness of the laser cavity.
● Switch off the welding laser system using the key switch.
● Pull out the mains plug.